Showing posts with label digital cutter. Show all posts

a little hut has a new web site!

new web site! 

We're starting off 2012 with an awesome completed project. The new site for A Little Hut is here! It has been a long time coming and I'm very excited about this big improvement.

It was a LOT of work. It was a total team effort—I don't know what I'd do without my Mr. Z who did all the programming. He's so patient with all my requests! So, so patient.

Improvements:
- You will no longer need to wait for an email from me. You will be able to download all files immediately after paying for them. Only freebie files will need to be approved internally by me—which only means you'll just need to wait a bit (like with orders on the old site).
- You will be able to see your order history. You will have a handy list to remind you what you have ordered in the past.
- Products will be easier to find. The navigation from one section to another is quite simple.
- More photos and views will be available for products that I upload in the future. For now they have about the same amount of photos that I've used previously.
- I've added the icons below to clearly describe files that are available for each product. Some of you like to use cutting files, some of you want to print and cut by hand, some of you want to print only. Now you will know what is included in each set. The Product Information page explains these symbols in more detail.
For previous customers:
For those of you that have registered and made purchases on A Little Hut in the past don't worry, your information (personal contact information - not previous order history) was transferred to the new site. The only thing you'll need to do is create a new password. Sign in with your email address, click on Forgot Password, you'll get an email with a temporary password. Use that password to sign in and in My Account you can change your password to whatever you prefer. That's it! If you have any questions just use our Contact Us page. 

I think we accomplished what we wanted—a better experience for visitors and a more efficient and up-to-date site. I happen to like how it looks too! Hehe. 

If you find any glitches, typos or anything that you think we can work on please feel free to let me know. I want to make the site the best that it can be.

Stop by and visit the A Little Hut to check it out. I hope you like it! 

project + testing

tags

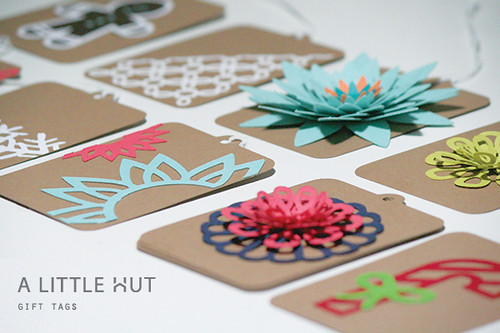
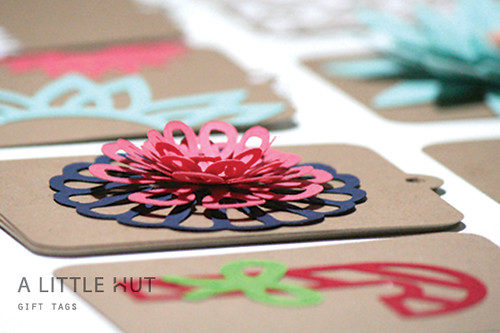
Today is the final day of school of 2011. I can't wait for pick-up time. We're all ready for the break. The collection of gift tags are a little something that will be part of our teachers' gifts. We can all use extra gift tags right? I used a combination of different sets of my flowers, lattices and holiday kit.

I had both my Cricut and Cameo going at the same time (spoiled a bit!). All I can say is that I'm still not used to the Cameo mat. Still waaaay too sticky. A friend has heard of people that rub stick/unstick mats to carpet. While I'll never do that I did think that rubbing a piece of fabric over it several times would help and it did. Now if I can only figure out where the cutting starts/stops on the screen in comparison to the real paper on the mat—aka. learning curve!

Friday Tidbit
Water ballon luminaries: I want to try this! They look easy to make and they're really beautiful.

Have a great weekend everyone!

tags

review: silhouette cameo

silhouette cameo

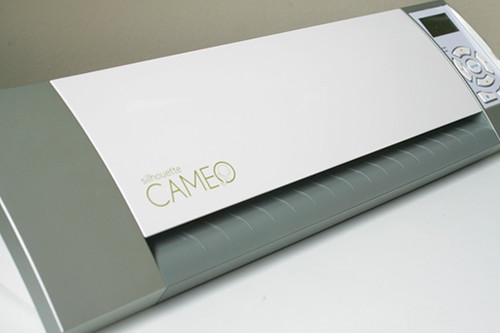
I ordered the Silhouette Cameo a few weeks ago and just had a chance to use it this week. So far I'm quite pleased with the results.
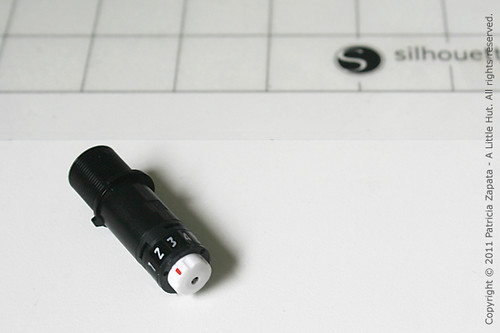
It is an electronic cutting tool that is simple to use. It hooks up to your computer and with the help of the Silhouette Studio (a free software provided by the machine maker) you can cut purchased files or make your own. I like that the machine is clean in design (not pink or girly) and that it's fairly small (smaller than a Cricut).

silhouette cameo

I tried using the instructional video to learn how to use the machine but it didn't work with my Mac. It kept skipping parts of the presentation. I used the instruction manual to fill in the gaps of information that I missed. I later discovered that I had to download the entire video on to my computer in order to see it. It never played directly from the CD but it played on my computer without problems.

The blade was easy to install. With the use of the software the cutting depth and speed can be easily adjusted. I've heard that there are people having trouble with the blade but I haven't had any yet—then again I just started.

The cutting mat holds up to 12" square sheet of whatever material you're cutting. So far I've only cut paper but vinyl and fabric are other materials that can be used. The width (12") is what finally made me go with the Cameo. The previous SD Silhouette option only cut paper up to 8.5" wide. The cutting mat is  really sticky. I had a hard time detaching larger images. I'm assuming that will not be the case after I've used the mat a couple more times.

silhouette cameo

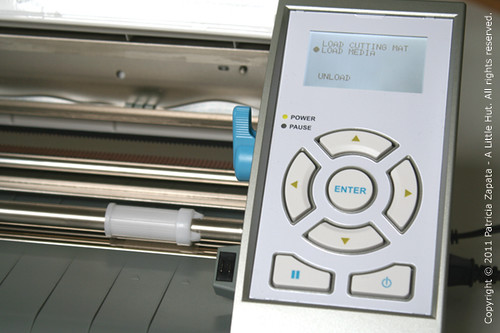
The control panel and buttons are very easy to use and understand. One particular feature that I like is the pause button. If you've cut the wrong size, the wrong color of paper or you changed your mind about anything, this button is key.

silhouette cameo

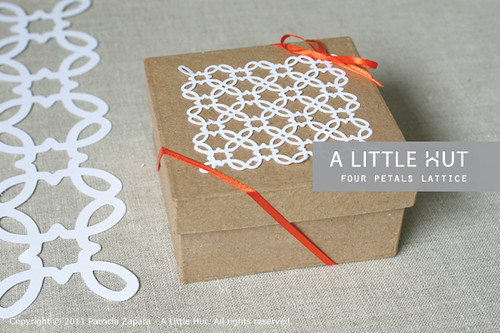
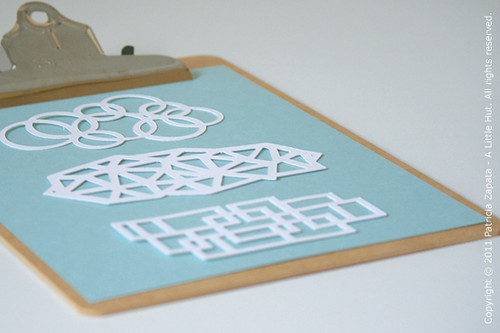
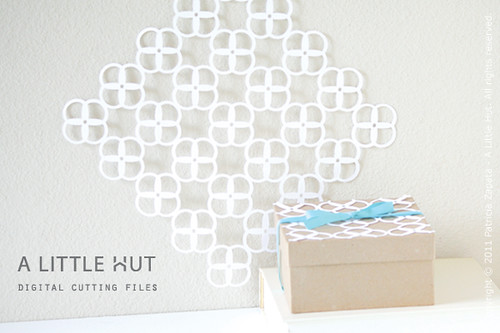
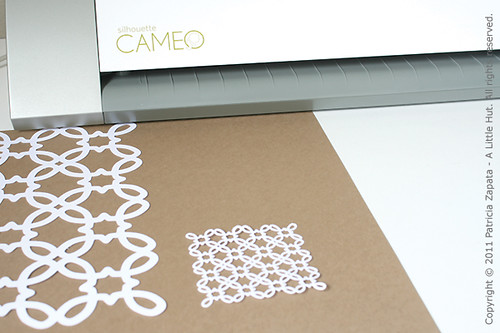
I cut my Four Petal Lattice at the 10" square size and it was difficult to remove from the mat without tearing the paper. I suppose that after a couple of uses the stickiness will be more manageable. What I really wanted to see was a smaller version of the file to see how the cutting would hold up with detail. It didn't disappoint. The shapes are crisp and the machine had no trouble at all. The bottom square is only 3" wide.

So...
Pros: 
- I like the way the machine looks and works. I specially like the detail work it can cut.
- Good price point. I ordered my machine when it was $260-ish.
- Free software to use with the machine. I like that it has an easy way to sort and label all images in a library.

Cons:
- As far as I've seen the replacement blades and mats aren't sold anywhere near me. That means I'll be ordering online. Not a big deal, but if I happen to need something urgently, it will be an inconvenience.
- The mat is definitely too sticky but I'm sure that will change with time/use of the mat—it's not a deal breaker.
- When the machine cuts it seems louder than what I'm used to—again, not a big deal.

So far I'm very happy with this machine. The next thing I want to try (if I only had the time now) is the print and cut feature. That will be really interesting to see in action. I'll post my thoughts when I get to it.

lattice

Typically the Silhouette Cameo is sold for $299 but as I said, it can be found at a lower price on occasion. The replacement blade is $19.99 and the cutting mat is $14.99.

For those of you that have asked—all A Little Hut files can be cut with the Silhouette Cameo. If you have the free version of the software you can import DXF files. If you have the designer edition (additional cost involved) then SVGs can be used.

One last thing...
This was a personal purchase. I was not sent this machine for review, nor was I asked to comment on it.  Only my personal opinions are part of this post.

• • •

EDIT —It's been a few days since this post. I just wanted to add a tip regarding the mat. I know I said it wasn't a deal breaker but it's getting frustrating. The mat is too sticky and the paper tears when I pull it up—and yes I'm carefully using a spatula. I rubbed a piece of fabric on and off of the mat to remove some of the stickiness and it worked.

Another thing... the setting for the depth of cut is something I'm still struggling with. The machine doesn't completely cut through my Paper Source card stock. The Cricut does it with no problem. I guess it's another learning curve.

falling leaves

falling leaves

I never can decided if October or March is my favorite month of the year. In any case, the mere fact that we can open all our windows and enjoy cool weather, without having to resort to the air conditioning, is wonderful—maybe more like awesome!

falling leaves

This is also my most productive time of the year. Coincidence? Probably not. I've always been the type to be affected by the weather. Which is a great thing because last week I was SO busy. I have several projects in the works—and yes, the book proposal is one of them (it's coming along—yay!).

falling leaves

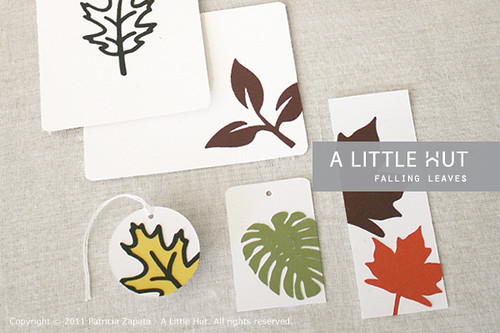
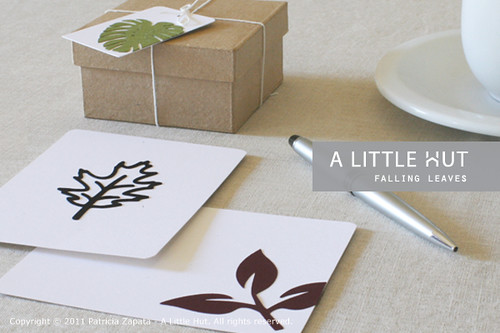
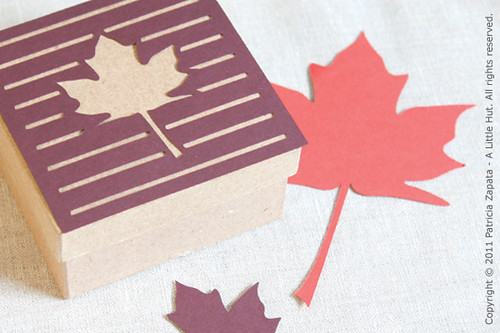
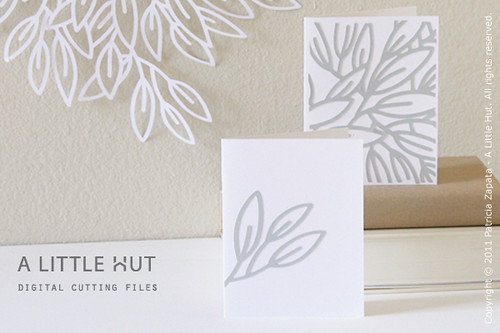
And speaking of productivity here is a new set of cutting files that are now available in the shop. I didn't want to design a typical autumn set and I'm so happy how this little group turned out. They are available as SVG, DXG and PDF files.

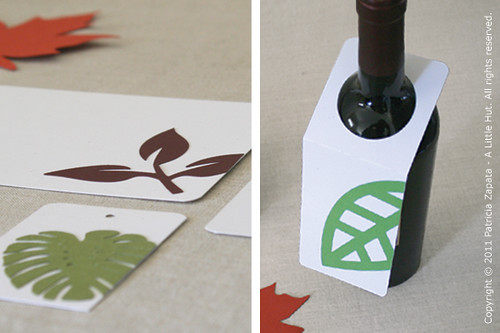
Autumn may have inspired this Falling Leaves set, but it can be used throughout the year. Just changing the color of paper will make them look and feel completely different. As a bonus, and because the fall social season is starting, I added a wine tag so you can decorate it with any one of the images in this group. Any one of my flowers would be great for this too.

Happy Monday everyone!

• • •

For those of you that have asked:
I've been using only Paper Source paper in my projects during this year. I absolutely love their colors! I use both cover and text weight (depends on the project). If only they had larger sheets...

which cutting machine should I buy?

Die cutting is a practice that is spreading throughout the paper craft industry. It is the best way to produce simple to intricate paper cut outs in a matter of minutes. Machines that work with dies and need to be activated manually with the help of a crank will not be covered here. I will only cover electronic cutting machines and give a short overview of what you should take into account before purchasing one.

maple leaves

For those of you that are new to this medium, an electronic cutting machine or tool is the cutting version of a printer. Instead of pressing Print you press Cut. The end result is a piece of paper that is cut to the size and design that you have indicated. It is a dream once you get the hang of it!

So back to the question—which one should you purchase? It is the question I get asked the most often and to answer it for yourself, you need to consider several factors. Here are the basic ones:

Features
- Maximum cutting width
Most of the new machines are now cutting up to 12 inches in width, but be aware that there are machines that cut on letter-sized sheets of paper only. I prefer the 12" width simply because I don't like being limited to a smaller working area.

- Materials that can be cut
This hasn't been a big factor for me since I only cut paper but it could be something to consider for those of you that would like to work with fabric, chipboard and vinyl among others.

- Cartridges
Some machines only allow the user to cut designs from cartridges that must be purchased separately. What that means is that you will be limited to the designs that are included in those cartridges. You will not be able to create your own designs—that's where software comes in handy.

- Software
Some machines come with software included and some do not. There are also differences in software—some are only used to store and work with cartridges or images that are purchased separately. Others such as Sure Cuts A Lot or Make the Cut give the user the flexibility to use and/or create their own designs. Still others allow for both the creation of your original files and the storage (in a library) of designs that are purchased through the manufacturer or third parties. Be aware of what the case is for the machine that you are considering.

- Accessories
Cutting mats are a must for most machines. To my knowledge there is only one machine on the market that doesn't require the use of one. In some cases, other accessories that allow the machines to draw, engrave or emboss, are also available at an additional cost.

Price
Prices for table top versions vary anywhere from the low $200s to $900 and above.

Customer Service and Support
It is important to know what company you will be ordering from. It wouldn't hurt to ask the manufacturers questions that you've been mulling over. Addressing them directly, will clear up any doubts you may have about their product and you will have first hand experience of how they treat their customers.

The machines that are on the market as of this post are (if I missed any please let me know):
Gazelle by Bosskut
eCraft by Craftwell
Eclips by Sizzix
Cricut Expression by Provo Craft

Please keep in mind that I've only mentioned very basic information here. This is just a place to get started. Researching video tutorials and reviews of the different machines will further help you to purchase the right machine to fulfill your needs. Like I said, contacting manufacturers directly, specially for technical questions, will keep you better informed.

maple

My current setup (combination of machine and software) is no longer available so I can't offer any up-to-date reviews on any of the above products. I'm in the market for a new machine (still deciding). When I do order another one I'll post my thoughts and let you know how it's going.

Just to clarify - I do not endorse any of these machines and I am not an affiliate of any of these companies. This is a personal post that has not been requested by any manufacturer.

I hope this helps! Have a great day!


halloween kit - svg & dxf cutting files

halloween - spider web

Typically, I'm not one to put a lot of effort in decorating for Halloween. I do it because the kids enjoy it, but that's about it. However, with my new designs and C's excitement about them, I'm feeling a bit different.

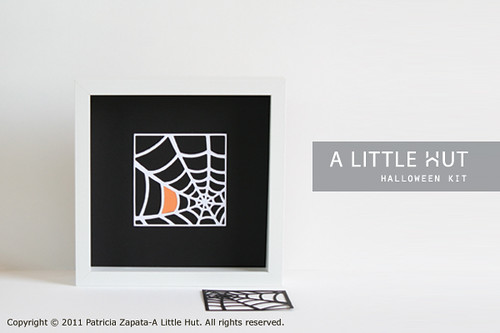
The pieces you see here are what I created for my shop, but I already promised my little C that we'd work on getting our own set of decorations ready for next month. My to-do list with her is getting longer and longer (decorations, Wee Wonderfuls doll, another doll outfit, a bigger paper doll house—ahhh!).
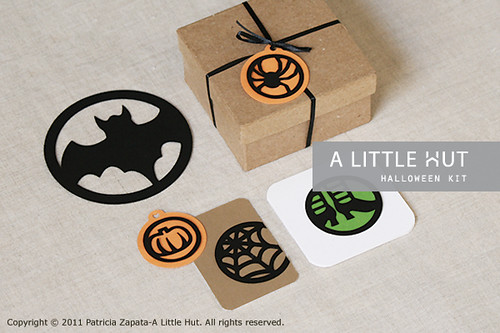
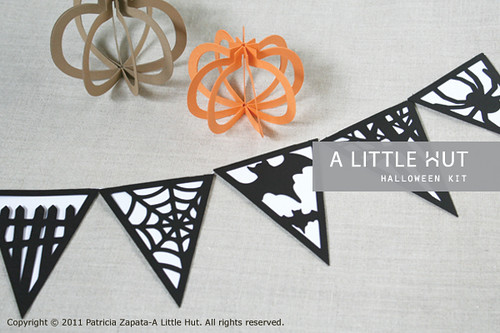
I suppose you can't tell, but I really had a great time designing this set. I think it's because I enjoy working with illustrations that are simple and graphic. I can imagine these being used for a fun whimsical party or for a more sophisticated event. The colors you use for the backgrounds will make all the difference.

Medallions
These would work really well as wine charms, gift tags, on cards, as coasters or cut them larger and make a Halloween mobile.

halloween - medallions


Bunting and 3D pumpkins
The bunting could decorate a doorway or a mantle and the pumpkins can be placed on tables, used for a mobile or as decorations on a wreath.


halloween - bunting and pumpkins


Graphic elements
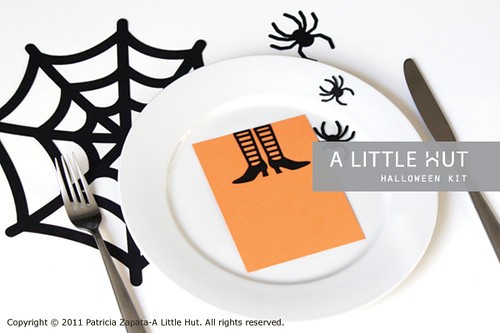
These designs are very versatile too. I can see them on cupcakes, on any paper craft and wrapped around votive candle holders. I love this simple idea for a table setting.


halloween - place setting


Gift box
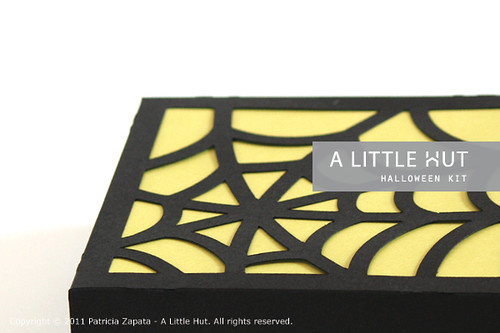
I had the idea that it would be fun to greet guests with a web paper quilt (spiders hanging and all!) and at the end of a party use them as covers for the party favors.

halloween - gift box

All these files are included in my Halloween Kit. If you would rather work on something smaller, I'm also selling the bunting and the spider web box as individual products—digital cutting files and as PDFs for those of you that would like a cutting project!

So that's it—Halloween 2011!

Now to work on getting the kids to tell me what they're going to dress up as. I need to start working on that now—or else!

Have a great day everyone!

lots of petals

lots of petals

I thought of posting the photo of a white flag at some point this week (nope, not kidding) but I decided you'd appreciate flowers a bit more. Take them as my "I'm giving up on my summer blogging" for the next few days image. I know if I don't do this now I'll regret not focusing on the kids while they're still on their break. We just have a few more days together. It's always a bitter-sweet time of the year.

So... for now I'm waving my white flowers.

lots of petals

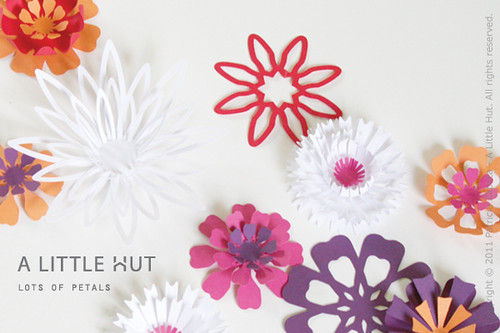
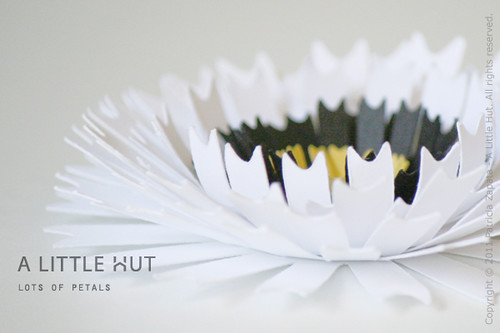
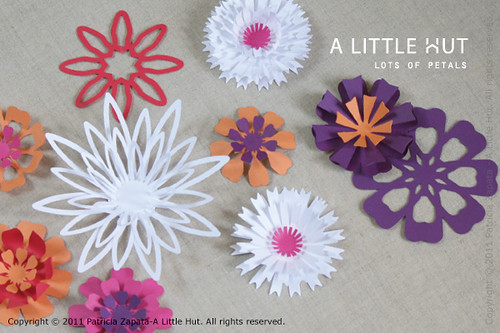
This is my new Lots of Petals collection.

I've been designing and collecting the shapes for the last couple of months and I finally think it's ready. It includes 8 types of flowers that can be mixed and matched amongst themselves or with my Petals or Summer Blooms collections.

lots of petals

Oh yeah... and yesterday we celebrated our 14th wedding anniversary! Yeah for us!
Love my Mr. Z!

I hope that you're enjoying your week. See you in a few days!

• • •

EDIT :: My apologies to those of you that received my August newsletter without appropriate links!! Here is the link for the desktop for this month (has no calendar—so it can be used at any time of the year).

the exploration continues

geobursts

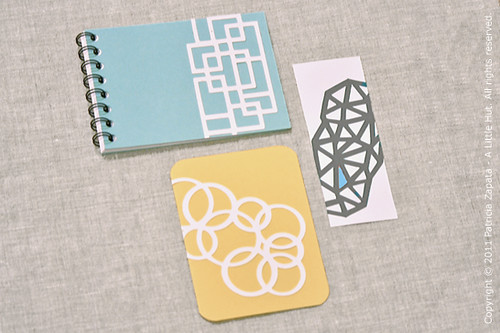
As you can tell the paper cuff design got me started. As I kept going I ended up with three GeoBursts. They can be easily replicated with a circle ruler or by simply hand drawing triangles or rectangles that overlap each other. Handmade versions would have great character.

I've been asked many times about my process and frequently it works just like this. One idea leads into another. I started with a cuff and I'm going to end up who knows where. I'll post anything new that I may try with the cuff. Thank you for sharing your ideas!

geobursts

I started using these patterns in different ways and I'm already thinking of new ideas. I've made a few cards for my stash, a couple of bookmarks (I'm making some headway with some reading—no titles worth mentioning—basically fun fluff) and a notebook.

I bound the notebook with a new toy I'll show you this week. I'm trying to come up with more excuses to use it. Love it.

If you'd like to work with these designs as cutting files they are now in the shop.

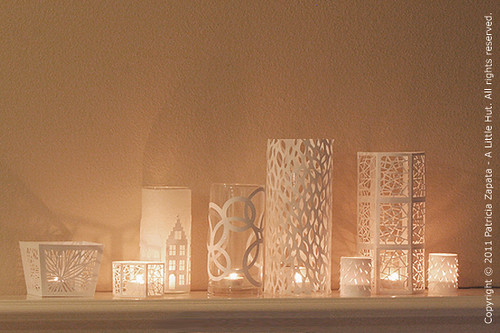
collection is growing!

Check out how my tea light covers collection is growing! See the one in the middle? It's the same pattern I used on the yellow card above.

Patterns/cutouts + inexpensive glass hurricanes + tea lights + glue dots = no more than $8 in materials

Can't you see these used in a table setting at a wedding or an evening event?

paper cuff

paper cuff

Well... I didn't expect to be gone so long. It's been all about the family and trying to be a good hostess. Phew!

I finally got a chance to touch some paper with a simple idea that I just had to work on.

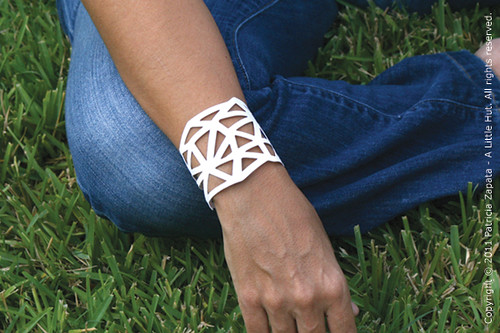
I'm not big on accessories. I prefer smaller earrings and simple rings, but I find cuffs are another thing. If I knew how to work with a material that would make this more durable, this is what I would want to make. Repetition of triangles—simple and abstract. It sort of reminds me of intertwined branches.

Can't you see this made out of some sort of felt or leather? Something in acrylic or wood also comes to mind—even several layers of paper with ModPodge might work. Any suggestions?

Here's to a great week! Happy Monday!

from paper quilt to framed artwork

bloom box cover

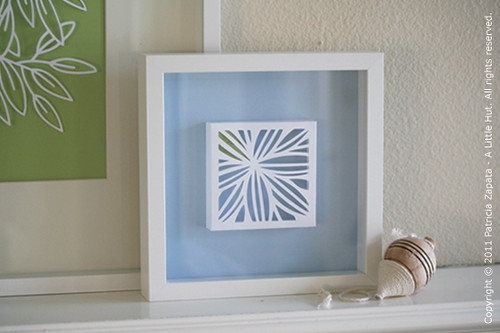
I'm in the midst of getting the house ready for company and I always end up working on things that aren't really urgent but I get a whim for. My framed Bloom Box cover (part of my Paper Quilt) is an example of what is probably procrastinating on what really needs to get done. But seriously, isn't having fun with paper better than dusting, doing laundry and shopping for groceries?

Using the box cover as framed artwork is very simple to do. All I did was cut the outermost tabs shorter and used them to stick the cover to the blue card stock. I also added some green paper (barely visible here) behind the image to add some interest. You can't beat cheap but contemporary wall art!

Notice that I added some background color to the Just Leaves lattice? It dramatically changes the tone of the piece. If I keep it around longer than this summer, I'll definitely change the background color again.

Like I said on Friday, I may be a bit short on time to blog properly but I'll be popping in with photos. Sound good?

Happy Monday!
• • •

My Paper Quilt and individual boxes are for sale on my site or on Lettering Delights. By the way, thank you to the LD customers that reached out and emailed me over the weekend. I was very touched. Thank you!

do what you love and it all comes together

entwine stationery set

One day, several weeks ago D wondered why I don't have a hobby. He was surprised to learn that my hobby is my work—my work is my hobby.

I know... I'm lucky. I hope that many of you feel the same about what you do every day.

There is nothing more rewarding than ending the day with satisfaction about your work and relief that ideas that you've had have come to life.

motion stationery set

As rosy as that all sounds it also is best to get away every now and then.

That's what I did over the weekend. I went to San Antonio (3 hrs from here) for a couple of days to visit friends—all alone. I came back recharged, albeit a bit derailed and off track with my to-do list. But it was well worth it.

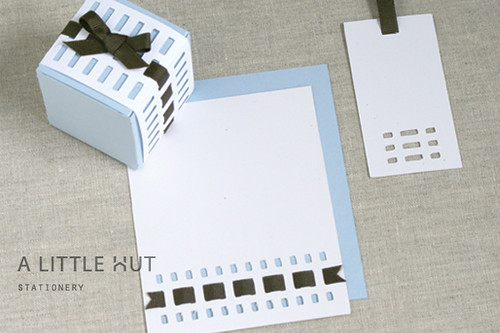
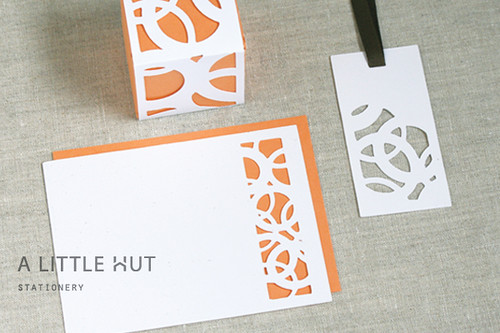
Seeing these new stationery sets makes me feel like I'm getting me back on track. They were a lot of fun to make. The Entwine and Motion stationery or party sets (for digital cutters) include a flat card (for notes or invites), a gift tag (or bookmark), a favor box with a matching wrap band and an envelope. The Entwine set can be used as is or ribbon can be added for an extra touch.

• • •

Other projects: the reading is going well. The scrapbooking—well, I'm a bit behind—already. And tomorrow I'll have some great news to share!

Until tomorrow!

s is for summer & s is for slow

bloom tea light cover

We're in slow mode around here. But you know what? I like it.

Summer makes me put the breaks on whether I want to or not. Reading, trips to the pool, riding bikes, board games, drag me away from the computer and anything related to work.

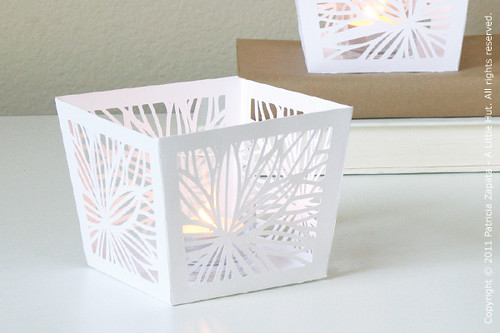
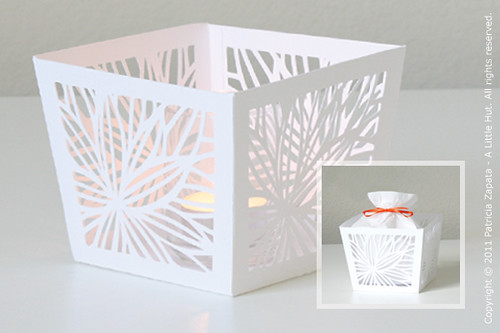
I have managed to work on some behind the scenes things and this new Bloom Tea Light Cover—which would also be a nice way to hold party favors.

It gives me a small sense of satisfaction to see something in paper again. I've been on my computer for other design work (web site!) for far too long at late hours of the night.

My thing for candle light is showing again, isn't it?

One other thing...

Remember my Just Leaves fabric? It is now available for sale at Spoonflower! I haven't been this addicted to a pattern in quite some time. It's time to crank up the heat on my next group of patterns. We'll see what I focus my sights on in the coming weeks.

bloom tea light cover

Off to finally crack open my collection of Jane Austen books! I need some of that right now.
Is anyone willing to share a summer reading recommendation? I'm craving some new reading materials.

For now, happy afternoon!

leaves, rings and pods

just leaves lattice

Here are more way to use the Just Leaves Lattice. I can't help it—I think this is such a fun one to use. I really like how the cards turned out. The pattern in now available in the shop, as are other goodies I've been slowly adding.

Rings Lattice - I can see this pattern on so many things—specially on cards on an angle and cropped—and in orange for some reason. This was a pattern that involved a lot of tweaking. At first the rings seemed too thick, then they were too thin. When I finally held this cut out in my hands, it felt right.

rings lattice

Pods Stationery - This is a fun set that I've used myself many times. The simplicity of the main graphic is what I've liked about this pattern. That's why it keeps popping up, like my leaves. Several of the bookmarks are staples next to my reading books.

pods stationery

I realize that my digital cutter projects have started dominating my posts lately. I don't want that to discourage any of you that don't own one. I'm still working on printables and DIYs that don't include any cutting machine steps—so please stick around. I haven't forgotten about you.

I have other goodies and news coming this month but that will have to wait for the right time. I don't mean to tease you, I'm just excited about everything that's been going on behind the scenes.

There are a couple of things that I can mention. The first is that I have a new web site in the works. I'm so happy about that! That's why my digital cutting section is a bit overcrowded and with no categories to make it easier to find things. I've been concentrating my efforts on uploading products to the new shop, while trying to keep the old one running. It's double the work, but it will pay off in the end.

The other thing is that for those of you that have been asking about the compatibility of my files with a Silhouette. My files are now available in DXF, which is a format that can be easily imported and recognized by the Studio software.

Well, happy Thursday! One more day and the kids will be all mine for the summer!

day 1 - framed paper cut leaves

day one - just leaves

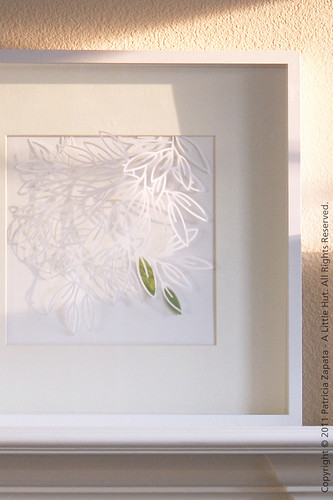
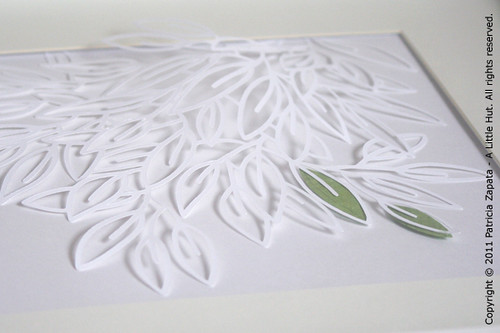
I know—this may not be terribly exciting since I just showed you this paper cut a couple of days ago. However, it is very exciting to me since I gave this piece a frame (I'm bad about that), a place (for now), I'm starting my idea to get more artwork around the house (not all necessarily mine) and we're enjoying it already.

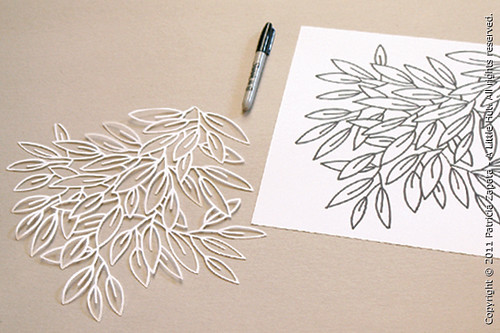
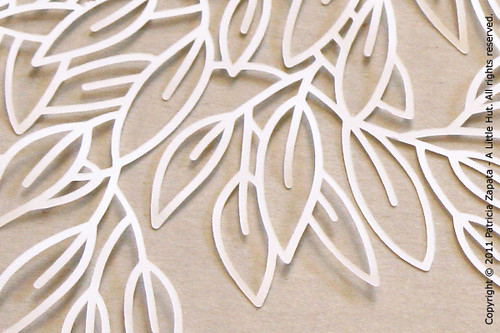
When I first started working on this paper cut it was about 2am and I really had no plans for it. I just went for it. Yes, you've seen these leaves before—here and here. It's just feels like one of my 'comfort' doodles (is there such a thing?). They always look the same and I thought a paper cut would be an interesting change.

I'm still debating whether I should change the white background. I really like it but at times it does seem to lack contrast. The great shadows are what keep me thinking. They wouldn't look the same on a colored background.

As you can see in the top photo, the afternoon light makes this really come to life. The way the shadows change as the sun sets is quite dramatic and constant—love that.

day one - just leaves

I wish I could've gotten a better shot of the three-dimensionality of the piece, to show that I didn't just lay the cut out on a piece of paper. I placed it in such a way that it is only attached at the top. The top corners are glued down closer to each other than if they were laying flat. That is what makes the whole piece pop up on its own and stay that way. The green leaves are attached to the background, not to the cut out.

So what do you think? Color for the background or leave it as is?

Cost of materials: $2 for paper and $20 for the Ikea box frame.

• • •
This is part of a my 26 days of making series.

trees

we are surrounded by trees

We are surrounded by them.

just leaves

So, many times, I end up either drawing trees or their leaves.

just leaves

Last night it was just leaves.

My bad move? Not sleeping at all last night. Terrible for daytime awareness, but at least I was up for the royal wedding.

Loved the dress, the happy couple and yes... the trees!

Have a wonderful weekend everyone!

I need to teach more often

digital die cutting

For a few hours of the past two Saturdays I've had the opportunity to teach. It has been really, really fun. It's amazing how something as simple as some paper crafting can bring people together so easily. On the 16th, I made some trees with the class—and we made a terrific mess!

This past Saturday, I finally made good on my silent auction item, of teaching a class of how to use the Cricut cutting machine. The funny thing is that the class was supposed to last 2 hours and I think it ended up being twice as long. We just kept talking and making, talking and making. I really could go on forever.
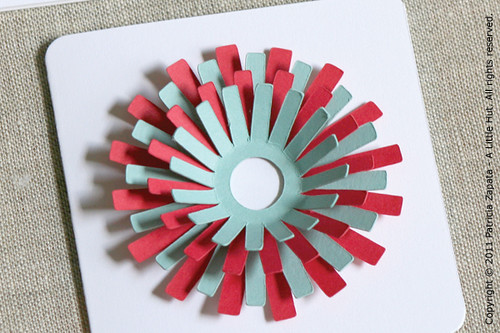
digital die cutting

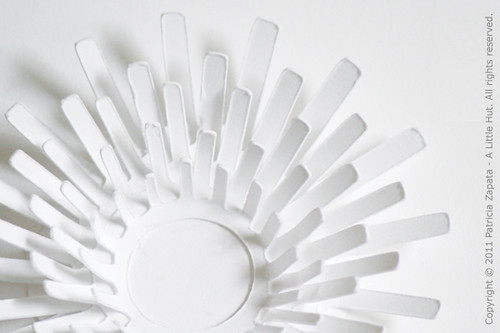
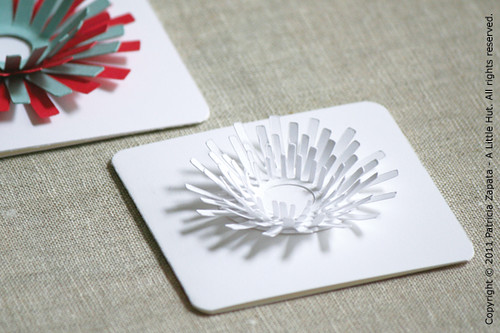
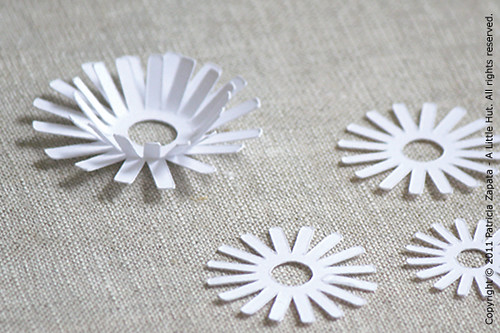
These gift tags/small note cards are one of the projects that I made for the class (using shape No. 8 in the Accent Essentials cartridge). My intention was to show that even though the Cricut is mostly used for 2-dimensional projects there is no reason why you shouldn't give your projects some volume—it's so easy to do. I also wanted to show how you can get more milage from the cartridges. [The non-existent limitations of SVG files, that are used with other digital cutters, is what makes me so fond of them.]

These star-type shapes are cut in increments of 1/4" and all stacked one on top of another. That's it! Can you imagine a bigger one of these on top of a gift or as wall art inside a box frame?

digital die cutting

I still thoroughly enjoy paper cutting by hand, but digital cutters are definitely a lot of fun to work with. At first I thought I was cheating by using them, but they are just a tool. The creativity that goes along with the use of that tool is what counts—just how a graphic designer uses a computer.

For those of you that don't have a digital cutter, the lesson you can draw from this project is that repetition and symmetry go hand in hand. If you cut out any symmetrical shape in different sizes and overlap them, the effects can be really interesting. Even hand cut elements can have a great impact as you saw in last week's flowers.

Like I said it's all in your hands—not in the tools that you have.

Have a great Monday!

digital die cutting