Showing posts with label DXF. Show all posts

7 years

7 years

Today I celebrate seven years of blogging. Seven! It seems unreal.

Seven things I've learned:
- Go with the flow of my own creativity and personal pace.
- Stay true to my style. Always.
- Writing is still painful, but I make it work. Pressing "publish" still gives me pause.
- Take breaks when needed. It's better than posting for posting's sake.
- Accept that things are changing in the blogging world. Everyone is so quiet!
- It's great to have a 'specialty' but it's fun to try other things too.
- It's always best to keep learning. There's always room for improvement.

Thank you, thank you, thank you to those of you that have visited . I know there are a million places you could be and the fact that you stop by is still very important to me. I hope that I can continue to teach or inspire you in some way.
7 years

So... onto a few changes:

- Friday Freebie:  I will be posting freebies on Fridays—no strings attached. The files will be two-dimensional (SVG & DXF) and can be used for personal use only. Remember that you can use code seven12 for 30% discount on all A Little Hut products until tomorrow.


- Weekly challenge: I'm going to start a weekly challenge on every other Thursday. It will be based on an inspirational photograph or image. I will start the first challenge next week (May 31st).
- Product/tool reviews: I'll be writing more of these posts as I come across products I use and like.
- Product listings (as you see below): I've always thought these are practical when I've seen them on other blogs. You can see at a glance what product is being used at any given time. Full disclosure: I will earn some commission on these listings.

Just for fun!
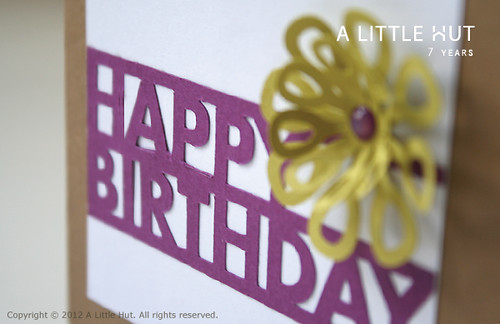
Since birthday cards are something that we all need at some point or another I was wondering if anyone would like to show off their work with today's first freebie.

Who's willing to share? If you are, post your project to your blog or elsewhere on the web (ie Flickr) and copy the URL to upload by clicking on the little blue bar below the product listings. I'd love to see what you make!

That's all for now. See you Tuesday. Have a great weekend!


floral trio

3d flowers

Although I call myself a non-flowery person (more in the decor side of things) I actually do really like flowers. I enjoy making them and I definitely enjoy the occasional vase full of fresh cut flowers (specially if they happen to come from my Mr Z!).

magnolia

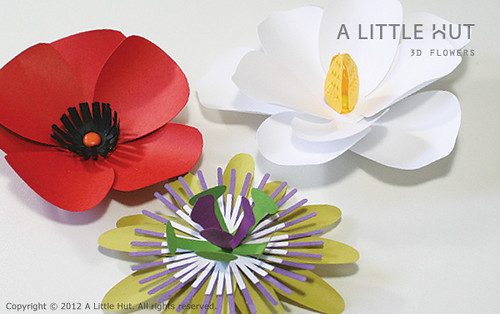
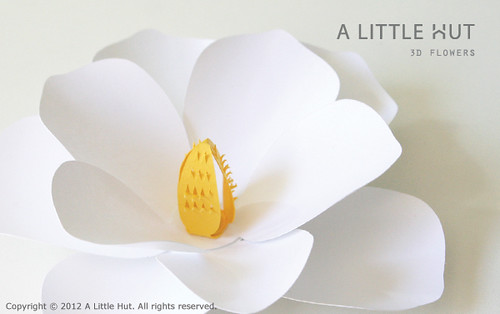
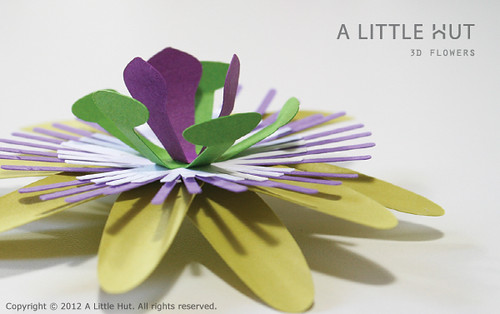
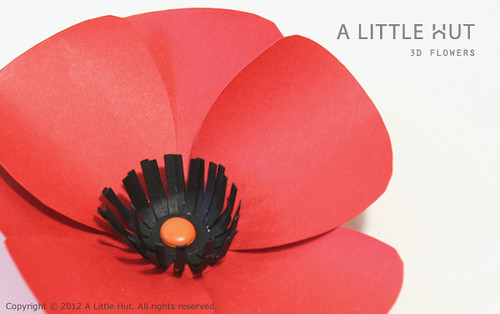
So far my flower sets have been very graphic and not really specifically resembling any plants. That why this Floral Trio set is quite unique. It includes a passion fruit flower, a magnolia and a poppy flower. In addition to these three flowers you can mix and match the pieces to make your own variations.

passion fruit flower

One of the fun parts of working on a project like this is doing research and that's when Google images comes in really handy. I only look at photos or biology diagrams of the real thing. I don't like to look at illustrations or other paper creations because I want the design to be my own interpretation—to have my own flavor.

I'm really happy with the way they turned out. In particular I know that as a crafter I would appreciate the fact that they can go further. All the petals can be used in a mix-and-match type of way, so you'll end up with quite a floral collection—not just three samples.

poppy

Here is a short video on how you can put together the files for the magnolia and passion fruit flower. I hope it helps you out!

The Floral Trio is now in the shop. Enjoy!

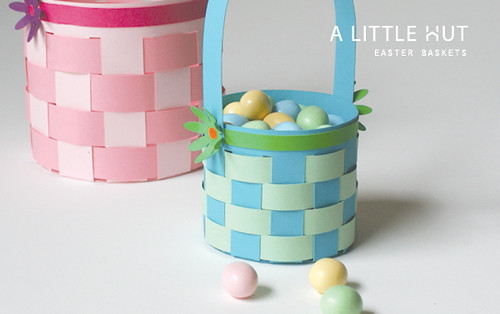
easter baskets - svg and dxf files

easter baskets

She asks and she receives (well, not always). My little C has seen the Easter decorations pop up everywhere and she mentioned that I should make an Easter basket. Hmm... why not? So, here are the Easter baskets that I'll be using for little treats.

We use big real woven baskets for our Easter egg hunt but I like giving them something a little extra so these baskets will be perfect.

Speaking of an Easter egg hunt. How old where you the last time you participated in one? I was surprised that both the kids said they'd like to have one even though I was almost sure our DS would turn me down. I'm so glad that we still have interest in innocent fun. How long will it last?

• • •

Remember that there is a 20% discount in the shop until March 12th!
Add the code craft2012 in the Shopping Cart page.

• • •

I'm still in the running for Top 25 Creative Moms can I get your votes? You can vote once every 24 hrs. until March 15th. I'm so close to the top 25 but I still need your help. If you have a second, please vote here. Thank you!

Have a great weekend and spring break!


top 5 questions about the silhouette cameo

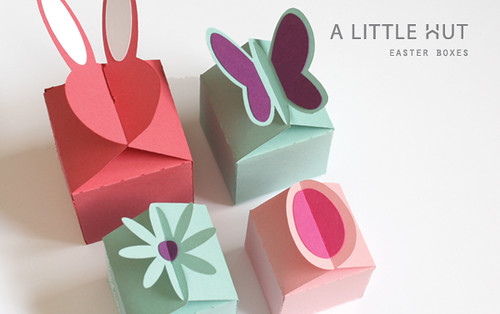
easter boxes

Ever since I started using the Silhouette CAMEO I've been getting more and more emails that ask similar questions. So, putting some of my answers in one place just seems logical and hopefully helpful to some of you. These are only tips for beginners and I cannot guarantee they will work for everyone. if you have bigger issues with your machines be sure to contact Silhouette. I've heard that they are quite responsive with questions.
Here we go...

1. How do I import A Little Hut files into the Silhouette Studio library?
  • Download all the files to your computer. 
  • Open your Silhouette software. 
  • Click on File>Import to my Library and import the files one at a time. You can name them anything you’d like in the pop-up window and add keywords if you prefer.
  • Be organized from the start! Create folders such as “flowers”, “borders” etc. That way you can find the files easily next time you need them. 
2. How do I create new folders?
You can do this two different ways. 
  • Click on the folder image in the second row of icons in the top left hand corner of the software window. If you need a sub-folder, highlight the "parent" folder and then click on the folder image. A sub-folder will appear under the "parent" folder.
  • Right click on the My Library folder and click on "New Folder" from the pop-up window. A new folder will be added to your list of folders. To create a sub-folder click on the "parent" folder you'd like to add a sub-folder to and right click on it. Click on new folder in the pop-up window.
3. How can I make my mat less sticky?
Place a clean piece of fabric over the mat and pull it on and off a few times. Don't overdo it or you'll be asking the opposite question!

4. Are DXF files compatible with the Silhouette Studio software?
Yes. SVGs can be imported directly to the Silhouette Studio Designer Edition for which there is an additional fee. They cannot be imported to the free version of Silhouette Studio.

This leads into...
Do A Little Hut files work with the Silhouette Cameo?
Yes! I include SVGs and DXF files in all my products.

5. How can I lift my paper without tearing it?
Use a spatula. I have never worked without one. I don't own the Silhouette version (I still use my old Cricut spatula) but I assume it would work just as well. I don't see how anyone can work without this tool and why it isn't included with the machine. It's a must!

Bonus
This is a goofy one that I hate to admit to. It had me stumped for a few days when I was a newbie. 
- Check the Silhouette Cameo screen and make sure that you have the "Load Cutting Mat" highlighted if you intend to use the cutting mat. If you have "Load Media" and you're using the cutting mat instead of vinyl the image will cut right into the transparent part of your mat (where it shouldn't!).

If you have any more we can certainly keep adding to the list!

Disclaimer!
I don't consider myself an expert on the Silhouette Cameo at all—I'm still learning too. Please refer your more involved and/or technical questions to the machine manual or to the Silhouette support team.

• • •
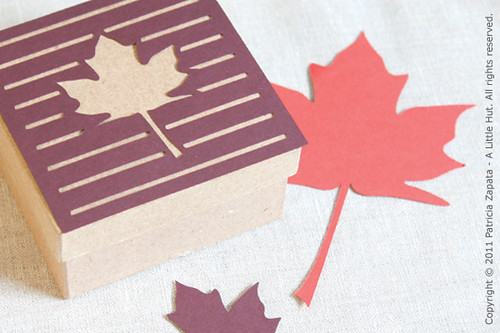
Photo - My Easter boxes are updated with additional pieces to give the images more detail.


• • •

Starting Jan. 2013 I only sell my SVG Single Images in the Silhouette store. Everything else including my sets are sold in my A Little Hut shop


which cutting machine should I buy?

Die cutting is a practice that is spreading throughout the paper craft industry. It is the best way to produce simple to intricate paper cut outs in a matter of minutes. Machines that work with dies and need to be activated manually with the help of a crank will not be covered here. I will only cover electronic cutting machines and give a short overview of what you should take into account before purchasing one.

maple leaves

For those of you that are new to this medium, an electronic cutting machine or tool is the cutting version of a printer. Instead of pressing Print you press Cut. The end result is a piece of paper that is cut to the size and design that you have indicated. It is a dream once you get the hang of it!

So back to the question—which one should you purchase? It is the question I get asked the most often and to answer it for yourself, you need to consider several factors. Here are the basic ones:

Features
- Maximum cutting width
Most of the new machines are now cutting up to 12 inches in width, but be aware that there are machines that cut on letter-sized sheets of paper only. I prefer the 12" width simply because I don't like being limited to a smaller working area.

- Materials that can be cut
This hasn't been a big factor for me since I only cut paper but it could be something to consider for those of you that would like to work with fabric, chipboard and vinyl among others.

- Cartridges
Some machines only allow the user to cut designs from cartridges that must be purchased separately. What that means is that you will be limited to the designs that are included in those cartridges. You will not be able to create your own designs—that's where software comes in handy.

- Software
Some machines come with software included and some do not. There are also differences in software—some are only used to store and work with cartridges or images that are purchased separately. Others such as Sure Cuts A Lot or Make the Cut give the user the flexibility to use and/or create their own designs. Still others allow for both the creation of your original files and the storage (in a library) of designs that are purchased through the manufacturer or third parties. Be aware of what the case is for the machine that you are considering.

- Accessories
Cutting mats are a must for most machines. To my knowledge there is only one machine on the market that doesn't require the use of one. In some cases, other accessories that allow the machines to draw, engrave or emboss, are also available at an additional cost.

Price
Prices for table top versions vary anywhere from the low $200s to $900 and above.

Customer Service and Support
It is important to know what company you will be ordering from. It wouldn't hurt to ask the manufacturers questions that you've been mulling over. Addressing them directly, will clear up any doubts you may have about their product and you will have first hand experience of how they treat their customers.

The machines that are on the market as of this post are (if I missed any please let me know):
Gazelle by Bosskut
eCraft by Craftwell
Eclips by Sizzix
Cricut Expression by Provo Craft

Please keep in mind that I've only mentioned very basic information here. This is just a place to get started. Researching video tutorials and reviews of the different machines will further help you to purchase the right machine to fulfill your needs. Like I said, contacting manufacturers directly, specially for technical questions, will keep you better informed.

maple

My current setup (combination of machine and software) is no longer available so I can't offer any up-to-date reviews on any of the above products. I'm in the market for a new machine (still deciding). When I do order another one I'll post my thoughts and let you know how it's going.

Just to clarify - I do not endorse any of these machines and I am not an affiliate of any of these companies. This is a personal post that has not been requested by any manufacturer.

I hope this helps! Have a great day!


sunset flowers collection

sunset flowers collection

I am the first one to be surprised at the fact that my most recent project is another flower collection, because I've always described myself as the non-flower-y type.

Aside from the occasion natural flower arrangement, I don't really use flowers in our home decor and there are very limited instances in my clothing. I was thinking about this a bit more, while I worked on this latest set, when I realized that I don't work on these designs thinking of them as flowers. I find them to be more exercises in pretty geometry and I end up calling them flowers because that's what they look like.

sunset flowers collection


About the geometry...

- My sketchbooks are full of geometric looking doodles.
- In college, my interior design teacher tried to convince me to change my major from graphic design to interior design, because I was doing so well in her 3D class.
- In high school, I loved geometry while many of my classmates couldn't stand it.
- If I go back even further, I would say that this all got started with wooden blocks and then Legos. Our kids benefit from the latter!

Funny how, in one way or another, you stick to what is familiar, comfortable and just plain fun.

What do you do today that is a reflection of a past interest?

• • •

This new set of cutting files, Sunset Flowers (named after the photo from my last post), is now available on my web site and my Etsy shop.

Have an awesome day!

sunset flowers collection

lots of petals

lots of petals

I thought of posting the photo of a white flag at some point this week (nope, not kidding) but I decided you'd appreciate flowers a bit more. Take them as my "I'm giving up on my summer blogging" for the next few days image. I know if I don't do this now I'll regret not focusing on the kids while they're still on their break. We just have a few more days together. It's always a bitter-sweet time of the year.

So... for now I'm waving my white flowers.

lots of petals

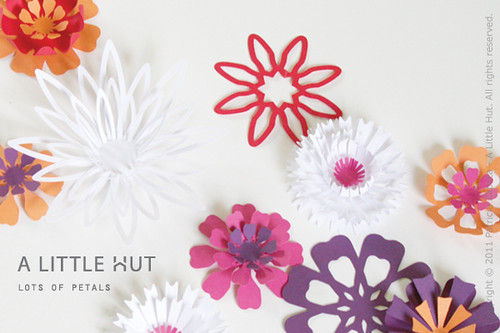
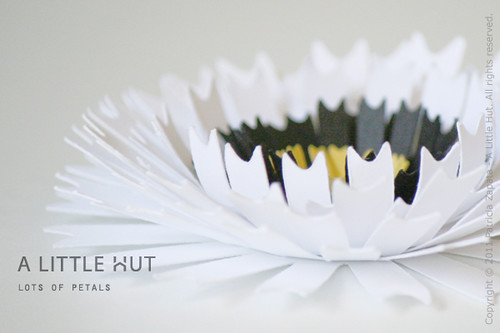
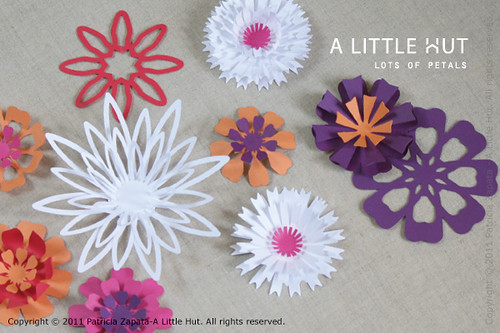
This is my new Lots of Petals collection.

I've been designing and collecting the shapes for the last couple of months and I finally think it's ready. It includes 8 types of flowers that can be mixed and matched amongst themselves or with my Petals or Summer Blooms collections.

lots of petals

Oh yeah... and yesterday we celebrated our 14th wedding anniversary! Yeah for us!
Love my Mr. Z!

I hope that you're enjoying your week. See you in a few days!

• • •

EDIT :: My apologies to those of you that received my August newsletter without appropriate links!! Here is the link for the desktop for this month (has no calendar—so it can be used at any time of the year).

from paper quilt to framed artwork

bloom box cover

I'm in the midst of getting the house ready for company and I always end up working on things that aren't really urgent but I get a whim for. My framed Bloom Box cover (part of my Paper Quilt) is an example of what is probably procrastinating on what really needs to get done. But seriously, isn't having fun with paper better than dusting, doing laundry and shopping for groceries?

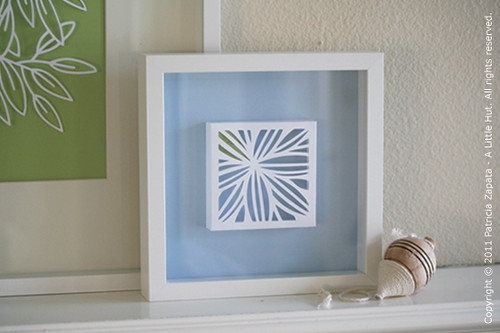
Using the box cover as framed artwork is very simple to do. All I did was cut the outermost tabs shorter and used them to stick the cover to the blue card stock. I also added some green paper (barely visible here) behind the image to add some interest. You can't beat cheap but contemporary wall art!

Notice that I added some background color to the Just Leaves lattice? It dramatically changes the tone of the piece. If I keep it around longer than this summer, I'll definitely change the background color again.

Like I said on Friday, I may be a bit short on time to blog properly but I'll be popping in with photos. Sound good?

Happy Monday!
• • •

My Paper Quilt and individual boxes are for sale on my site or on Lettering Delights. By the way, thank you to the LD customers that reached out and emailed me over the weekend. I was very touched. Thank you!

day 25 - mini dollhouse tutorial

day 25 - mini dollhouse

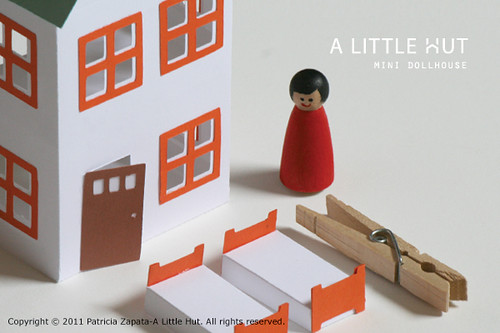
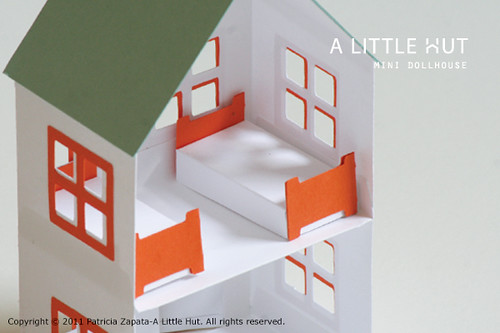
I didn't want to finish my 26 days without making the beds I promised little C—so here they are!

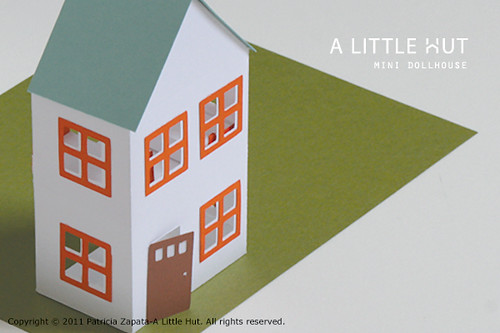
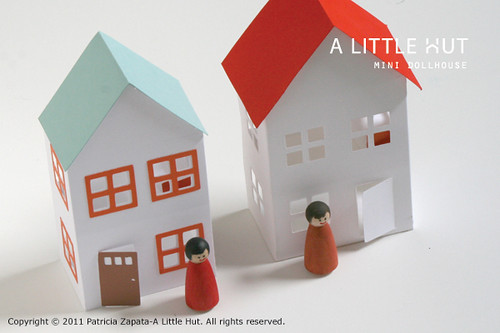
I made a new house (also her request—"We need another house for friends!"). The house is the same design, with added window frames and a punch of color on the door.

day 25 - mini dollhouse

She saw it this afternoon and literally squealed. The look on her face was all I needed as a thank you. She completely lit up.

And guess what?
You can make your own too. Today I have another download for you and it's here.
(PDF, DXF and SVG). Since I set up the PDF files on letter-sized paper the house will be a bit smaller than you see here.

day 25 - mini dollhouse

Little C set up the photo below.
"Take a picture! Take a picture!"
Ok! Ok!

day 25 - mini dollhouses

TIP - I forgot to mention something in the handout. The first house is much stronger because I cut and glued two houses one over the other (with Spray Mount before assembly). I completely forgot about that for the second one. The difference in strength is quite noticeable—so that may be something you consider doing.

Enjoy!


• • •
This is part of a my 26 days of making series.