Showing posts with label simple monday. Show all posts

simple monday: sunny greeting card

sunshine card

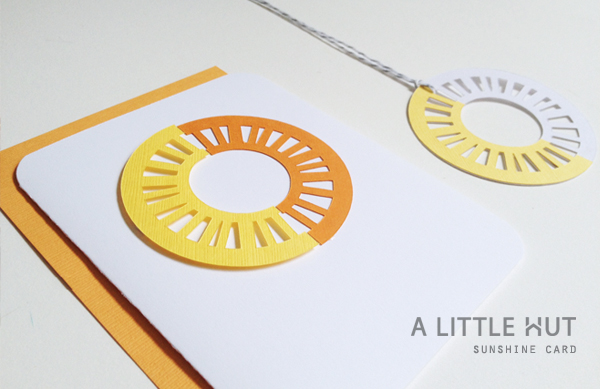
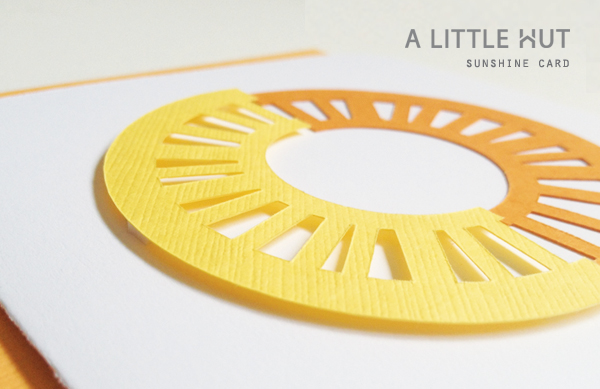
If you downloaded Friday's freebie over the weekend you'll notice I changed it just a bit. I made it two-layered so that you can use the sun separately. In addition to the wine tag I used my sun for a card and matching gift tag. Here's what I did:

- Cut two sun shapes in different colors.
- Lined up the circles one over the other and cut them in half in the same place.
- Attached two different colored halves to the card. The left yellow side of the circle is attached on foam squares—tiny ones that I had to cut in half.
- I cut a separate white sun and glued the other half of my yellow sun onto one side. If you're keeping count, I still have the second half of the orange sun which I can use for anything else (I'm thinking of making myself a bookmark).

All I need to do is add an appropriate stamped sentiment or hand write it (my usual go to!) and I'm done. Simple!

Download the freebie here.

Happy Monday!
sunshine card

simple monday: use what you have

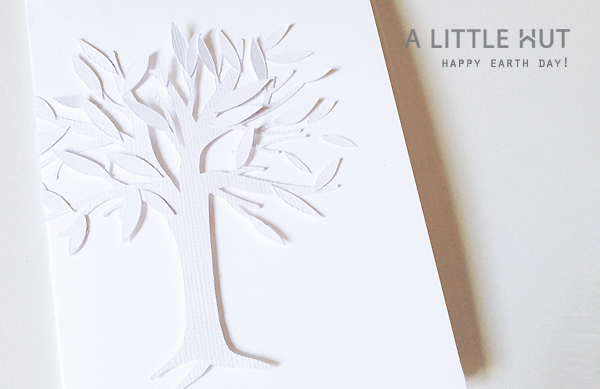
happy earth day

Happy Earth Day everyone!

I'm the first to admit that my love for paper can be a bit over the top at times but that doesn't mean I splurge a whole lot. I tend to be on the conservative side and really try to use what I have. The fun and awesome thing about paper is that scraps are still very, very useful.

happy earth day

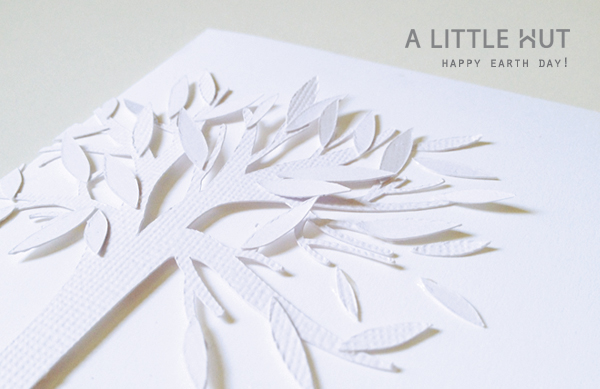
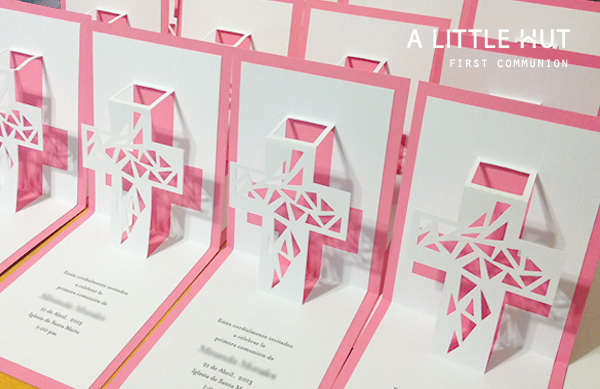
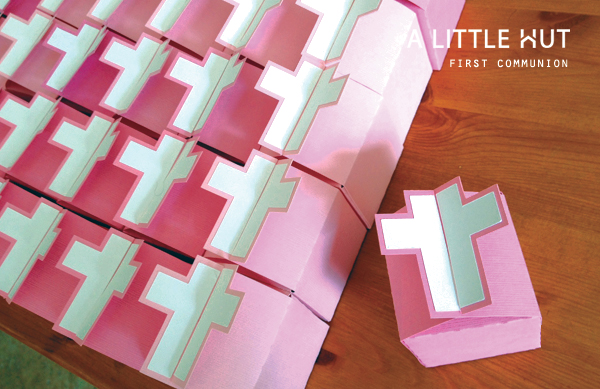
Today's card is made completely from scraps—and let me tell you that after making the boxes and cards below (for the first communion celebration of a friend's daughter) I have plenty of white and pink paper scraps to go on forever! I cut the tree with my cutting machine but all the leaves are cut by hand and glued to the tree one at a time.

The tree is attached to the card using foam dots to give it more dimension and contrast since it's white-on-white.

Color is awesome but isn't white just so beautiful?

first comunion invitations


first comunion favor boxes

PS - I've been absent because I'm crazy busy with work for Surtex and other side projects. I'd rather stay away from the blog when things get like this. You wouldn't want to hear about the same thing over and over again, right? Hopefully things will get a little more normal once I get back (it's only 4 weeks away - yikes!). In the meantime I work on!

Have a great week! 

simple monday: thank you!

tulips

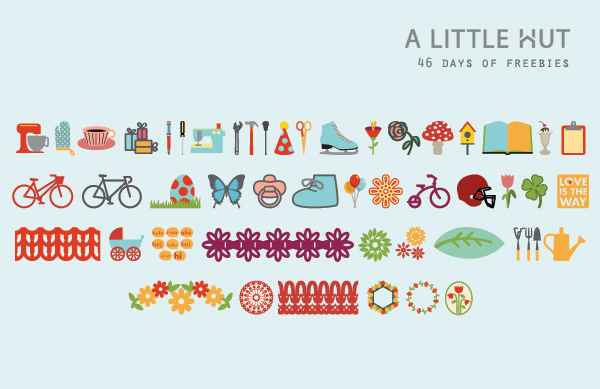
The daily freebies are done but they were a lot of fun to work on!
46 days
48 freebies
That's what I accomplished since my Feb 14th post.

In all honesty there were some days where my brain was so fried from other work that I had no clue what I'd be posting the following day. Some weeks I had several files ready ahead of time. Other days I was barely squeaking out something in the nick of time. I just didn't want to miss a single day—and I didn't. Some images where easy to illustrate and some others took a lot of tweaking or research (like the hi bubbles!). You'd be surprised to know that sometimes the simplest ones are the ones I'm most picky about—a curve may not be just right, etc.

As many of you Siilhouette users know, I posted most of the files in the Silhouette store. I told you we'd all benefit! By making myself accountable to you I was also creating some work to post there and earn something from it—we all won!

Here they are (photo below)! If you missed any they're in the Single Images section of my shop as well. I think my favorites are the ones that I did during this past week (still uploading them to the shop). My weekly freebies will continue to be posted on Fridays.

Thank you so much for those of you that participated and shared such kind comments on Facebook or sent me emails. I read and enjoyed them all.

I hope you get around to actually using these files. Don't collect them like we collect Pinterest photos and do nothing with them (guilty!). Use them! Have fun—just like I did by finally making something myself.

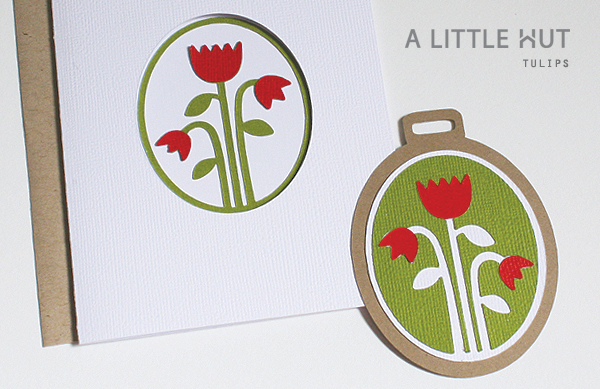
I cut out the last file—the tulips. I discovered that the negative (the paper left on the cutitng mat) would work too, so I made a tag which I'm thinking of using as a bookmark.

Happy Monday!


46 days of freebies

simple monday - trying to go further

simple monday

Saturday night we had some of our son's friends over to celebrate his birthday. More than a party it was a "hang out", which is the way they put it. Needless to say having five rowdy 12 and 13 year olds that were deeply involved in their fun left me with a bit of unexpected crafty time (our DD was having some daughter-dad time).

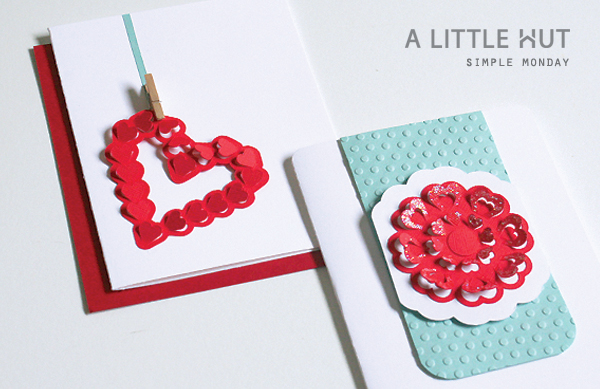
I used some of the parts of my Hearts Gift Set to make a couple of cards that are a bit out of my comfort zone. I'm not used to layering, adding glitter and texture all in one—like the card on the right.

Card on the right
- The white piece of paper right behind the flower is a larger version of the slide with the ribbon holes cut off.
- I used Stickles stardust glitter glue on all the hearts

Card on the left
- You may not be able to tell from this photo but the heart is being held by a mini-wooden clothespin

And that's all I had time for—but some time with paper is better than none, right?

Happy Monday!

simple monday: start with a smile

heart u

Let us always meet each other with a smile, for the smile is the beginning of love.
- Mother Teresa

• • •

The Christmas decorations are put away and the kids are in school. Today is the first day of the year where I'm all work and no play (although that's relative when your work is fun!).

Happy Monday!

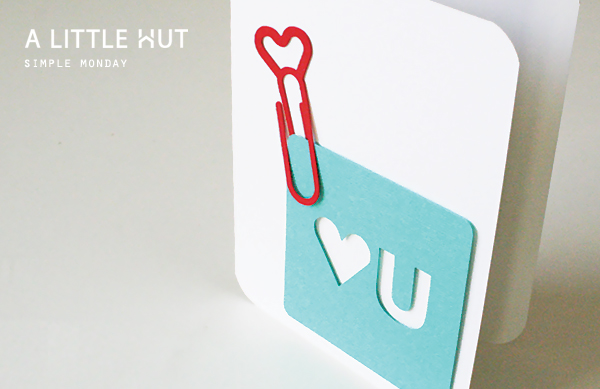
(Card: Heart Clips and Heart U)

simple monday - news!

simple monday-tag

I hope you all had a wonderful weekend and/or holiday break for those of you here. We had one of those week that were just a blur of relaxing family time. No grand plans—simply hanging out together—perfect! Now I'm trying to put my mind in gear. There's so much to do because I've been accepted to Surtex (May 2013)—NYC here I come! I'm excited, nervous and simply ready to jump head first into the licensing industry. I've dabbled but this will be a real effort to go for it all the way. Maybe one day you'll go shopping and see some of my work somewhere...

What is Surtex?
From their site: "It's a B2B marketplace for original art and design, where artists, agents and licensors connect with manufacturers and retailers to create the next best-selling products in every category imaginable.

Wall coverings, decorative accessories, bed linens, stationery, giftware, tabletop and so many more…if it’s any product with a surface design of any kind, there’s a good chance it originated at SURTEX."


The site boasts 6000 buyers/manufacturers from 49 countries and 1000 artists attend, so needless to say I need to be prepared. Eeek! So, if you miss me around here you can easily guess I'm working, working, working behind the scenes. It's going to be really busy for the next few months. All good though. I'm ready to tackle this!

• • •

Giveaway winners! 

Thank you so much for all your lovely comments on the giveaway post! Even after years of blogging it's always, always nice to hear from so many of you.

The randomly selected giveaway winners are: Maya, Cindy and Debra—Congratulations! I'll be in touch with your winning shop codes.

Happy Monday!

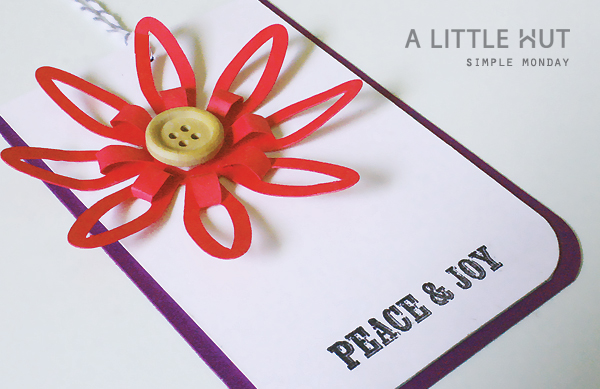
[Starting work on some simple gift tags - this one uses one of the tuck and fold bloom of the Spring Bouquet set and a Papertrey Ink stamp: Peaceful Pinecones.]

simple monday - going 3D for the holidays

simple monday - poinsettia

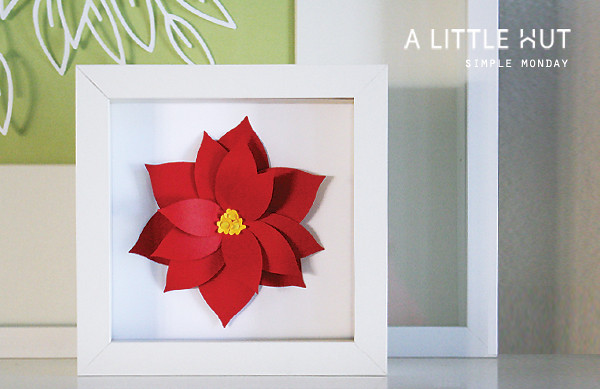
This year I've decided that I will be going 3D with most of my paper decorations for the holidays. I want to make an arrangement of framed artwork. I'm not sure if it will be on the wall or something for our mantle. I started with this simple project of my new poinsettia. Easy! More to come...

How about you? How do you intend to decorate for the holidays—any ideas yet? Here are a few from the blog vault.

Happy Monday!
--
The Friday freebie was posted a bit late but it's there!

simple monday: lacy card

lacy card

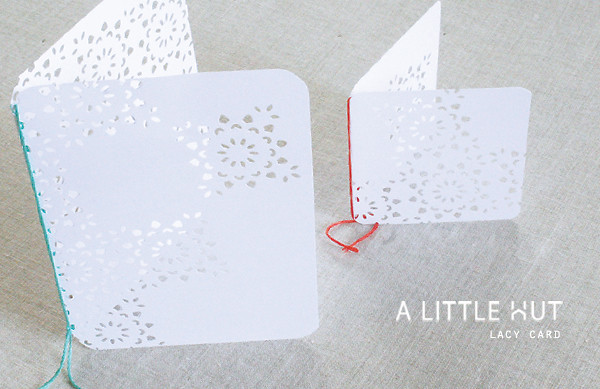
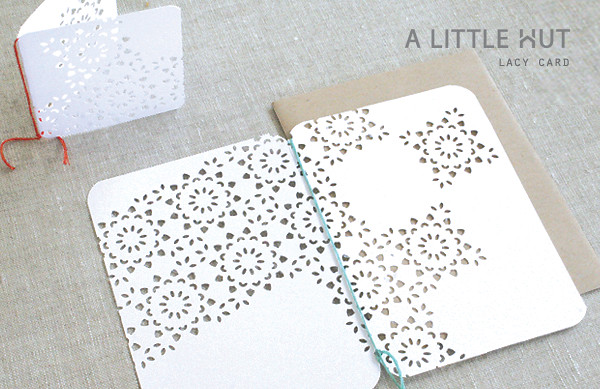
In a moment of being absolutely stuck on a project I decided to take a break and make a thank you card for a friend. I had no idea what I was going to make but since I was short on time I knew it had to be simple. I went for my safe bet—white paper and a paper punch—and I piggy-backed on my idea from  last Monday.

I used the Martha Stewart Crafts Stained Glass Punch all Over the Page design. My first thought was to add a sheet of colored paper inside the card but I decided to go a little unconventional and leave it as is. I made sure to leave enough space for a message, added embroidery thread for a touch of color and rounded the corners. A small scrap became a gift tag. That's it!
I always say... simple is so much better!
Happy Monday!

lacy card

simple monday: cut out designs on box covers

simple monday - decorative cover

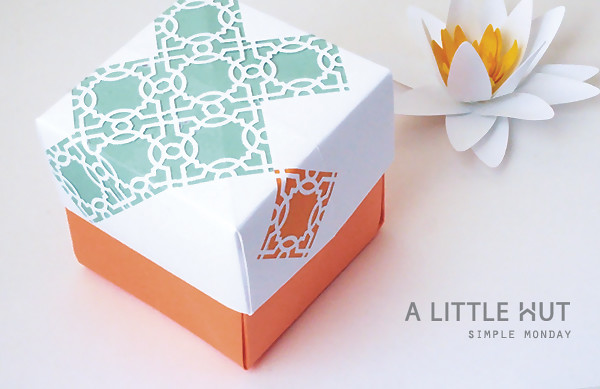
You're going to think that I'm a one-track mind, but when I work on a particular project or use certain tools my mind keeps going and going. I can't help trying to come up with something else—a different angle or idea. So here's today's simple project...

Materials

- 12" x 12" sheet of white card stock
- 12" x 12" sheet of orange card stock
- Scraps of contrasting colored paper just large enough to cover a select amount of cut out designs.
- Optional : an extra sheet of card stock to make an extension like I showed you in my previous post.
Martha Stewart Crafts All Over The Page Punch, Caning (video of how to use it)
- Glue

simple monday - decorative cover

Steps
- Fold the cover and bottom of an origami box (just like in my previous post).
The advantage of an origami box for this project idea is that once it is all folded up the colored paper used in the background is all covered and secured within the folds.

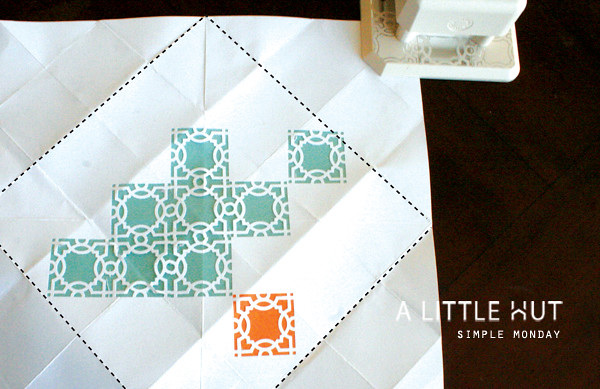
- Unfold the cover and use the All Over The Page punch in a random pattern. Leave some negative spaces too—white areas are visually attractive too!
I don't recommend punching anything beyond the black dotted lines (see photo below). Anything punched beyond those lines would end up inside the box cover and the opening and closing of the box may tear the cut out design.

- Glue the scraps of colored paper to one side of the white sheet.

- Refold the box cover. You will need to re-crease the folds firmly in order to fold the colored paper. Be careful not to tear the cut out sections of paper.

- Optional - add an extension to the base.

- Cover your box.
That's it!

TIP!—For those of you that have cutting machines
Use one of your favorite SVG flourishes and repeat it in a similar pattern to get the same effect. Just make sure the lay the paper really well by flatting out all the folds in the sheet.


Happy Monday!

[The flower is one of my favorite designs: Water Lily]

simple monday - decorative cover

simple monday: scrap swatches

scrap swatches

Thank you so much for all your lovely comments on my Scraps Wall Art piece! I love that it's gotten such a great response. It's even more gratifying since it's one my favorite totally handmade projects—no cutting machine on this one!

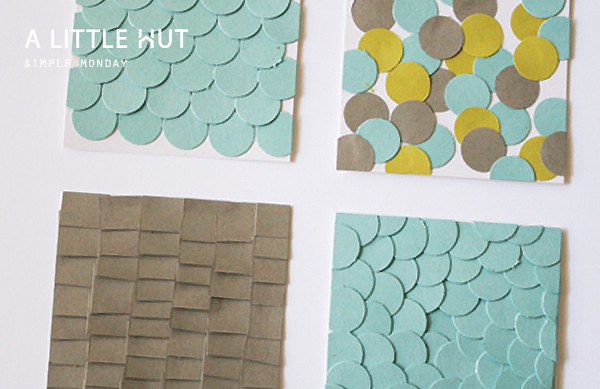
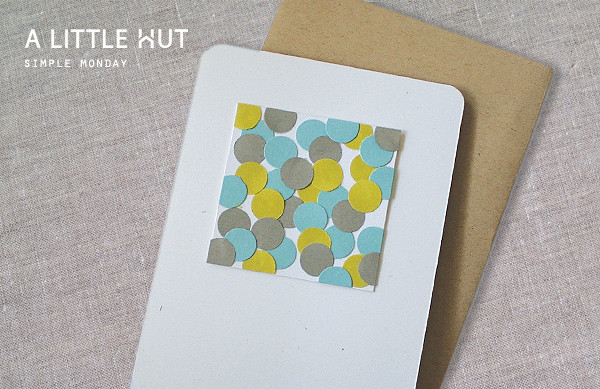
To carry on the scraps theme a bit (can you guess what the book was going to be about now?) how about making small swatches of scraps? If you don't have the time or the inclination to make something as big as the project I showed you last week, then make smaller pieces that can be made in few minutes and can be used for cards, tags or as an embellishment for any other type of paper craft (above: offset linear, random, monotone squares, circles in a spiral)

The card
Use a round punch to cut out bits and glue them to a square piece of card stock. Trim the circles that extend over the edges when it's almost completely covered (white negative spaces are interesting too!). Attach the square (or any other shape—how about a flower, a star?) and attach it to the front of a card. Done!

Happy Monday!

scraps card


simple monday: scraps flower

scraps flower

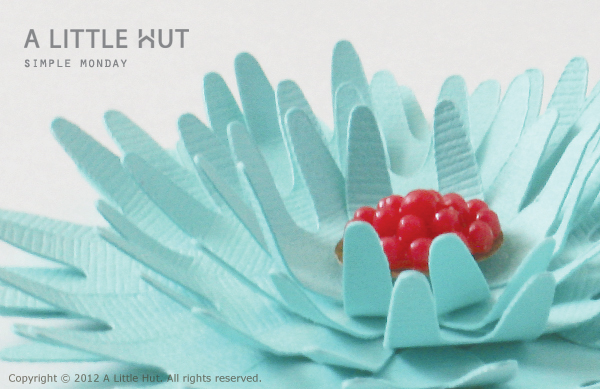
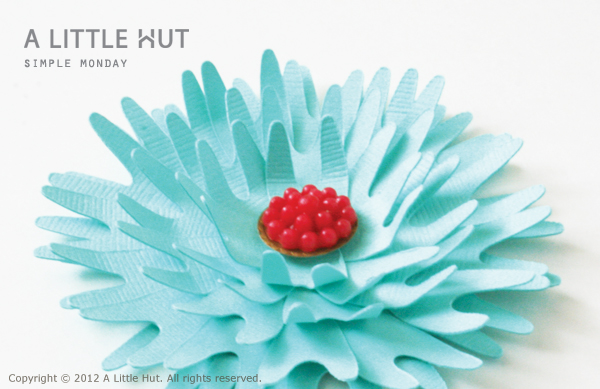
When I was cutting out my Layered Rosettes I noticed that the shapes that were left behind as scraps where interesting shapes themselves. I saved them and use some to make this flower.

All I did was use a circle base (cut out of a 1.5" circle punch), glued the 'petals' one at a time and added an embellishment to the center. That's it—easy!

Look at your scraps and see them as viable material. Maybe you can come up with something unexpected too.

Happy Monday!

scraps flower

simple monday - backgrounds as card designs

summer card

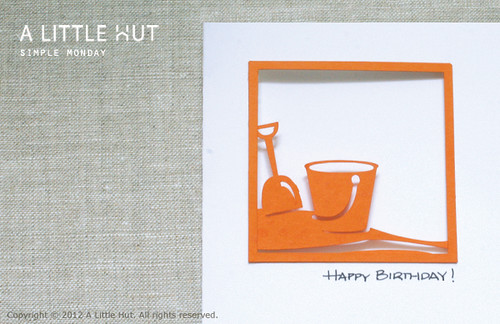
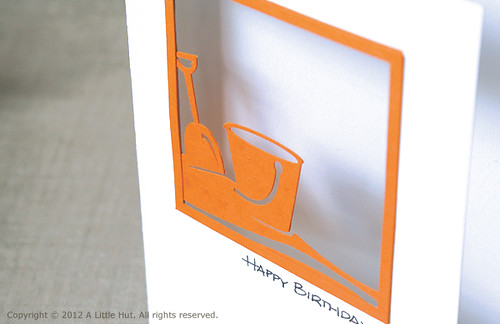
My initial thought when I started creating square formatted illustrations was that they'd be a good background or starting point for scrapbooking pages. Here is an example of how I used one of the Summer Backgrounds on a much smaller scale and as a focal point on a simple birthday card.

By leaving a square cutout behind the image the card has more dimensionality and the interesting shadow effect is an added benefit. I think you can tell in the bottom photo that I also added an extra frame on top of the image to give it more substance.

Happy Monday!

summer card

simple monday: popsicle sticks + paper

popsicle sticks + paper

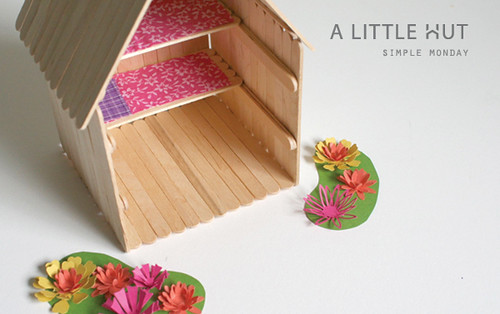
We made this house with my little C over the weekend. It's based on one that I made several years ago but the rooftop is symmetrical and we added a removable piece that converts the top bunk bed into a full second floor.

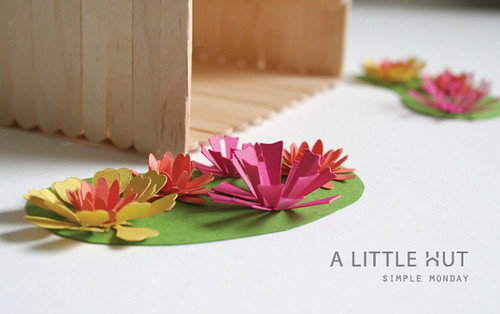
I added a couple of paper flower beds for some color. All I did was cut two pieces of green paper in the shape of kidney beans and I combined some of my flowers to make the rest. None of the flowers are wider than 1 1/2".

Today the kids are off from school and this has been keeping my girly girl thoroughly entertained. Simple materials can be so much fun.

Happy Monday!

flower garden