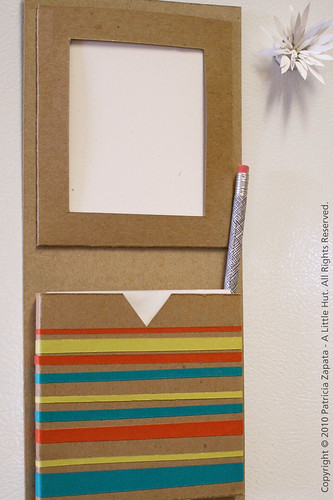
Valentine's Day will be here before you know it! Make has posted a flashback (circa 2011!) project I designed for them. It's a matchbook card/wall art piece that includes easy to follow instructions and a downloadable PDF. Check it out here!
Typically I don't like revisiting old work but this is a rare project that I still like very much. Enjoy!
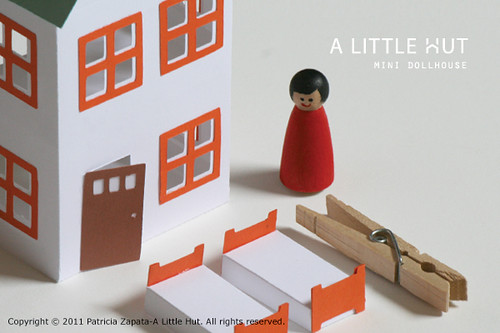
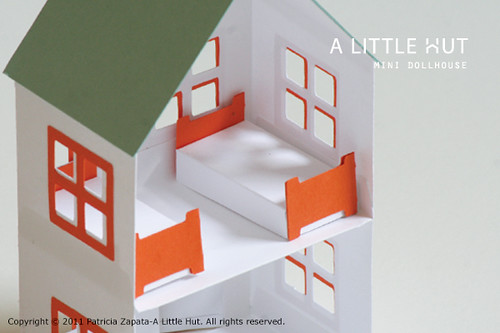
I didn't want to finish my 26 days without making the beds I promised little C—so here they are!
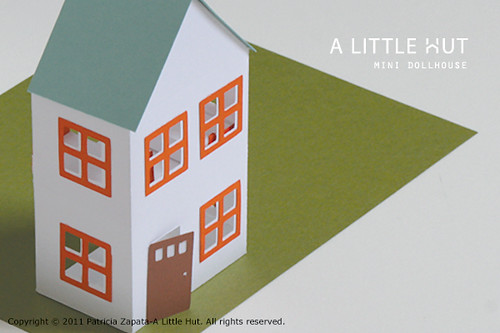
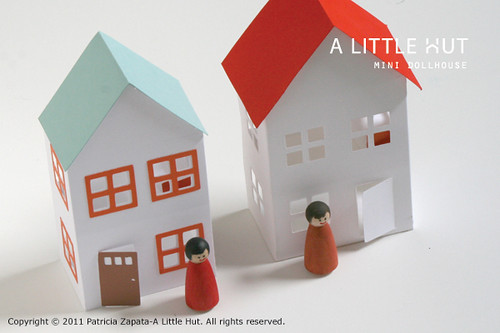
I made a new house (also her request—"We need another house for friends!"). The house is the same design, with added window frames and a punch of color on the door.
She saw it this afternoon and literally squealed. The look on her face was all I needed as a thank you. She completely lit up.
And guess what? You can make your own too. Today I have another download for you and it's here.
(PDF, DXF and SVG). Since I set up the PDF files on letter-sized paper the house will be a bit smaller than you see here.
Little C set up the photo below.
"Take a picture! Take a picture!"
Ok! Ok!
TIP - I forgot to mention something in the handout. The first house is much stronger because I cut and glued two houses one over the other (with Spray Mount before assembly). I completely forgot about that for the second one. The difference in strength is quite noticeable—so that may be something you consider doing.
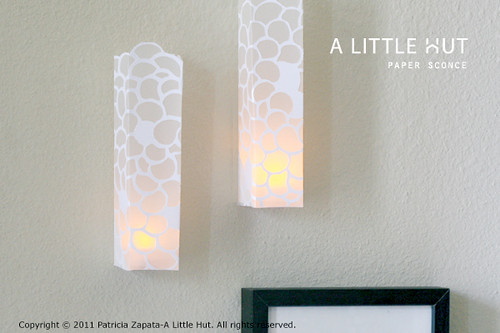
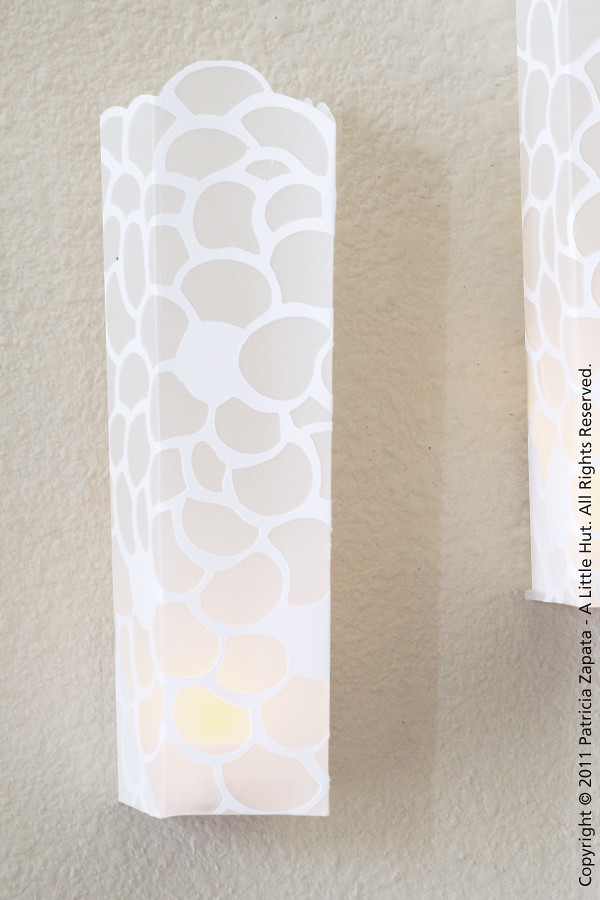
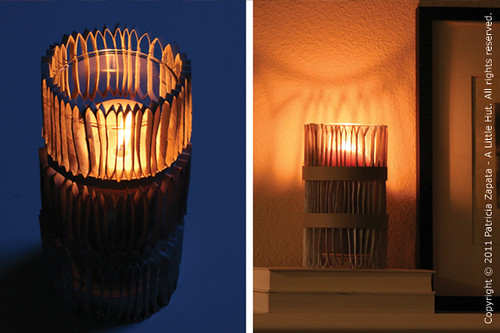
As you can see, I apparently have a slight obsession with tea lights and candles at the moment. I made a Paper Sconce for my Pebbles pattern and the good news is that if you're interested, you can make one too. Making it by hand won't be a problem with this pattern. The random uneven shapes will be very forgiving.
I've made all the files available to those of you that would like to make this project by hand (PDF), with your Silhouette (DXF) or any other cutter (SVG). Download here.
I'd rather play it safe and emphasize the fact that I used LED tea lights for this project. DO NOT use candles under any circumstances—please! I do not want to be responsible for any fires. (scary!)
Can't you see these many of these along a wall at a big event? I'd love to see something like that.
Have fun and if you have any questions please let me know.
Work a great deal with evening effects, a lamp, a candle, etc. The tantalizing thing is not always to who the source of light, but the effect of light.
More projects! That's why I've been so quiet—and I can't even show you the majority of what I've been working on. I've dipped my hand alternatively into handmade and design work all week—so that makes me happy, but very busy.
The two that I can show you, are recycling projects that are perfect for Earth Month. They are ideas that I had in the back of my mind for a while and I decided to post them as my entries for the Green Is Universal contest.
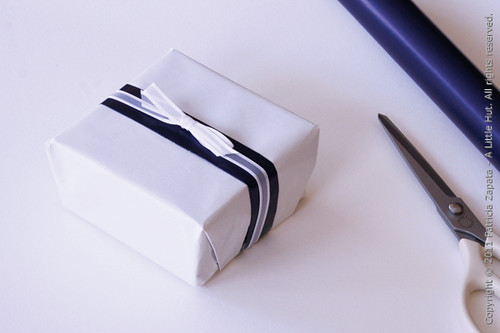
I know what I'm about to say is something of a no-no to some people, but the truth of the matter is that I don't really enjoy gift wrapping as much as I should—or I think I should. It is a paper related activity after all... But, umm no. It doesn't really quite qualify as the most exhilarating of activities for me. Having said that, I do like showing up with something decent looking and that at least looks like I put some effort into it.
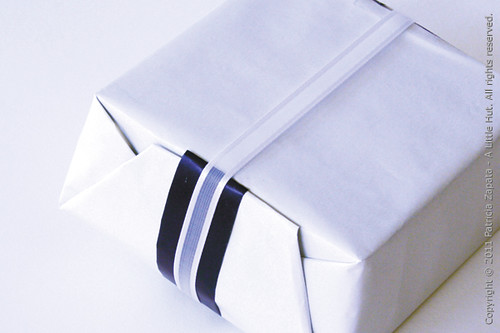
Over the weekend I needed to wrap a baby shower gift and I decided to take advantage of the fact that the 'wrong' side of the paper was white. Instead of hiding it, I made it the main feature.
The idea is really simple and one that can be used if you're either short on wide ribbon or extra colored strips of paper to achieve the same effect.
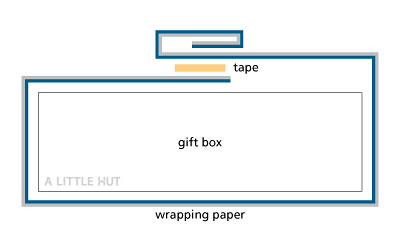
All you have to do is wrap the paper as shown in the side-view graphic below. Fold over the colored side/patterned side of the paper twice towards the 'wrong' side of the paper. Wrap the gift with the wrong side of the paper facing out and tuck the opposite end under the folded edge. Attach all paper (top and sides) with double-sided tape or a little roll of regular tape (sticky side out). I added a ribbon to give it a final touch.
Technically I didn't use double-sided paper, but if you happen to have some, all you need to do is decide which pattern you'd like to be dominant (the white) and which to be the accent (the dark blue) and fold accordingly.
So here's part 2 of the series. Just as I did with part 1, I'm keeping the ideas simple and easy to make. This time of the year who has time for more than that, right?
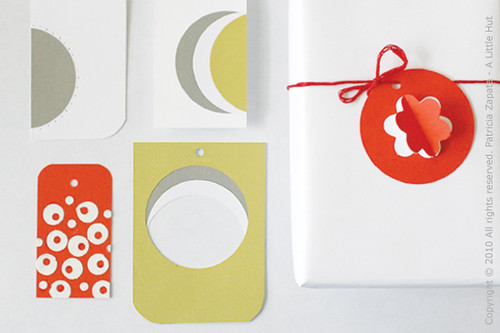
For this set, I've included paper punches as an additional tool. I just used circles and a flower but use whatever you have and hopefully the video will inspire you to make something of your own.
If you do make some tags inspired by this series, would you be willing to share? If so, head on over to my A Little Hut Projects Flickr group (long abandoned!) and add photos of your creations.
If you haven't seen part 1 you can check it right here.
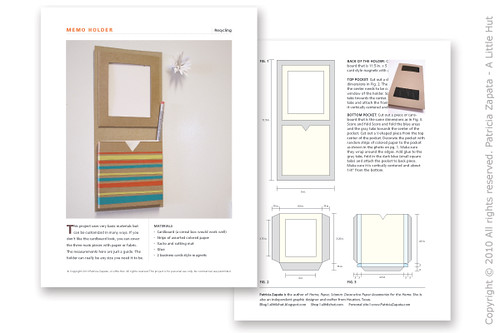
I'm back with another project and video. This segment, for Going Green with Yolanda Green, was shot in August (time sure flies) and it aired a couple of weekends ago. The project is a little more elaborate, because there are more precise measurements involved. But the basic idea is rather simple.
Watch the video below. If you're in a reader you'll need to visit my blog to see it - and never mind my very white outdated kitchen (Santa please help!). You can download the tutorial sheet here.
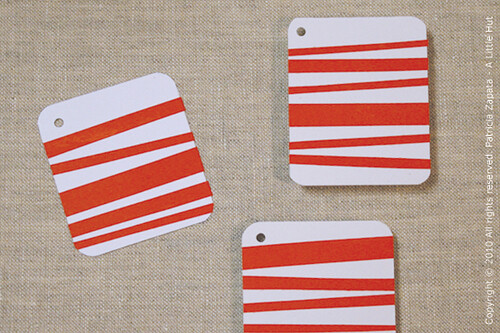
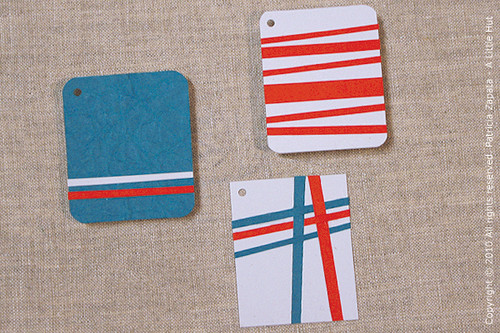
I've always had a thing for making gift tags (stating the obvious?) so I decided to make another small series of them, like I did a few years back.
Working on tags is fun because they are small and quick to make. They allow a lot of room for creative approaches and there really are no limits. That being said, I decided to constrain my approach by reducing the materials to a bare minimum. This will force me to create really simple ideas that... - anyone can approach - will use materials that everyone has (don't buy anything! use the scraps in your stash) - are easy for kids to tackle if they'd like to join you - can stay as is or can be launching pads for other ideas that you may have - are not necessarily just for the holidays
It's much easier to pile on embellishments and be done with it. It's more work to create something out of less. That's the type challenge I really enjoy. I hope you like what you see and join me in trying some of these yourself.
I planned the general idea for each tag but you'll be able to get a tiny peek at my process as I figure things out along the way. The first three tags that I'll be showing you in this video are made by simply using paper, glue and cutting tools. You can't get any simpler than that.
Each set after this will have a new element, material or technique added. How does that sound?
A note on the video... Remember my horrible past attempts? Well, this is my first "finally-new-camera" version. I'm still learning how to edit and what not but there is definite improvement here. I'll keep trying to make these better, so hang in there with me.


 .
.