which cutting machine should I buy?

Die cutting is a practice that is spreading throughout the paper craft industry. It is the best way to produce simple to intricate paper cut outs in a matter of minutes. Machines that work with dies and need to be activated manually with the help of a crank will not be covered here. I will only cover electronic cutting machines and give a short overview of what you should take into account before purchasing one.
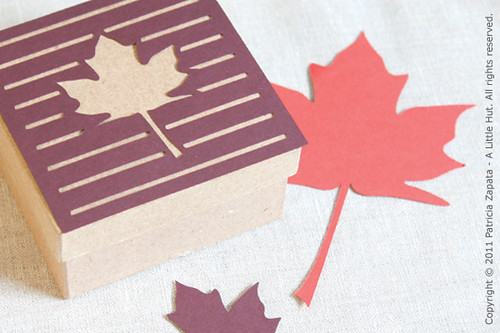
maple leaves

For those of you that are new to this medium, an electronic cutting machine or tool is the cutting version of a printer. Instead of pressing Print you press Cut. The end result is a piece of paper that is cut to the size and design that you have indicated. It is a dream once you get the hang of it!

So back to the question—which one should you purchase? It is the question I get asked the most often and to answer it for yourself, you need to consider several factors. Here are the basic ones:

Features
- Maximum cutting width
Most of the new machines are now cutting up to 12 inches in width, but be aware that there are machines that cut on letter-sized sheets of paper only. I prefer the 12" width simply because I don't like being limited to a smaller working area.

- Materials that can be cut
This hasn't been a big factor for me since I only cut paper but it could be something to consider for those of you that would like to work with fabric, chipboard and vinyl among others.

- Cartridges
Some machines only allow the user to cut designs from cartridges that must be purchased separately. What that means is that you will be limited to the designs that are included in those cartridges. You will not be able to create your own designs—that's where software comes in handy.

- Software
Some machines come with software included and some do not. There are also differences in software—some are only used to store and work with cartridges or images that are purchased separately. Others such as Sure Cuts A Lot or Make the Cut give the user the flexibility to use and/or create their own designs. Still others allow for both the creation of your original files and the storage (in a library) of designs that are purchased through the manufacturer or third parties. Be aware of what the case is for the machine that you are considering.

- Accessories
Cutting mats are a must for most machines. To my knowledge there is only one machine on the market that doesn't require the use of one. In some cases, other accessories that allow the machines to draw, engrave or emboss, are also available at an additional cost.

Price
Prices for table top versions vary anywhere from the low $200s to $900 and above.

Customer Service and Support
It is important to know what company you will be ordering from. It wouldn't hurt to ask the manufacturers questions that you've been mulling over. Addressing them directly, will clear up any doubts you may have about their product and you will have first hand experience of how they treat their customers.

The machines that are on the market as of this post are (if I missed any please let me know):
Gazelle by Bosskut
eCraft by Craftwell
Eclips by Sizzix
Cricut Expression by Provo Craft

Please keep in mind that I've only mentioned very basic information here. This is just a place to get started. Researching video tutorials and reviews of the different machines will further help you to purchase the right machine to fulfill your needs. Like I said, contacting manufacturers directly, specially for technical questions, will keep you better informed.
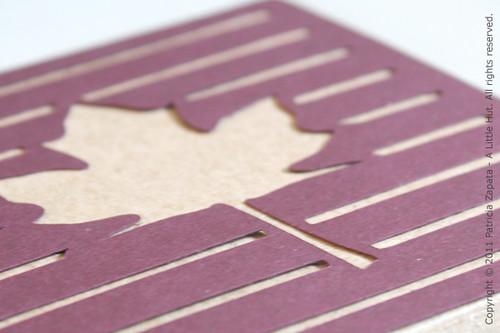
maple

My current setup (combination of machine and software) is no longer available so I can't offer any up-to-date reviews on any of the above products. I'm in the market for a new machine (still deciding). When I do order another one I'll post my thoughts and let you know how it's going.

Just to clarify - I do not endorse any of these machines and I am not an affiliate of any of these companies. This is a personal post that has not been requested by any manufacturer.

I hope this helps! Have a great day!


soaking it all in

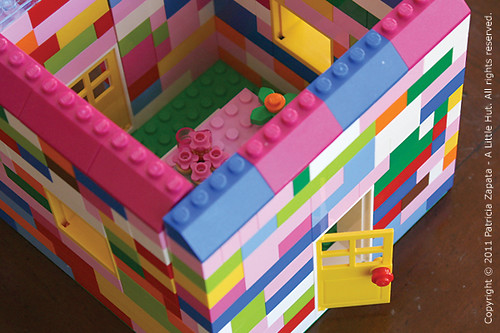
lego house

I've had a week of introspection. After last week's bout with hesitancy and doubt, it's really nice (read: HUGE relief!) to finally feel on track again. I've been reading, sketching, playing (see above - a collaboration with little C) reading some more and taking a lot of time thinking of where I'm headed with my work. I'm also in the middle of deciding something pretty major. I'll share when the time is right.

Among other things, I called on my cheerleaders to chat about what was going on. What I came to realize is that when I explain my feelings out loud I end up rattling off the solution as well. Just having a sounding board and facing the facts is enough—not always—but this week it was.

So here I am again, on a Friday (remember a week ago?), talking about my internal goings on, but this time I'm on the other side.

I really like this side!

Friday Tidbits
For thinking - An article about overcoming self-doubt on Zen Habits.

For fun - This is my favorite find of the week. Gorgeous! I have a huge thing for small boxes and drawers—it's almost a crazy-like fascination.

Eight projects - I love simple ideas like these.

• • •

On a side note: I will be posting answers to the questions I've been getting most frequently by email:
Where do I start with digital cutting and what cutter should I purchase?

Since, I've answered this several times in private emails, I thought it would be useful to post about this subject—so be on the lookout of the post on Monday.

Have a great weekend!

more my speed

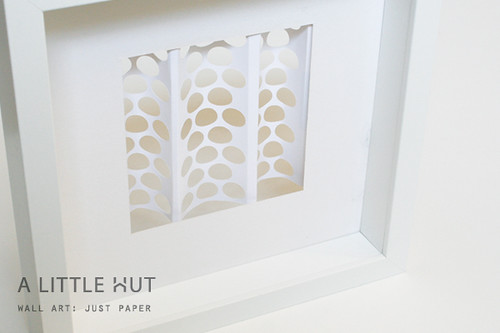
just paper

"Move out of your comfort zone. You can only grow if you are willing to feel awkward and uncomfortable when you try something new." — Brian Tracy


just paper

While the above is definitely true, I can't deny the warm fuzzies when I work on something that is more 'me'.

When was the last time you were out of your comfort zone?


just paper

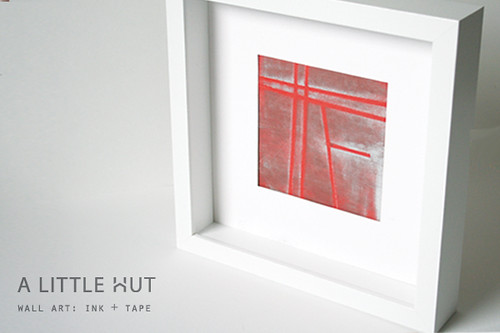
wall art: tape + ink

wall art: ink + tape

Stepping out of my comfort zone is not something I do easily. But I gave it a shot with this and I flopped—sort of. Ink pads and me—we're still working on maintaining an amiable relationship. However, I am surprised that I that this red square is growing on me. It isn't typical of me—maybe that's why?

I don't really show what didn't work, do I? I don't think it's because I don't want to, but simply because I either forget or I crumple up the evidence in frustration, before I realize that it would've been a good thing to show what not to do. Maybe it's the perfectionist in me, taking over on the sly.

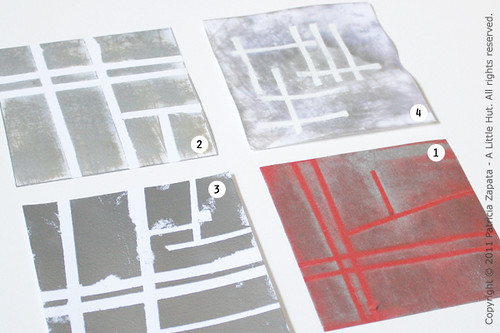
In any case, here are the disasters that occurred after the framed piece above. Yes, I said after. It just got worse and worse...

1. Red background - The photos don't do it justice. The silver ink (which looks whitish) is quite striking but subtle.
2. My second attempt - It didn't go too badly (again, the texture looks much better in person), until pulling the tape messed up parts of it. I don't like that I only used one width of tape throughout. There's no contrast.
3. You can't tell but this one is really shiny. It looks metallic. The entire gray area is covered in silver embossing powder. The flaws are more than evident!
4. By this one, I'd given up on the tape design and just wanted to see what would happen with white embossing and ink with water. I couldn't find my watercolor paper which is what I really wanted to use. Ugh. Enough said.


fail!

The kicker of the story is that I wanted to make this a video tutorial and I started recording the process with version number 2. Awesome. The other failures are recorded too (reminder: delete! delete!). Don't worry I'm not going to waste your time with all that. The red piece was supposed to be the additional color option. As in... "Here is another piece that I worked on in colored paper. See the difference?" Yep. I sure do!

So, in case you are interested in trying this out (no guarantees on results!) here is what I used for the red background piece:

- Silver ink pad
- Brown ink pad
- Red Card stock - 5" (13cm) square
- Martha Stewart Patterning Tape
- Embossing heat gun (optional)
- Ranger Inkssentials Craft Sheet (see note below)

1. Place the tape on the paper in a diagram that forms a general idea of the map of where you live.
2. Rub the ink pad across the paper in a side-to-side direction direction only. Don't press too hard—so that some streaks show.
3. Let it dry (I used the embossing heat gun to speed the process up).
4. Turn the paper 90˚ and repeat step 2 with the brown ink.
5. I removed the tape and heat set the second layer of ink.

I worked on the Ranger Inkssentials Craft Sheet for the entire project. With all the ink involved, I typically would've gone through a bunch of scrap paper, to protect my work surface, or my cutting mats would've taken a dirty beating. I'm very picky about the latter since I work with white paper so much. It's the first time I use this craft sheet and I couldn't be more pleased. With a few wipes of a damp cloth it was ready to go again. It still looks like I just pulled it out of the box. Awesome product!
FYI: This is not a sponsored review. The sheet was a personal purchase.

I learned about this sheet through the Inspiration Showcase, a class that I'm currently taking. Jennifer McGuire is an excellent teacher and the amount of techniques that are included in the class are incredible. I'm not a card maker per se, but I decided to jump in to see what I could learn—boy I'm glad I did! I haven't had a chance to buy all the materials I need to complete the assignments (which makes this project even more embarrassing!) but I will definitely get there.

• • •

Lessons of the day?
- I never know when it will be right. In this case the first try was IT. That doesn't mean I shouldn't keep trying.
- I should leave the beaten path more often—it's liberating, even if I trip.

how to make a paper flower

flower tutorial

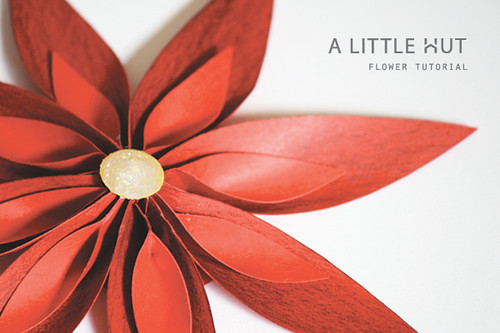
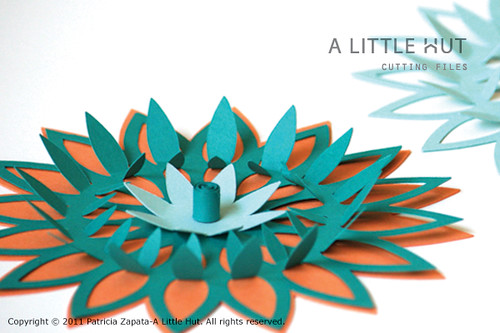
This flower is very easy to make and it's a great way to use scraps of paper. When I look at it, it reminds me of a stylized poinsettia. Who's ready to think about the holidays? (not me!)

Here are some ideas on how you can use this flower:
- As an embellishment for gifts, gift tags or a wreath
- Make several to frame and use as artwork
- Attach one to ribbon to use as a napkin ring
- On a special occasion, use it a place holder at the table

If you'd like to learn how to make it, visit Whip Up for my tutorial.
Enjoy!

remnants

remnants

I was in a bad spot today. Very bad. One of those that freezes you up and nothing gets accomplished. The reason? My brain was working against me—completely.

It's scary when the very thing that lets me soar in creative moments, is also the one that sabotages me when the floodgates of self-doubts are open.

On the other hand, if I don't have doubts, I can't perfect my craft. I can't close the loopholes of my ideas. The trick is not to let the sabotage get to the point where I'm not moving—like today.

Instead of rambling about how awful that feels (you've read that before, if you've been here long enough) I thought I'd better come up with ways to get over this.

This is what I have so far:
1. Just assume the rest of the day is going to be out of wack. Take the day off.
2. Get out of the house—see other people. Working solo is great 90% of the time. This is part of the 10% when alone doesn't work.
3. If the above isn't possible call a good friend—those that are totally willing to hear your bla-bla-bla, not bat an eyelash and give you a wise word or phrase like: "snap out of it!"
4. Better yet, call your sweet and patient Mr.—who has heard you go through this many times.
5. Do homework with the kids. Nothing like the reminder of real life issues, like rounding to the nearest hundred.
6. Stay away from the internet, although some twitter chat is ok.
7. Indulge in a yummy dinner and go to bed early with a good book in hand.

Hopefully, what is left behind is a clear mind and enthusiasm for a fresh start.
Cheers to that!

• • •

Funny that this sheet of paper came out of the "nothing" that got done today! It's the leftover of a project—which looks 100 times better than what I was working on. Ha!

wall art: symmetry and repetition

wall therapy-repetition

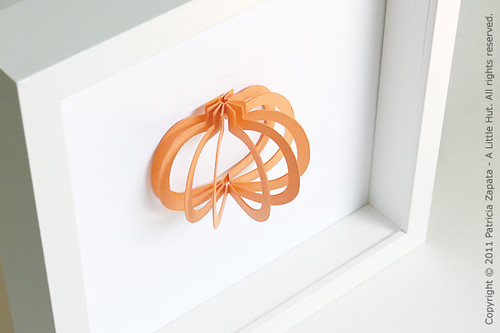
Remember what I said about repetition? If you pair it up with symmetry you have a winning combo and easy to make artwork. I used a pumpkin but you can use any shape. Fold each shape in half and glue them back to back. Done!

Tip: Anyone of these shapes can be used as table decor or hung from a mobile too!

Have a great day!
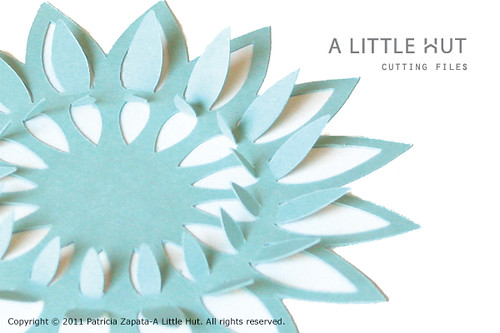
halloween kit - svg & dxf cutting files

halloween - spider web

Typically, I'm not one to put a lot of effort in decorating for Halloween. I do it because the kids enjoy it, but that's about it. However, with my new designs and C's excitement about them, I'm feeling a bit different.

The pieces you see here are what I created for my shop, but I already promised my little C that we'd work on getting our own set of decorations ready for next month. My to-do list with her is getting longer and longer (decorations, Wee Wonderfuls doll, another doll outfit, a bigger paper doll house—ahhh!).

I suppose you can't tell, but I really had a great time designing this set. I think it's because I enjoy working with illustrations that are simple and graphic. I can imagine these being used for a fun whimsical party or for a more sophisticated event. The colors you use for the backgrounds will make all the difference.

Medallions
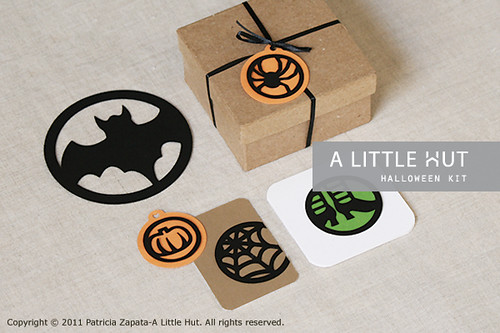
These would work really well as wine charms, gift tags, on cards, as coasters or cut them larger and make a Halloween mobile.

halloween - medallions


Bunting and 3D pumpkins
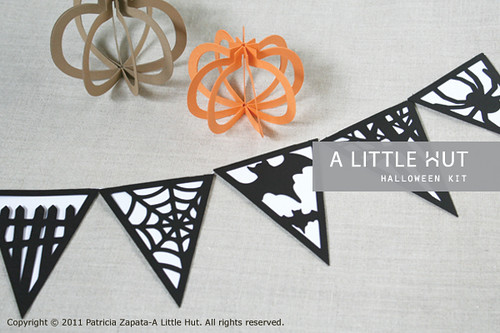
The bunting could decorate a doorway or a mantle and the pumpkins can be placed on tables, used for a mobile or as decorations on a wreath.


halloween - bunting and pumpkins


Graphic elements
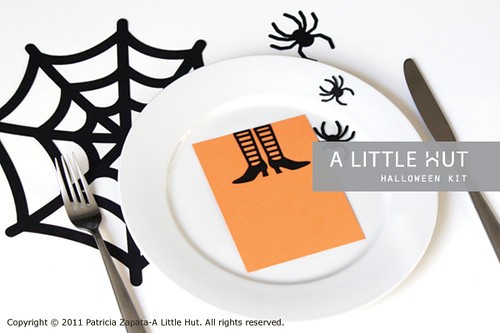
These designs are very versatile too. I can see them on cupcakes, on any paper craft and wrapped around votive candle holders. I love this simple idea for a table setting.


halloween - place setting


Gift box
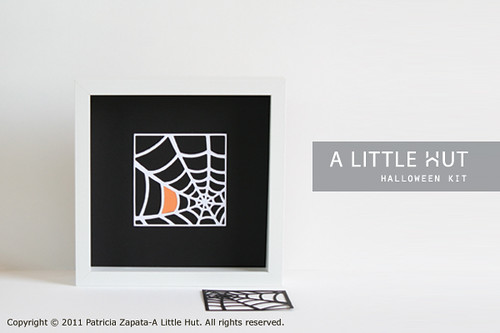
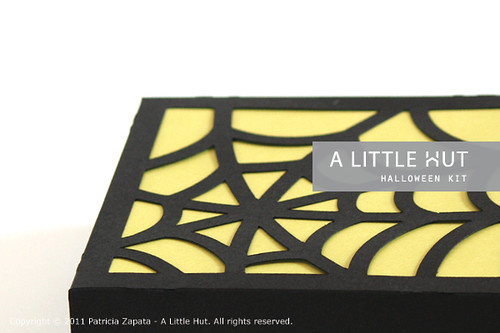
I had the idea that it would be fun to greet guests with a web paper quilt (spiders hanging and all!) and at the end of a party use them as covers for the party favors.

halloween - gift box

All these files are included in my Halloween Kit. If you would rather work on something smaller, I'm also selling the bunting and the spider web box as individual products—digital cutting files and as PDFs for those of you that would like a cutting project!

So that's it—Halloween 2011!

Now to work on getting the kids to tell me what they're going to dress up as. I need to start working on that now—or else!

Have a great day everyone!

strength in numbers

anthropologie - knit fabric

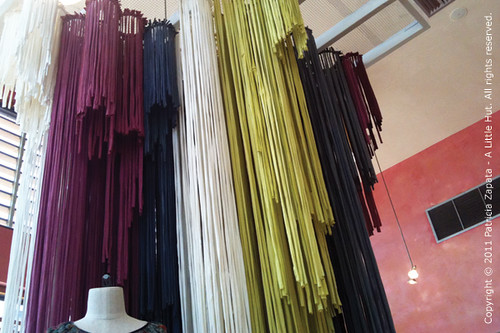
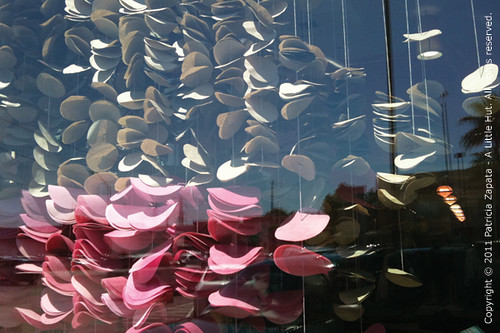
Aside from being beautiful, these Anthropologie pieces I saw the other day (and remember this one?), prove a well known point. Even the simplest of shapes can have a strong impact when shown as a group. How easy is it to put together some string and paper circles or strips of knit fabric? Sometimes the best solutions are the simplest and easiest to execute.

Friday Tidbit
Lydia Hirte - Her paper jewelry is simply amazing. And yes, it's all about repetition—but in a very interesting way.

Have a great weekend everyone!

• • •

Ideas won't keep; something must be done about them. —Alfred North Whitehead


anthropologie - paper

light

tealight cover

I'm not that great at asking for help. Today I got some without asking.

I met with a friend that wants to start her own blog (you go J!) and although she wanted my advice, she ended up helping me. She gave me ideas to act upon and now I'm going to be held accountable to someone other than anyone under our own roof. That's lighting a fire under me!

So, today's lesson is...

If you're stuck—reach out to a friend or just talk about it with someone else. You'll be glad you did. Go do it!

• • •

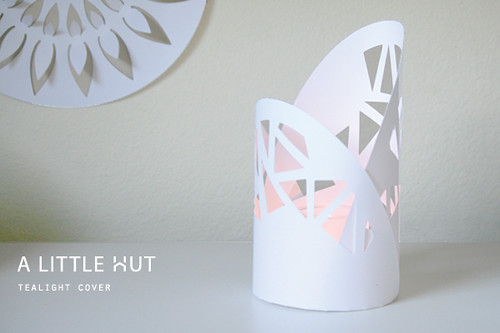
It was time for a new tealight cover, right? I was in the mood for something that would require little to no thinking, so this is a redesign of the Pillar Tealight Cover found on page 60 of my Home, Paper, Scissorsbook. I added triangle cutouts and made a simpler base. Presto!

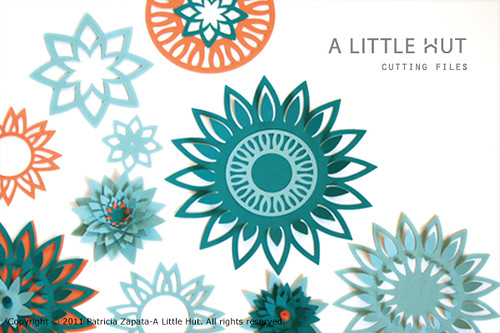
sunset flowers collection

sunset flowers collection

I am the first one to be surprised at the fact that my most recent project is another flower collection, because I've always described myself as the non-flower-y type.

Aside from the occasion natural flower arrangement, I don't really use flowers in our home decor and there are very limited instances in my clothing. I was thinking about this a bit more, while I worked on this latest set, when I realized that I don't work on these designs thinking of them as flowers. I find them to be more exercises in pretty geometry and I end up calling them flowers because that's what they look like.

sunset flowers collection


About the geometry...

- My sketchbooks are full of geometric looking doodles.
- In college, my interior design teacher tried to convince me to change my major from graphic design to interior design, because I was doing so well in her 3D class.
- In high school, I loved geometry while many of my classmates couldn't stand it.
- If I go back even further, I would say that this all got started with wooden blocks and then Legos. Our kids benefit from the latter!

Funny how, in one way or another, you stick to what is familiar, comfortable and just plain fun.

What do you do today that is a reflection of a past interest?

• • •

This new set of cutting files, Sunset Flowers (named after the photo from my last post), is now available on my web site and my Etsy shop.

Have an awesome day!

sunset flowers collection

happy accident

surpriseIn my head it was one thing. Once it was cut, it was completely another. It took me by surprise—a good surprise.

It is, once again, proven that stepping up to the plate is better than not doing so at all. A surprise, good or bad, is better than the lull of nothing.

New work is always so refreshing!