Showing posts with label wall art. Show all posts

lush garden

Lush garden gift set

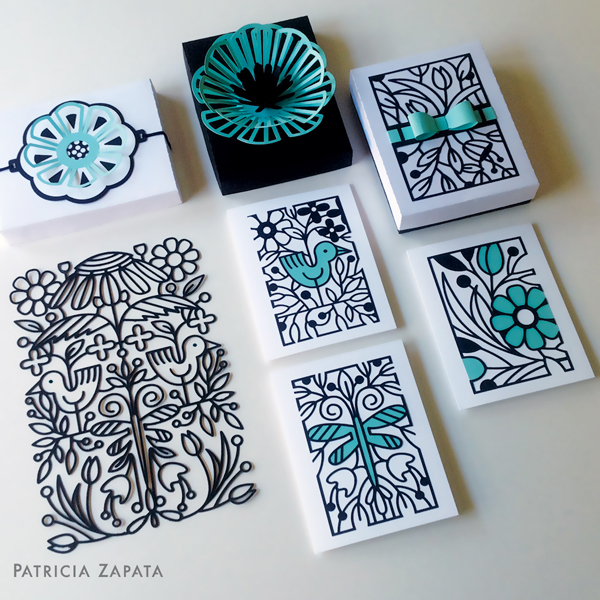
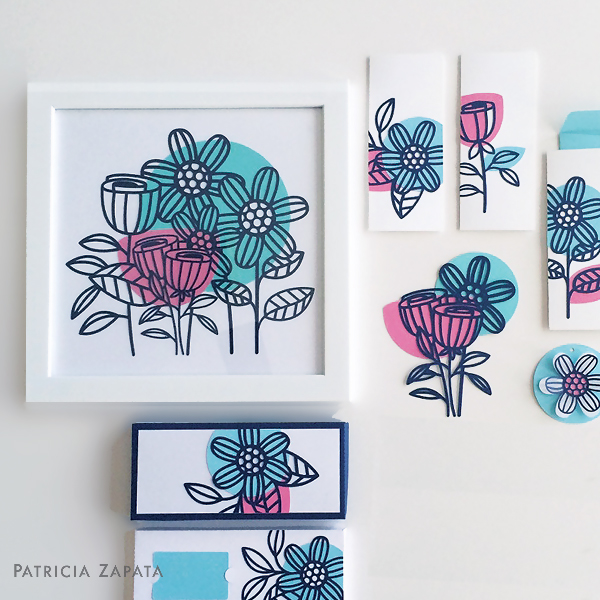
This week I gave you a tiny preview of the Lush Garden Gift Set in the image for the cover of the quarterly that I have in the works. You can see most of the set in the photo (only the full size images of the card designs are missing). I'm still working along the lines of making projects that can be used for your own decor or to be given as gifts—those are the best.

I'm killing two birds with one stone here because I'm using the framed piece for our own home which is in need of some artwork. I used a 12" square frame for the piece that is cut out of one piece of paper. It's gracing one of our walls now and now I'm thinking that it needs some company. I'll be working on that for the next few projects.

The illustrations are direct copies of sketches that I worked on when I was just doodling one day. Sometimes the work that you start without an end in mind seems more genuine and more joyful. That's why the more I worked on this the more I fell in love with it. The final touch was adding spots of color that don't match up with the outline illustrations. I think that offers a bit of a contemporary edge that seals the deal.

You can now order the Lush Garden Gift Set in the shop. I hope you enjoy it!


spring embrace gift set

spring embrace gift set

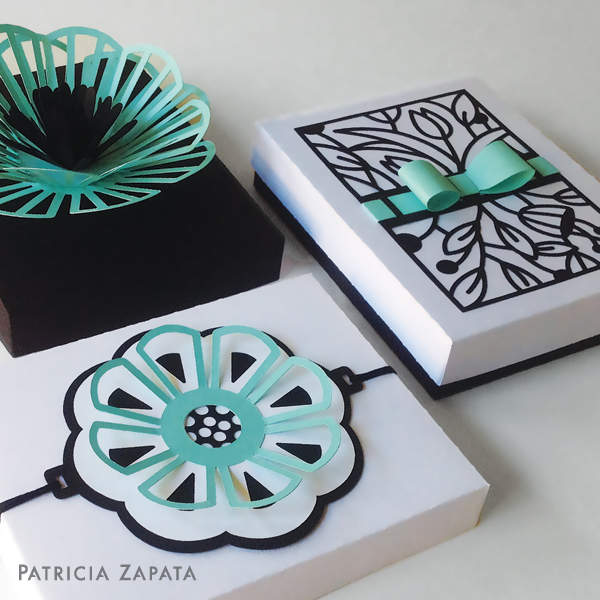
I've been giving some in-progress images on Instagram regarding this project. It started with the simplest of little sketches that I drew one night right before going to bed. It developed naturally after that.

Here are some additional ideas for using this Spring Embrace Gift Set:
- Table numbers
- Rectangular shaped banner pieces
- Cut the illustrations out of white paper and place over colorful paper (pastels?) for a nursery
- Frame the 3D flower in a shadow box to use as artwork
- Use one of the illustrations on top of a gift wrapped in solid colored gift wrap.

I decided to turn this into a gift set because there isn't anything more fun than to give someone you've made. Right? Cards are not only a great gift but they're small (fast to make) and so useful for the person that gets them. The larger rectangular piece and the card illustrations are great to give someone framed artwork. I'm about to make more of these myself as gifts (Mother's Day is on my mind ;)).

Have a great weekend everyone!

spring embrace gift set

spring paper quilt

Spring paper quilt

I really don't have any right to complain (no snow here but a lot of rainy/gray days) but I'm so over the cold and ready for Spring. A little designing and paper quilt making got me distracted for a few days.

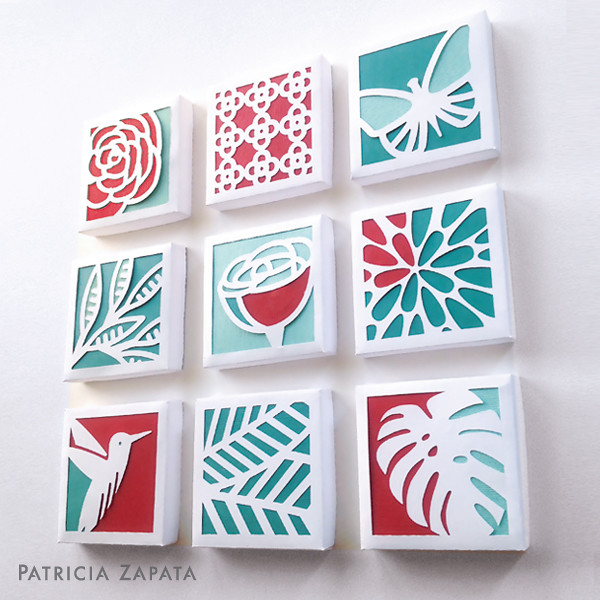
Believe it or not one of the hardest parts of this project was picking the colors. These designs can go in so many directions—pinks and greens, blues and lime greens, neutrals (like taupe and brown or even black—not very spring-like but very appropriate for a sophisticated feel). I had all sorts of color trios in my hands until I finally decided to go with this turquoise and red combination. I think it may have been inspired by a flower I made a few weeks back (posted on Instagram).

Just as my other Paper Quilts these boxes can be used individually or as a group. I hope you have a lot fun with them!

You can order this Spring Paper Quilt for free with purchase until March 6th.
The coupon information for this project is on the A Little Hut home page.


Have a great weekend everyone!

Spring paper quilt

spring paper quilt

Spring paper quilt

I really don't have any right to complain (no snow here but a lot of rainy/gray days) but I'm so over the cold and ready for Spring. A little designing and paper quilt making got me distracted for a few days.

Believe it or not one of the hardest parts of this project was picking the colors. These designs can go in so many directions—pinks and greens, blues and lime greens, neutrals (like taupe and brown or even black—not very spring-like but very appropriate for a sophisticated feel). I had all sorts of color trios in my hands until I finally decided to go with this turquoise and red combination. I think it may have been inspired by a flower I made a few weeks back (posted on Instagram).

Just as my other Paper Quilts these boxes can be used individually or as a group. I hope you have a lot fun with them!

You can order this Spring Paper Quilt for free with purchase until March 6th.
The coupon information for this project is on the A Little Hut home page.


Have a great weekend everyone!

Spring paper quilt

all seasons wreaths


So here we are. Finally! 
There is a serious virus that is knocking people down all around here. It kicked me pretty good and I had to lay low for several days including a weekend in bed. Yuck. Happily all is well now so I can get back on track.


I'm pretty proud of all the projects that I come up with but sometimes there are some designs that are more true to my core design instincts which makes them extra special—this All Seasons Wreaths is definitely one of them (promo code: thankyou -- look on the home page for details). 

I started with the Winter wreath. I didn't want it to become another Wreath Gift Set so I kept thinking I needed something else to make it stand out. That's when the idea of seasons popped into mind. I like adding versatility to my designs whenever possible and that's why I made these easy to use as artwork or as gift boxes. The photos don't show examples but I've also included a file where all four wreaths have the shapes completely cut out (no 3D lifted pieces) which can be used for gift tags, cards or frameable artwork.

Keep in mind that as with all paper projects color is a big deal too. Look at how different an all white design looks with or without color! Big difference, right? I like both—depends on where and how it's going to be used. Keep in mind that the completely white version would look amazing inside a shadow box with a colored background. Do you see it?


Last but not least I decided to play around with patterns inspired by the wreath designs themselves. I don't have any immediate plans for these right now—unfortunately. 

I still have unfulfilled dreams of having my own fabric and paper goods collections. Another one is for my box designs to be produced by a manufacturer so that people that don't have cutting machines can enjoy them too. All in good time. For now I'm putting together some pitches and we'll see what happens. No telling what the future will hold!


all seasons wreaths


So here we are. Finally! 
There is a serious virus that is knocking people down all around here. It kicked me pretty good and I had to lay low for several days including a weekend in bed. Yuck. Happily all is well now so I can get back on track.


I'm pretty proud of all the projects that I come up with but sometimes there are some designs that are more true to my core design instincts which makes them extra special—this All Seasons Wreaths is definitely one of them (promo code: thankyou -- look on the home page for details). 

I started with the Winter wreath. I didn't want it to become another Wreath Gift Set so I kept thinking I needed something else to make it stand out. That's when the idea of seasons popped into mind. I like adding versatility to my designs whenever possible and that's why I made these easy to use as artwork or as gift boxes. The photos don't show examples but I've also included a file where all four wreaths have the shapes completely cut out (no 3D lifted pieces) which can be used for gift tags, cards or frameable artwork.

Keep in mind that as with all paper projects color is a big deal too. Look at how different an all white design looks with or without color! Big difference, right? I like both—depends on where and how it's going to be used. Keep in mind that the completely white version would look amazing inside a shadow box with a colored background. Do you see it?


Last but not least I decided to play around with patterns inspired by the wreath designs themselves. I don't have any immediate plans for these right now—unfortunately. 

I still have unfulfilled dreams of having my own fabric and paper goods collections. Another one is for my box designs to be produced by a manufacturer so that people that don't have cutting machines can enjoy them too. All in good time. For now I'm putting together some pitches and we'll see what happens. No telling what the future will hold!


terrarium inspiration


A few weeks ago the Global Talent Search started again and even though I signed up to participate I decided that I wasn't going to have enough time to put in the amount work needed. The deadline for the first round was right after we got back from our vacation and spending time with my family was what I really needed. 

The first assignment was about terrariums. It reminded me of some work I made in the spring and it inspired new graphics (sketches I had from a trip to the nursery). It was one of those projects that slowly morphed into something I didn't expect. I worked on the graphics first and then decided they'd work on the wall. I stayed with greens but I can imagine these working well with so many other colors—blues, oranges, yellows—any color that matches your decor.

It's hard to tell but the dark background colors in the top and bottom pieces and the green on the right side of the middle piece are all recessed pieces of paper (similar to what I did with my Forest Shadows piece). 

I love my new little corner!
• • •

The Terrarium Inspiration collection of SVG files is FREE in my shop with a purchase of $9.98 or higher with the code thankyou until September 14th.


terrarium inspiration


A few weeks ago the Global Talent Search started again and even though I signed up to participate I decided that I wasn't going to have enough time to put in the amount work needed. The deadline for the first round was right after we got back from our vacation and spending time with my family was what I really needed. 

The first assignment was about terrariums. It reminded me of some work I made in the spring and it inspired new graphics (sketches I had from a trip to the nursery). It was one of those projects that slowly morphed into something I didn't expect. I worked on the graphics first and then decided they'd work on the wall. I stayed with greens but I can imagine these working well with so many other colors—blues, oranges, yellows—any color that matches your decor.

It's hard to tell but the dark background colors in the top and bottom pieces and the green on the right side of the middle piece are all recessed pieces of paper (similar to what I did with my Forest Shadows piece). 

I love my new little corner!
• • •

The Terrarium Inspiration collection of SVG files is FREE in my shop with a purchase of $9.98 or higher with the code thankyou until September 14th.


hands on for a change

draw, cut, build

I hadn't made something like this in a while. It felt great to use simple tools for a change. This will be a birthday present for a little someone that I had to ask not to peek at this online until tomorrow—heehee! You can see how I made it here.

Have a great weekend everyone and Happy Father's Day to all you awesome dads out there!

slowing down


It happens at the start of every summer and I think even more so since getting back from NYC and needing some serious rest—we slow down things a lot. Bubbles, kites, pool, games, tv and some movies—that's what our world with the kids has been mostly about.

Somewhere in there I've managed to get some work done and this Little Red is my absolute favorite as of today. It started out as digital work because I made a pattern collection around it (not licensed yet—just personal work). I wanted to see what it'd look like in paper and this is the result. We're now enjoying it on one of our living room walls as you can see here. :)


owl wall art

owl wall art

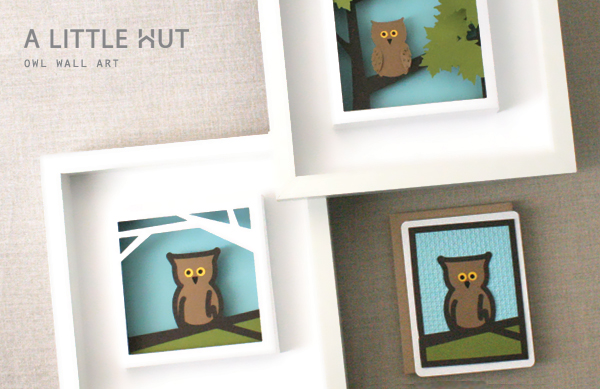
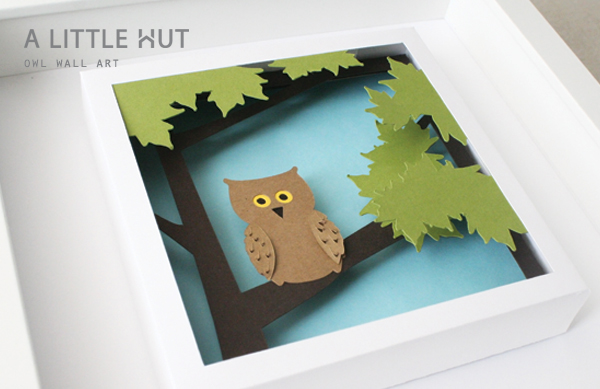
These little guys have been waiting on the sidelines for a while. I hadn't shown them yet because the more graphic simplistic owl was looking rather grim and scary. He didn't look friendly and that wasn't working with me—but the Owl Wall Art set is now complete and I love it!

It was a difficult illustration because I kept wanting to stay away from the cartoony owls and make one more realistic but that still look approachable. I think I still ended up on the more fun side of this which is a bit ironic since I did take off from actual National Geographic type photographs.

My goal with this set was to keep the same look and feel as the Cardinal Wall Art. I want anyone that has the first set to feel like this second one falls in line. I'm thinking this is going to become a collection of sorts. A Little Hut birds or animals? Oh I know the A Little Hut Zoo! Yes!

So... which bird should come next?

After all the reds, pinks and hearts floating around here lately this is such a welcome change isn't it?

Happy Thursday everyone!

• • •

PS - I talked a bit about something that I'm asked about a lot on my Facebook page. In case you haven't read it check it out here.

owl wall art

cardinal wall art

cardinal wall art 1

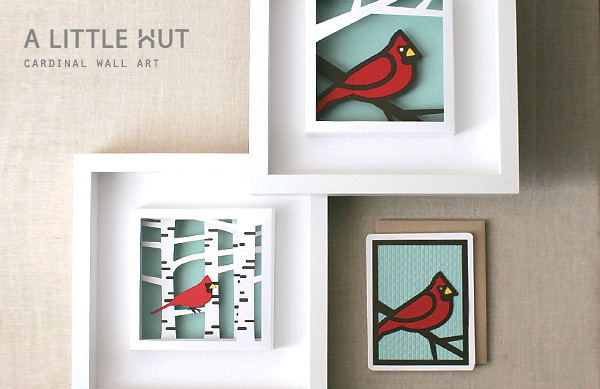
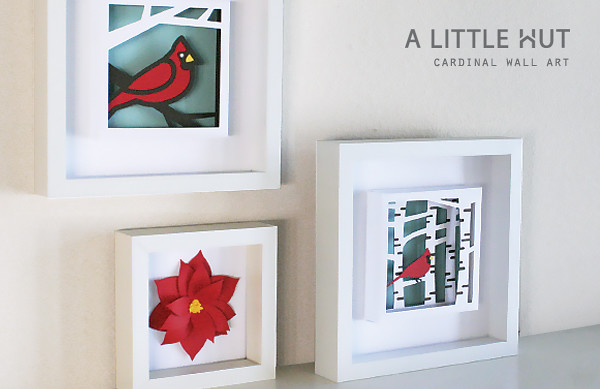
I have a real soft spot for cardinals (if you're curious why you can read about it here) and I'm surprised I hadn't worked on them sooner. Inspiration finally struck because I've seen many cardinals flying about in our neighborhood. The timing was now—so that's how this Cardinal Wall Art set was born.

It also fits in perfectly with my idea of making a set of framed Christmas paper decorations. I purchased the shadow box frames in Ikea. I originally removed the glass to avoid glare but now I prefer them this way.

Love them! I hope you do too. The SVG and DXF files are available in the shop now.

Have a great evening!

cardinal wall art 3

back

graphic arches

Well hello there! I had no idea I'd be gone for a couple of weeks. I've been so wrapped in projects here and there that I simply didn't have the time to put together anything decent to blog about. I think I may have also reached one of those "need to take a break moments"—it happens.

So... what have I been up to?
- Still working on my book proposal (rethinking some projects-but almost done!)
- Working on some projects for local clients
- Designing new patterns and projects for my shop
- Visiting with great friends at Houston Quilt Market. Some photo evidence via Diane here. It's always so much fun to get together with such driven and talented women.
- I went to paint a collaborative/fun raising project with my little C's 3rd grade class. A lot of fun!
- And basically just going on with our crazy life...

I've regrouped and today I start off with some limited edition goodies at Poppytalk Handmade. The collection includes assorted paper cutouts (for framing, scrapbooking or coaster making) and new graphic fairy tale art work. If you see something that you'd prefer in a different color just send me an email and maybe we can work something out.

a little hut @ poppytalkhandmade


This is a limited edition collection because I am actually making and putting these items in the mail to whoever orders them (I haven't done that in a while). I will only be doing this during the month of November.

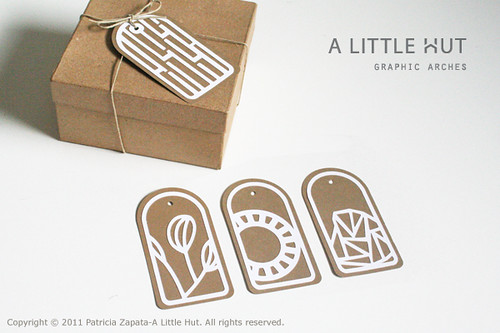
For those of you that work with cutting machines you can take a look at the paper cutouts there to get some inspiration on what other things you can make with my Christmas Paper Quilt and Falling Leaves collections. I will be putting the digital files to the new items (like the Graphic Arches Tags) in my shop in the next couple of days.

Be sure to check out the other artists at Poppytalk Handmade. There are beautiful things that can help you get your holiday shopping started!

Happy Monday everyone!

wall art: tape + ink

wall art: ink + tape

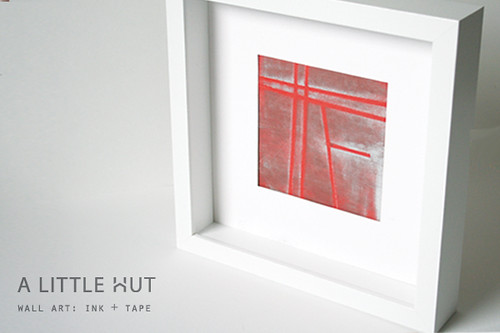
Stepping out of my comfort zone is not something I do easily. But I gave it a shot with this and I flopped—sort of. Ink pads and me—we're still working on maintaining an amiable relationship. However, I am surprised that I that this red square is growing on me. It isn't typical of me—maybe that's why?

I don't really show what didn't work, do I? I don't think it's because I don't want to, but simply because I either forget or I crumple up the evidence in frustration, before I realize that it would've been a good thing to show what not to do. Maybe it's the perfectionist in me, taking over on the sly.

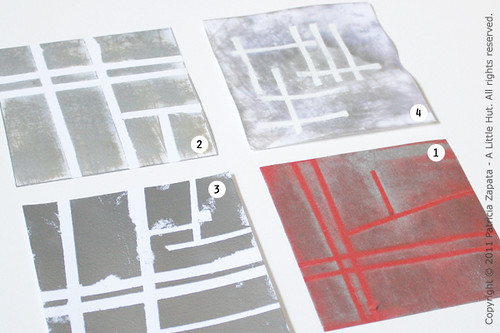
In any case, here are the disasters that occurred after the framed piece above. Yes, I said after. It just got worse and worse...

1. Red background - The photos don't do it justice. The silver ink (which looks whitish) is quite striking but subtle.
2. My second attempt - It didn't go too badly (again, the texture looks much better in person), until pulling the tape messed up parts of it. I don't like that I only used one width of tape throughout. There's no contrast.
3. You can't tell but this one is really shiny. It looks metallic. The entire gray area is covered in silver embossing powder. The flaws are more than evident!
4. By this one, I'd given up on the tape design and just wanted to see what would happen with white embossing and ink with water. I couldn't find my watercolor paper which is what I really wanted to use. Ugh. Enough said.

fail!

The kicker of the story is that I wanted to make this a video tutorial and I started recording the process with version number 2. Awesome. The other failures are recorded too (reminder: delete! delete!). Don't worry I'm not going to waste your time with all that. The red piece was supposed to be the additional color option. As in... "Here is another piece that I worked on in colored paper. See the difference?" Yep. I sure do!

So, in case you are interested in trying this out (no guarantees on results!) here is what I used for the red background piece:

- Silver ink pad
- Brown ink pad
- Red Card stock - 5" (13cm) square
- Martha Stewart Patterning Tape
- Embossing heat gun (optional)
- Ranger Inkssentials Craft Sheet (see note below)

1. Place the tape on the paper in a diagram that forms a general idea of the map of where you live.
2. Rub the ink pad across the paper in a side-to-side direction direction only. Don't press too hard—so that some streaks show.
3. Let it dry (I used the embossing heat gun to speed the process up).
4. Turn the paper 90˚ and repeat step 2 with the brown ink.
5. I removed the tape and heat set the second layer of ink.

I worked on the Ranger Inkssentials Craft Sheet for the entire project. With all the ink involved, I typically would've gone through a bunch of scrap paper, to protect my work surface, or my cutting mats would've taken a dirty beating. I'm very picky about the latter since I work with white paper so much. It's the first time I use this craft sheet and I couldn't be more pleased. With a few wipes of a damp cloth it was ready to go again. It still looks like I just pulled it out of the box. Awesome product!
FYI: This is not a sponsored review. The sheet was a personal purchase.

I learned about this sheet through the Inspiration Showcase, a class that I'm currently taking. Jennifer McGuire is an excellent teacher and the amount of techniques that are included in the class are incredible. I'm not a card maker per se, but I decided to jump in to see what I could learn—boy I'm glad I did! I haven't had a chance to buy all the materials I need to complete the assignments (which makes this project even more embarrassing!) but I will definitely get there.

• • •

Lessons of the day?
- I never know when it will be right. In this case the first try was IT. That doesn't mean I shouldn't keep trying.
- I should leave the beaten path more often—it's liberating, even if I trip.

wall art: symmetry and repetition

wall therapy-repetition

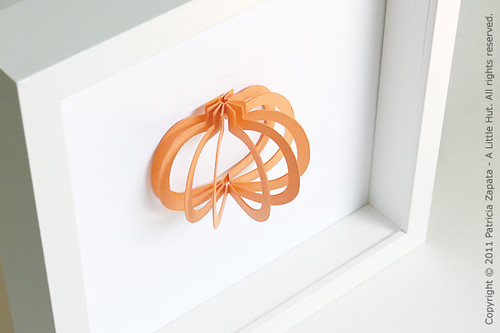
Remember what I said about repetition? If you pair it up with symmetry you have a winning combo and easy to make artwork. I used a pumpkin but you can use any shape. Fold each shape in half and glue them back to back. Done!

Tip: Anyone of these shapes can be used as table decor or hung from a mobile too!

Have a great day!

day 21 - tweaking

day 21 - white paper quilt

I don't know what it is about birthday parties but after today's celebration (little C's) I am completely wiped out.

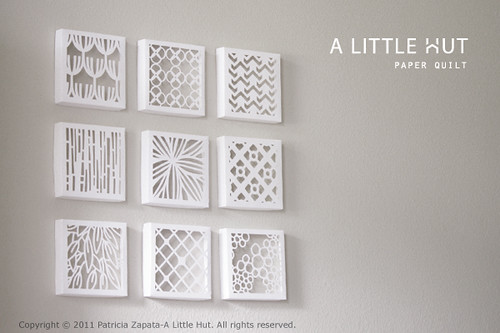
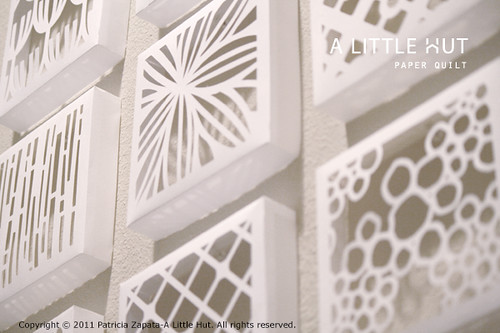
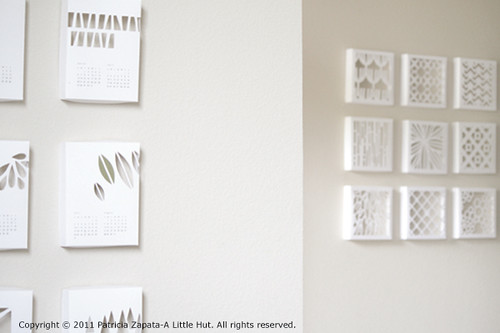
The only thing I managed to play around with was my paper quilt—which doesn't look so "quiltish" now. But it does feel more like me. I'm more of a neutral palette kind of person and yesterday's photos are starting to look odd to me—too bright. Seeing these photos makes me think the solution is really in between.

I'm still undecided as to whether I should keep the blocks separate or together. I'll need to explore further.

The top photo is a day time shot, while the bottom is a night time shot. It's amazing how much the shadows change from one to another.

day 21 - night shot

When I took the day time photo, I stood away from the wall a bit and noticed this other wall in my studio (no set up at all). If it looks familiar, it's my 2011 calendar.

day 21 - do you see a pattern?

It seems like I have a theme going here, doesn't it?

Oh one more thing... for those of you that have asked about the coaster patterns—I've added a Four Pack of designs that are sold for digital cutters and in PDF format to be cut by hand. Because of the latter, I picked the four designs that I think are easier to cut if you don't have a cutting machine.

I hope you're enjoying a great weekend!

Update :: If you'd like to make your own quilt the files (PDF, SVG, DXF) are now available in the shop.

• • •
This is part of a my 26 days of making series.


paper on painted wood

paper pyramid

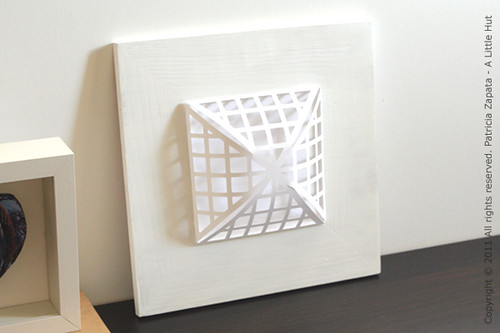
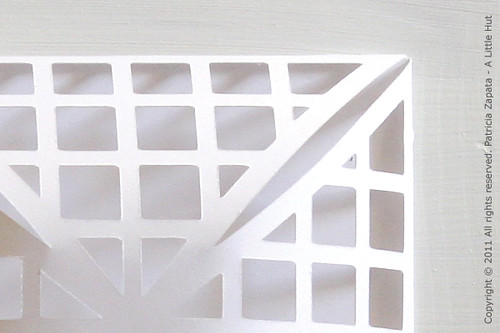
I allowed myself about an hour of playing time, to stand back a bit from other projects, and this is what I ended up with.

Many of you have asked me (in the survey) how it is that I come up with ideas, so I thought this would be a good example to use and write about. Well, it turns out that in this case, I honestly don't know. It just kind of happened. I just knew it was going to work. I planned it out in my head for a bit, didn't sketch, jumped on the computer and out it came.

Yes—boo hiss! That explanation doesn't do you any bit of good, does it? But sometimes that's just how it goes.

Incidentally, I wanted this to be in a shadow box but I didn't have a white frame on hand. So, I used one of those cheap wood/mirrors from Ikea that I had tucked away, literally for a few years. I painted it white and covered the mirror with the paper. I like the added texture of the wood—something to keep in mind for future projects.

Totally unrelated but...

This sort of reminds me of when a friend, who was single at the time, asked me how she'd know when a guy she was interested in was the one. She wanted to know how I knew my Mr. was the one.

I said, "You'll just know."

A few years later she was in a relationship with someone who is now her husband—and she reminded me of our conversation. She said that I was right. "You do just know."

I think something similar happens when you're creating or designing something. When it's right, when the ideas are flowing, when you aren't forcing anything (key!), it just shows up... the one. Sometimes you just have to set aside all preconceived ideas, jump in and see what turns out.

So, what are you going to jump into over the weekend? I have a lot of writing to do—of the tutorial kind. Stay tuned.

Have a great weekend!

• • •

“When we engage in what we are naturally suited to do, our work takes on the quality of play and it is play that stimulates creativity.” – Linda Naiman

paper pyramid

I wasn't planning on offering this for sale... but I had a very friendly plead (thank you!). So, the SVG file for this piece can be ordered in my shop here. Thanks!

2010 paper + wood

paper + wood

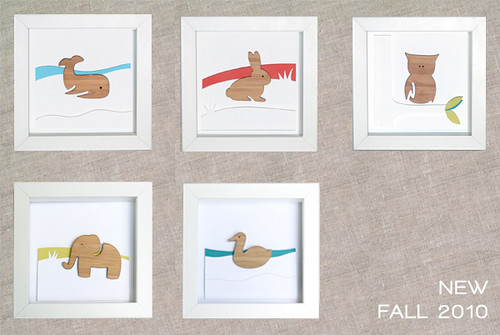
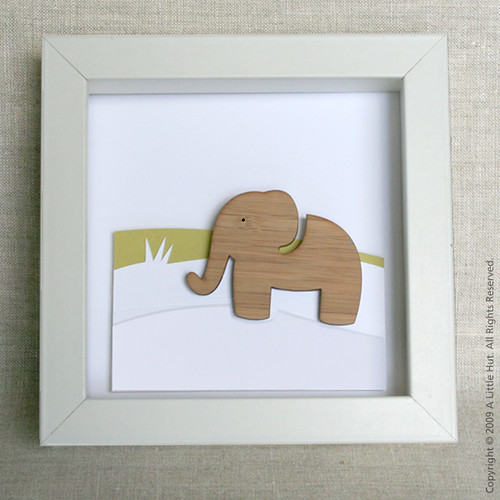
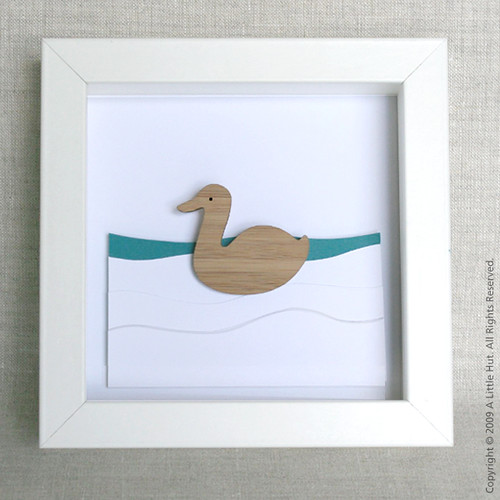
As promised, here are my new pieces for the fall. This is a very limited edition of a family of paper + wood pieces that match my alphabet flash cards and Animal Friends fabric. I carried the idea of very small pops of color from the latter to these pieces as well. I cut everything except the wooden pieces by hand—so each piece will be slightly different from one another.

elephant

duck

My trees are also making another appearance. I loved cutting them by hand but I had to stop because it was physically painful to do. For a long time, I tried to figure out another way to produce them. It turned out that laser cutting them was the best option.


More pieces will be forthcoming and they'll be showing up in my shop and at my virtual table at the Poppytalk market this month. Please visit the market and check out all the beautiful work that is posted. There's so much to look at!

Happy Monday!

mumbling

You know those days when you can't wait for the kids to go to sleep so that you can crawl into your own bed right after their lights go out? That's me tonight. I took these photos today and that's the only reason for me being here right now. Isn't that the lamest explanation for a blog post? I think it's the sleepy stupor talking. And I can guarantee that tomorrow will be one of those days where I will wake up and totally regret writing in such a condition.


Wait. I hear it. Yep, it's my pillow calling my name. Good night!

working out the kinks

In the past few weeks I've been struggling with a creativity rut of sorts. It's been creeping up on me slowly. I have a million ideas but they seem to be jumbled up in my head. It's been hard to figure out how to tie everything together. I think that's part of the reason why I started the 'one month of projects'.

What I'll be working on in the new year is starting to evolve. It won't deviate that much from what I'm doing right now but I feel like a plan is coming together. One of the 'tools' I've used came to me serendipidously in the mail a few weeks ago. It's a book called The Creative Entrepreneur. It's a guide book that helps a creative, albeit business challenged, person like myself get more organized. One of the goals of the book is to visually record your notes or work in an art journal. I'm not the type to journal or even scrapbook so I'm completely skipping the artsy part of the book (sorry!). I'm keeping notes of everything that I've come up with so far. It's been very inspiring and the prompts and questions that are to be considered have helped me pinpoint what I really want to do. I like the fact that I'm working on this now, so that I can start the new year with a fresh outlook.


While I'm on the subject, another book that I have and has been helpful when I'm creatively stuck is Caffeine for the Creative Mind. I work on it randomly opening it to any page and trying out one of the 250 exercises that are included. It has worked before so it's always in a handy spot.


If books don't help then another option is to jump right in. I did just that today. I called it In The Breeze..