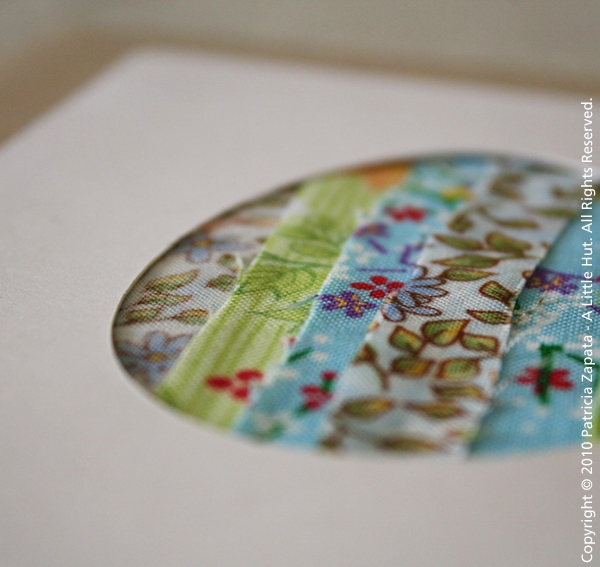
On Saturday I'll be celebrating my 7th year blogging. Can you believe it?
You have no idea how many times I've thought that I need to move on and spread my wings in a different way. But here I am, still sticking around. I hope it's been worth it for you because it sure has for me.
Blogging has brought many, many good things—helped my creativity, brought me work opportunities, a book and great friends.
I've been thinking a lot about what I want this space to evolve into this upcoming year and although I won't be drawing a very harsh line in the sand you will be seeing some changes around here. I hope they will be something better for you and for me. We'll see!
To start the celebration there is a sale going on at the shop!
Code: seven12 (apologies if you got the wrong code in an earlier email!!)
Be sure to add the code to the Shopping Cart page.
• • •
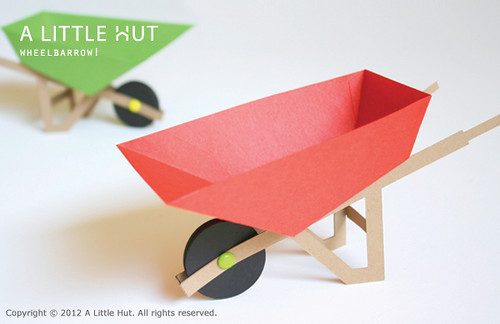
PS - I had SO much fun working on the wheelbarrow! There is always something a little extra fun about making something that is 'real' out of paper. Fun, fun!
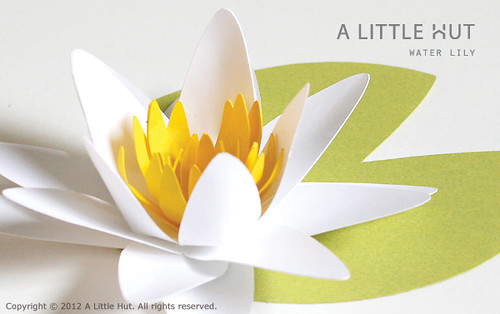
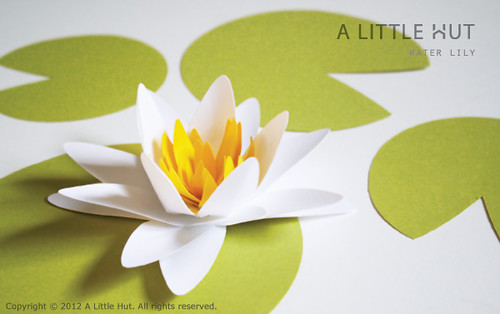
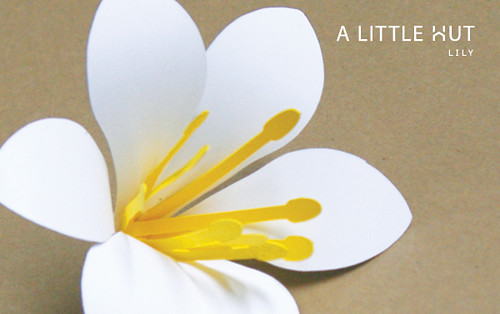
I'm definitely on a flower roll—and I'm thoroughly enjoying it. This time it's a water lily. The new center shape that has several petals in a row (when you see the video you'll know what I mean) is something new for me. I wanted to come up with a shape that would stand up, stay that way and still let the petals appear natural. I was inspired by another flower project of mine (remember?). Those petals are all separate and allow for more creative interpretation but I wanted to create something a little easier/quicker to put together.
I can see these water lilies being used for gift toppers, on a cake, as table decorations for a party and much more. The petals are very versatile because you can come up with other flower combinations—specially if you have any other of my flower sets.
The water lily is now in the shop in SVG, DXF and PDF (to print out and cut by hand) formats. You can see the assembly video tutorial below.
This is an idea that was inspired by one of the projects in my book Home, Paper, Scissors. This time around the boxes are cylindrical and I decided to add a touch of pattern so that they can either work alone or with other things in my shop. The square versions of these boxes are coming too!
Interestingly the only reason why I came up with this cylinder version of the project was because I was trying to figure out how to make a graduation hat box. When I remembered my Ribbon Handle project it all clicked! So, a graduation party set will be in the shop shortly as well.
The floral border is an exact match to the Moroccan Party Set and the grid pattern is related to the Mission Style Party Set. I've also included a plain shorter cover for those of you that would like to customize the box in other ways. The different covers, heights and ribbon options make this project very easy to customize—no two people will make it alike—and I love that!
The video below will show you exactly how to put the boxes together. Enjoy!
• • •
Easter is just around the corner and spring is in full swing! To celebrate all items in the A Little Hut shop are 20% off until Sunday, April 8th!
CODE: spring12
(make sure to keep it all lower case and add the code to the Shopping Cart page —it will not work at checkout).
You should see my studio! A paper bomb went off here. I have SVGs of boxes, wall art, easels, graduation artwork and more coming your way. I'm also getting a couple of videos (for the lily and the boxes) finished so hang in there. I'm having some technical difficulties so bear with me please.
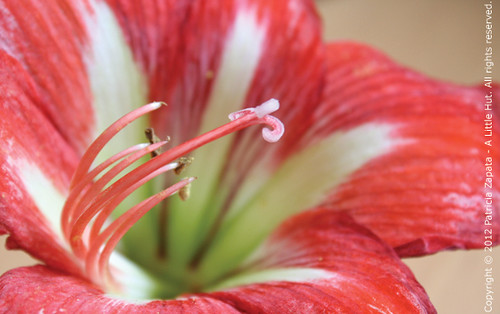
In the meantime I hope you enjoy my new SVG Lily Flower. An obliging flower from our garden gave me the inspiration (and the right petal shape). It turned out nicely but there is nothing like the real thing is there?
(psst! if you have a Silhouette account you can already some new projects up there now).
EDIT -
Here's the video for the lily! The files are now in the shop.
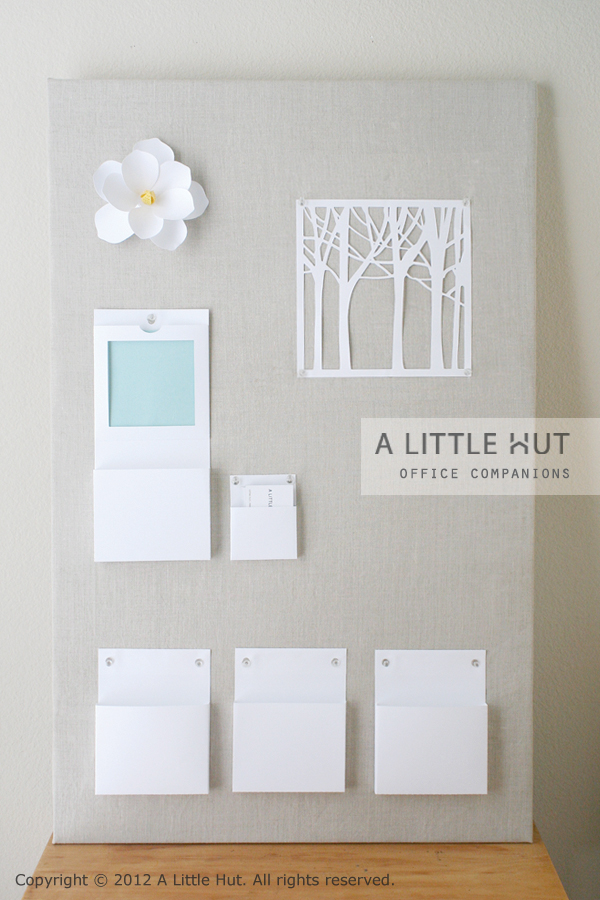
So here it is! My new bulletin board. It doesn't looked lived in just yet because I still need to figure out a way to hang it. This was originally a black cork board (really ugly!) that has the hanging hardware on the long side. So I have to figure out what to attach to the back in order to hang it the long way. Covering it with linen was something that was long overdue. I couldn't be happier with the results!
The plan is the make the area where the trees are the inspiration side of the board. I will probably be hanging color and pattern studies. I made the bottom pockets using the same Office Companions file that I used for the business card holder that's close to the center. That's what I love about cutting files—resizing is so, so easy which makes all projects so versatile. Lastly, I need to look for a picture of my kiddos and Mr Z. That's what I want to place in the frame that has the blue paper right now. The trees will eventually get framed—I think.
This is a small but good start. I'm hoping to have the rest of the studio in better shape soon. It was getting out of control for while there.
• • •
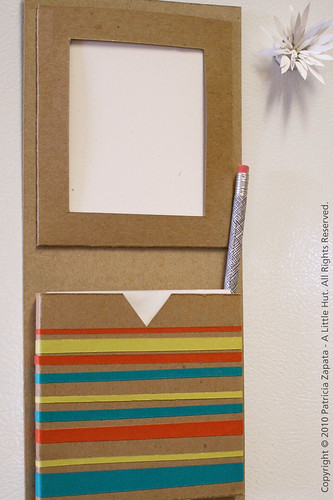
Throwing out my back and being in bed for more than a week has really thrown things of course around here! So here are the videos that I had planned on posting before all the chaos ensued and when I first posted about the Office Companions set. I hope they help.
It's always so strange to hear my own voice...
Friday Tidbits - Pinterest and it's policy issues have even affected the founder. Read about it here. Interesting, very interesting. - I read about Twig Terrariums in this week. They seem so enchanting. - My Easter Eggs and Basket are on Lettering Delights!
A big thank you to Babble for including me in their 2012 Top 50 Mom Craft Blogs list for the second year in a row! I'm so honored to be included in such a talented group of women. Get yourself a cup of your favorite beverage and dig into the entire list—just make sure you have time!
Yay! I made it! Today could not come a moment too soon. When I started this series I knew it was going to be work keeping the making going every single day. It was harder than I thought. Not so much physically but mentally. But I do have to say that even though it was challenging I pushed myself like I haven't done in a while and that is definitely a good thing. I hope you enjoyed it!
So... 6 years. Wow. It doesn't seem real. I never imagined that I'd be here this long. I thought a lot of all the "profound" things I could possibly say today, but I've decided to just keep it simple.
Here are six things I've learned through my blog and still want to keep in mind.
I've learned to...
1. Always be me and stay true to my creative voice (self doubt: stay away!)
2. Work with something other than paper to stay on my toes (have slacked on this lately)
3. Stay away from the blog when an idea is weak (haven't always been successful with this)
4. Stay in touch with my online friends as much as possible (getting harder as I get busier but I do value everyone I've met through this blog sooo very much! you're all so inspiring!)
5. Make space for down time (recharging makes for better blogging)
6. Remember that above all else, I am a mom, wife, daughter, sister, friend and artist. As much as I love it, I am not my blog. It's just a part of me. If it fails or succeeds that does not change who I am.
Here is a little video I put together as a last minute idea. No planning. I just stuck the camera on the tripod and went for it. As you can see I seemed to forget that I needed to stay in the center of the screen. Oops. I may be getting better at working with paper every day but my video skills are sorely lacking! Another thing... play your own favorite music to entertain yourself with since this is completely silent. I didn't think you'd enjoy hearing some lame TV sounds in the background—ha!
So, what did you think of my 26 days of making? Which project did you like the best? Honestly, I thought I would get more ideas produced. I should've known better—you can't rush this sort of thing. It will all get done when it needs to get done. The process never ends—and that's a good thing.
For my third and final giveaway of the week I'm going to do a drawing. I'd love to send one white paper quilt (unassembled but cut and scored) and some other paper goodies to one of you. If you are interested in participating, just say hello (or answer the questions above) and give me your contact information in the comments section of this post. Wherever you may be, you are all welcome to participate. I will close the comments section on Friday at midnight. Good luck!
As always thank you, thank you, thank you for all your support. I wouldn't have made it this far without all of you.
So here's part 2 of the series. Just as I did with part 1, I'm keeping the ideas simple and easy to make. This time of the year who has time for more than that, right?
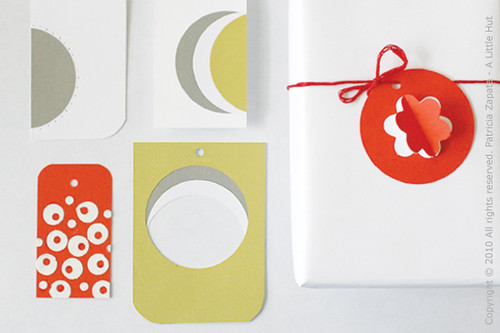
For this set, I've included paper punches as an additional tool. I just used circles and a flower but use whatever you have and hopefully the video will inspire you to make something of your own.
If you do make some tags inspired by this series, would you be willing to share? If so, head on over to my A Little Hut Projects Flickr group (long abandoned!) and add photos of your creations.
If you haven't seen part 1 you can check it right here.
I'm back with another project and video. This segment, for Going Green with Yolanda Green, was shot in August (time sure flies) and it aired a couple of weekends ago. The project is a little more elaborate, because there are more precise measurements involved. But the basic idea is rather simple.
Watch the video below. If you're in a reader you'll need to visit my blog to see it - and never mind my very white outdated kitchen (Santa please help!). You can download the tutorial sheet here.
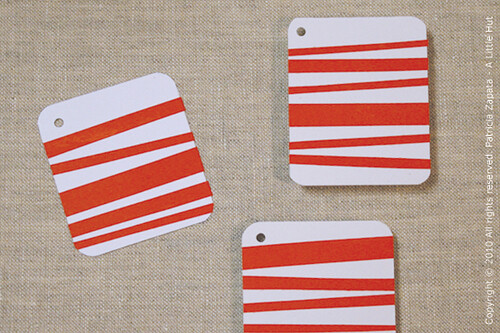
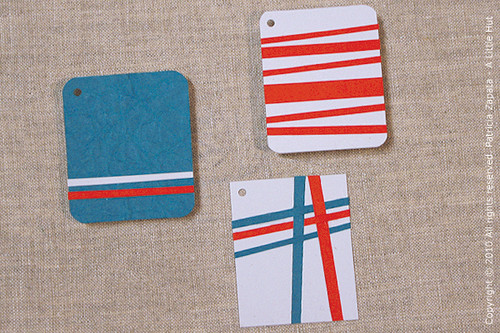
I've always had a thing for making gift tags (stating the obvious?) so I decided to make another small series of them, like I did a few years back.
Working on tags is fun because they are small and quick to make. They allow a lot of room for creative approaches and there really are no limits. That being said, I decided to constrain my approach by reducing the materials to a bare minimum. This will force me to create really simple ideas that... - anyone can approach - will use materials that everyone has (don't buy anything! use the scraps in your stash) - are easy for kids to tackle if they'd like to join you - can stay as is or can be launching pads for other ideas that you may have - are not necessarily just for the holidays
It's much easier to pile on embellishments and be done with it. It's more work to create something out of less. That's the type challenge I really enjoy. I hope you like what you see and join me in trying some of these yourself.
I planned the general idea for each tag but you'll be able to get a tiny peek at my process as I figure things out along the way. The first three tags that I'll be showing you in this video are made by simply using paper, glue and cutting tools. You can't get any simpler than that.
Each set after this will have a new element, material or technique added. How does that sound?
A note on the video... Remember my horrible past attempts? Well, this is my first "finally-new-camera" version. I'm still learning how to edit and what not but there is definite improvement here. I'll keep trying to make these better, so hang in there with me.
This weekend we put the box, that little C and I made a few days back, to good use. It was the perfect way to give a friend his birthday gift, a gift card. I just added a matching tag and it was ready to go.
The gift card dilemma I don't know about you, but it seems to me like it's getting harder to know what kids are into these days. So... gift cards have become part of our gift giving repertoire even though I have very mixed feelings about giving them. Half of me feels that they appear impersonal and like a last minute thing. But the other half knows that I'd rather give something that I know will be put to good use. The gift receiver will purchase what they really want and not have to deal with something we gave them and they may consider lame. I think (hope) that people know us well enough to know that the latter is really our intent when giving gift cards.
Book store gift cards are my favorites. As an avid reader, I'd like to think that a great book becomes a tiny part of our small friends' lives. If their moms catch them reading late at night instead of falling asleep when they should that would make me doubly happy. There's nothing better than being taken in by a great book.
While I'm on the gift giving thing... I was organizing some files when I ran across this short video that I made exactly a year ago. I don't know why I didn't post it back then. It may have been because it's not particularly great (shot at an odd angle among other things) or because it's very similar to another one I made around the same time. But I decided to post it today. Why not? Maybe someone will find it useful. It will also make me cringe enough to improve my video making capabilities quickly. You have carte blanche to call me out on it if I don't. Deal?
This is a very simple semi-origami tutorial on how to make a paper gift box. Many of you have probably made this box too. I don't even remember when my first one came about or who taught it to me.
I know the conventional/origami way to make this box does not include cutting any of the paper (and this tutorial does) so that's why I hesitate to call it a real origami project. I decided to go ahead and show this as an alternate option.
I made this project using the simplest of materials so that anyone can jump in and make it too. In this case, I used a letter-sized piece of paper that anyone has sitting in a printer.
Materials - Square piece of paper - Bone folder - Colored pencils (optional) - Scissors or Xacto knife (optional - if following the Craft video - link below)
[If you're reading this from a reader click on the How To... title below to see my video]
How to Make Paper Gift Boxes -- powered by eHow.com Interestingly a couple of days after I shot the video above there was a tutorial of an origami box (with no cuts) posted on the Craft blog.
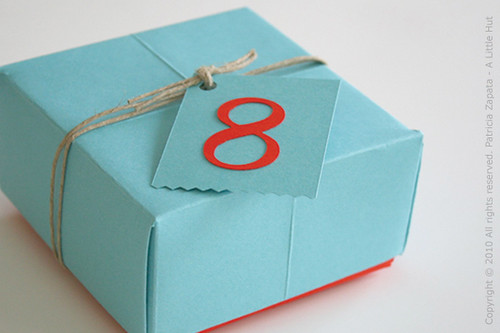
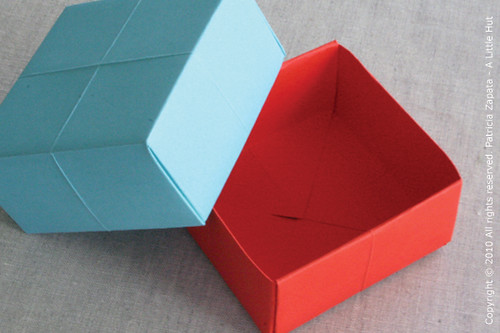
My little C has been sick and home with me the last couple of days. Today she was in the mood for something crafty so we worked on these boxes. She picked the contrasting colors for the larger box.
Large box It was made using 12" square (30cm) sheet of card stock. The difference in sturdiness when using a regular text weight sheet of paper vs. this card stock is significant. The thicker the paper the more necessary it is to use a bone folder. Size: 4.25" x 4.25" x 2 (approx. 10 cm x 10 cm x 5 cm)
Small box It was made using the top of a letter-sized sheet (as shown in the video) - 8.5" ( square sheet Size: 3" x 3" x 1.5" (approx. 8cm x 8cm x 4cm)
Based on the above you can see that the box that you create will be 1/3 the size of the sheet of paper that you start with. The height is about half of the width.
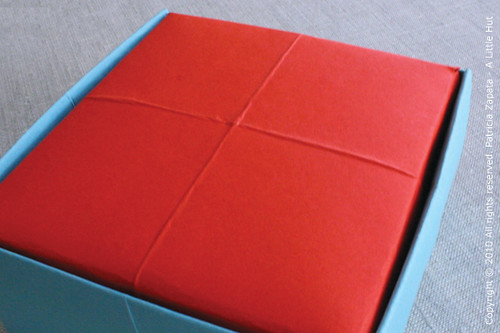
The inside red box is smaller and fits in the blue one because I made the width of the square 1/4" smaller.
I like using thicker paper for this project because the markings, that are left behind by the folds, give a subtle texture to the surface of the box.
• • •
Just to let you know... Since this has been a fairly crazy week so far, I haven't had time to work on The Basics post yet. I will be postponing that until next week and getting the rest of my to-dos in order again.
Ahh... life. You just have to roll with it. Have a great day friends!
Yesterday I shot a couple of segments that will air locally on Going Green with Yolanda Green. I always forget how wiped out I am after these sessions. Phew. The thing is I always have a lot of fun doing them too. It all balances out. I'll post the videos as they air. For now you can check out a couple of photos of us working in our kitchen yesterday on my new A Little Hut Facebook page.
I worked on two recycling projects. The first was the security envelope stationery set and the top photo is a sneak peek for the second one (love the colors!).
The kids start school two weeks from today so I'll be taking the next few days to enjoy my time with them. I'm sure you understand. It's that bittersweet part of the summer... I crave our school schedule/routine but I also love having them with me. Sigh.
Here is a simple project that uses all recycled materials. The video was shot in April (for Going Green with Yolanda Green) and was on the air this past weekend.
Materials: - Two different sized circular objects (in this case - large plate and Tupperware cover) - Two sheets of cardboard that are slightly larger than the largest circular object - Pencil - Xacto blade - Cutting mat - Scissors - Cardboard tube - Glue - Fabric scissors - Old t-shirts in red, white and blue - Three white stars cut out of white paper - Tape
This wreath was created for a 4th of July celebration but the colors and size can easily be changed to suit any holiday or celebration that you have throughout the year. I can easily see this wreath at twice the size and monochromatic or multicolored in a different pattern.
If you'd like to have a small laugh at my expense here is a blooper reel that I'm included in at the very end. All I have to say is that the camera man, Scott, is the most patient person EVER! The amount of retakes we do because of my mess-ups is quite awful. So, go ahead and laugh. I did.
Last week I shot two segments for the local show called Going Green with Yolanda Green. One was a how-to for an extra special Mother's Day card/gift (which could work for Dad as well) and the other for a 4th of July project. The first one aired this past weekend and below is the video which, by the way, does not show up on Google Reader (psst! you'll be able to see me with my new haircut).
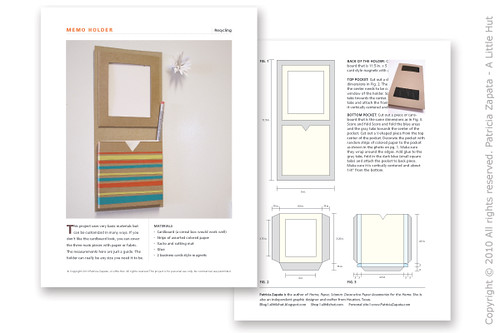
Materials: - Empty cookie or cereal box - Pencil - Ruler - Scissors and/or Xacto blade and cutting mat - Tape - Tissue paper (can be wrinkled/used) - Mod Podge or craft glue (slightly watered down) - Bowl - Brush - Leftover cardstock or colored paper - Ribbon - Round corner paper punch (optional)
I completely forgot to take photos of the process as I made the project so I created a project sheet that you can download below. To save paper just print the first page and then the second on the back side of the same page.
If you like the format of these project sheets or you have any ideas on how to improve them please let me know. I'm thinking of continuing them for the projects that I post from now on. Thoughts?
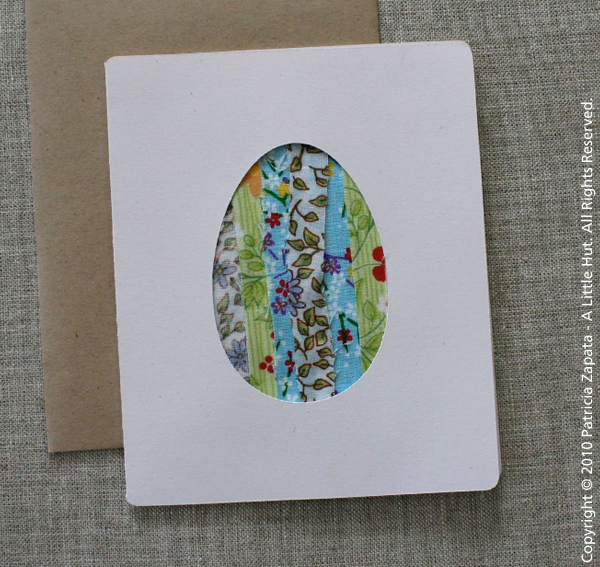
I worked on two simple Easter projects for Going Green with Yolanda Green, a local TV show, and aired over the weekend. One is an Easter card and the other is a bird's nest (different than the one in my book). The materials are very easy to come by and you'll be done with the projects in no time at all (although the bird's nest does involve some extra drying time).
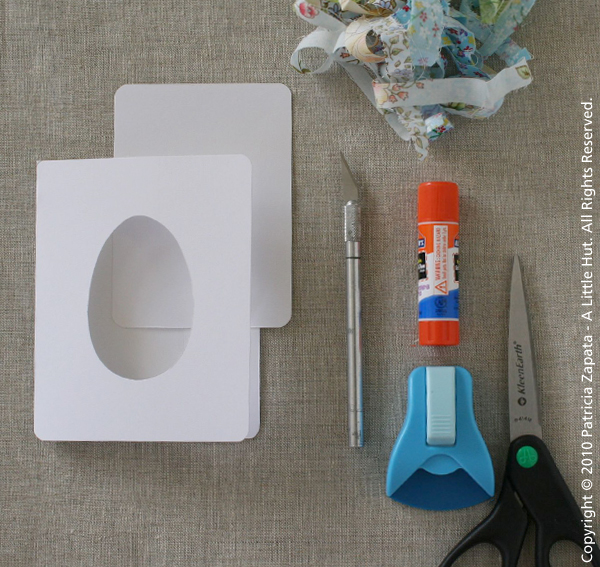
This card project can be used to create all types different types of looking cards simply by cutting out a different shape. How about a heart, a star or something more contemporary like a circle or square? I also think that a monochromatic version (all white fabric with white paper... ooohh) would look great too.
One small change to materials - I recommend you use a glue stick vs. craft or Elmer's glue simply because the card stock bends out of shape with the dampness of the glue. I don't know why I didn't think of that before shooting the segment... Hindsight is 20/20, isn't it?
Check out all the how-to in the video below. (Note - I don't think it's showing up on readers).
Please excuse the bare looking house. This was shot several weeks ago when we still hadn't quite moved everything back in from our whole remodeling ordeal. Come to think of it I'm still not done with all that!
I believe it was about two years ago that I made a very simple series of gift tag projects during the fall. I enjoyed working on them because they were quick and they gave me some crafty time that I many not have had otherwise.
I'm going to start up another series of simple projects. Instead of my usual photo tutorials, I'm going to make short videos. As a warm up, I worked on a simple autumn themed gift tag to welcome the first day of the season.
For those of you with more experience, please keep in mind that some of the steps are very basic. I've taken the approach of assuming that beginners would find this more useful. The other thing is that there are no fancy cutters or tools in this tutorial. I want to keep the gadgets to a minimum — no huge investments here.
This is only the second video I make and I know there are many issues to be conquered (editing, lighting, maybe the addition of some music etc. etc.) so please bear with me. If you don't mind watching me stumble a bit, these videos will also be a great way for me to learn something new.
I feel like I'm talking rather slow in this video so I'll definitely be speeding things up for the next one. More editing to make the project go faster will also be a priority. If you have any helpful suggestions or critiques I'd be happy to hear them too.


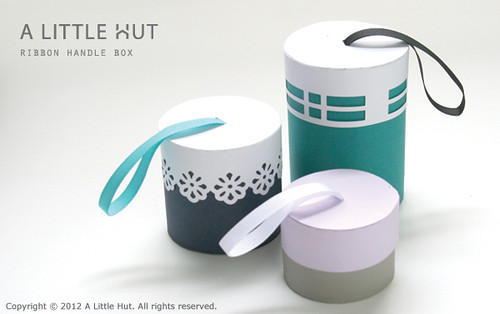
 . This time around the boxes are cylindrical and I decided to add a touch of pattern so that they can either work alone or with other things in my shop. The square versions of these boxes are coming too!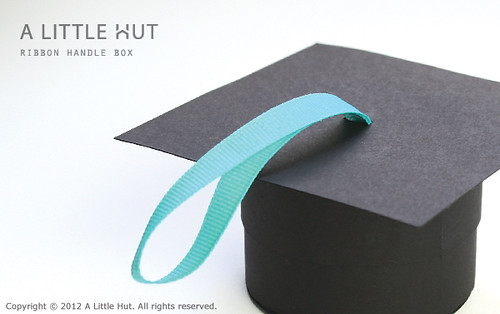

 .
.