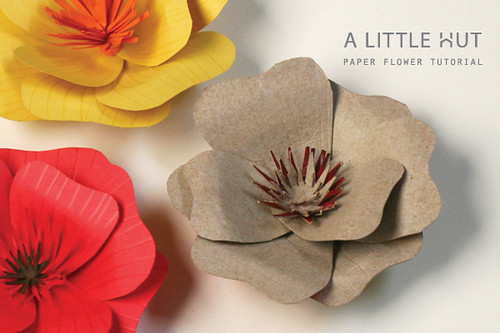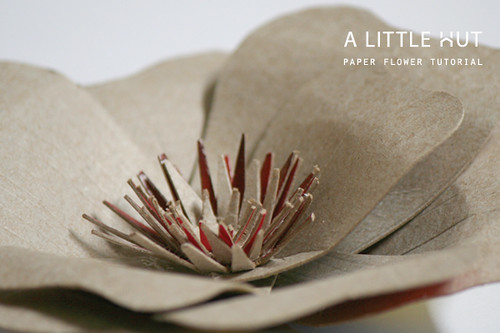
This is a flower that I put together for a series of projects that I've been working on for the shop. I was going to include it with the
Petal Collection, but I decided that this was one worth sharing. It doesn't require any fancy equipment at all!
Materials
- Red card stock paper (less than a letter-sized sheet)
- Brown card stock paper
- Pencil
- Scissors
- Bone folder
- Cutting mat
- Glue
- Clothespins (optional)
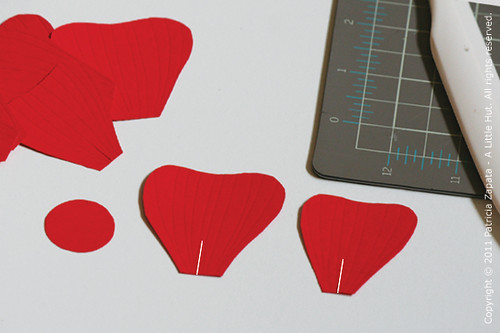
Step 1
Cut out 8 petals that are similar to a heart shape but with a flat bottom. Notice how my petals aren't exactly symmetrical—they don't need to be. Six should be about 2" (5cm) tall and 2" (5cm) at it widest point. Cut 2 petals that are smaller—about 1.5" (4cm) in height and the same at their widest point. Cut out one circle that is 1" (2.5cm). wide.
Cut the center of each petal about 1/2" (13mm) vertically, as shown by the white lines in the photo below.
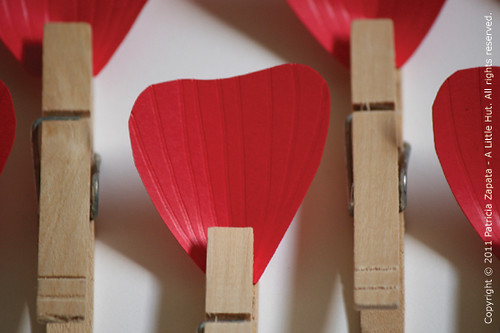
Score each petal vertically (following the curve of the outer edges), several times until the entire petal is marked. Do the scoring on a cutting mat. The soft surface helps the bone folder sink into the paper and protects your table!
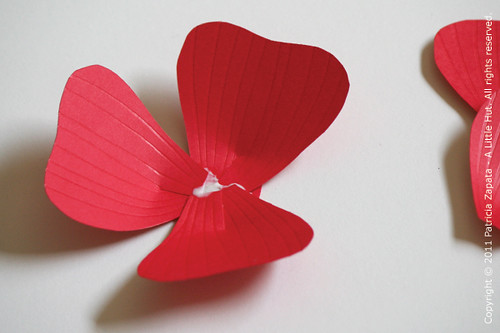
Slightly overlap and glue the two bottom tabs that are formed by the split petal base. Use the clothespins to hold the petals together until they are dry.
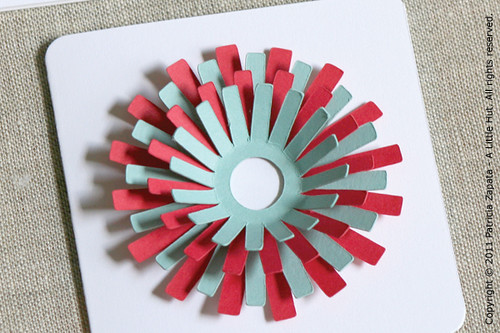
Glue 3 large petals to the circle base. Add the 3 remaining large petals in the center of the flower. Attach the 2 smaller petals last.
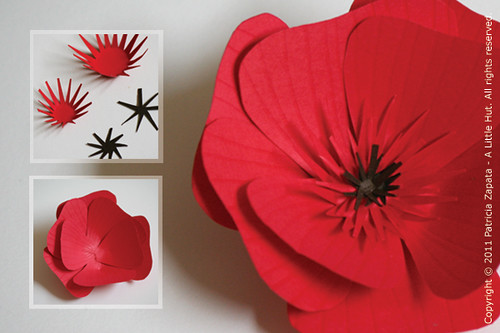
Step 4
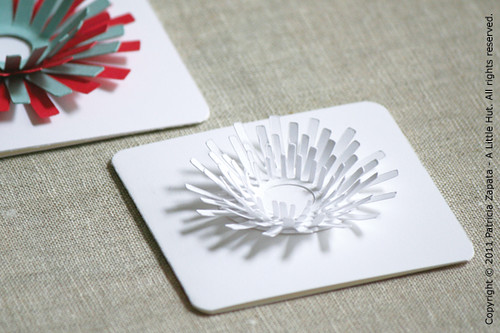
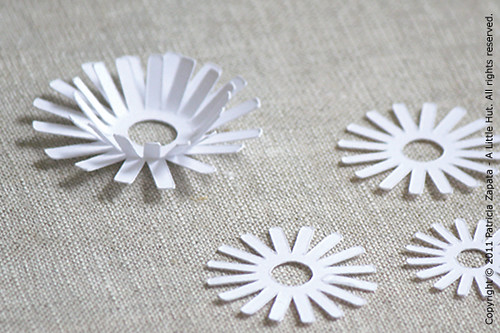
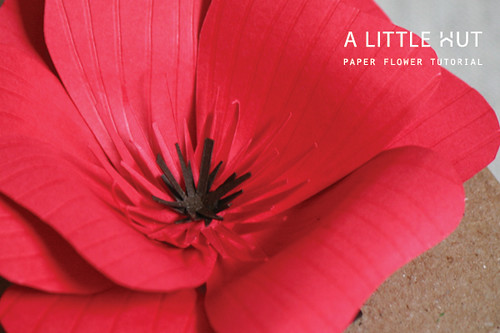
Cut out 2 brown star shapes and 2 larger red star shapes. They don't need to be exact, as you can see by my crooked versions. Just make sure that the brown ones fit inside the red ones. Glue them all together, fold the spikes vertically and attach them to the center of the flower.
The final step is to fold the edges of the flower petals outward. Done!

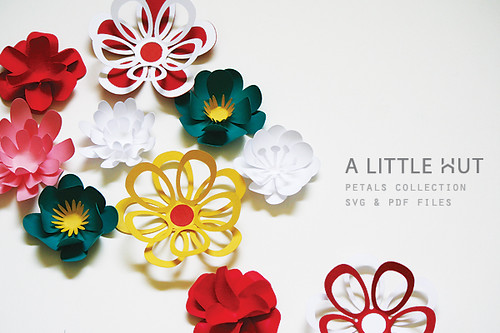
To make the center for the
yellow flower use a quilling technique similar to what you see
here.
My favorite thing about this flower is the scoring of the card stock. The added texture gives the flower a little more personality. The fact that the scoring isn't evenly spaced out makes it even better. Just make sure that you press the paper hard enough but without tearing it.
Easy right? This would be perfect to use as a gift topper, on a favor box, on napkin rings, on spring wreath, etc.
Now go have some fun making some or forward this tutorial to anyone that may need a flower in their life—who doesn't?
Have a great day!