
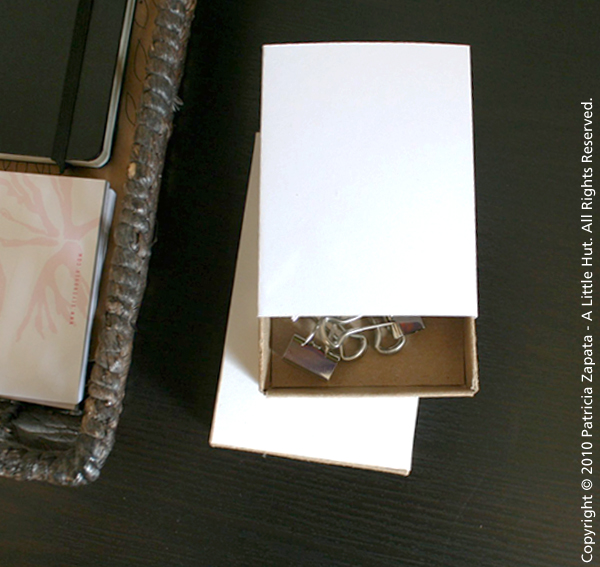
I chose white paper for the cover of my box because I want it to match the one that I had already made. I also happen to love all office supplies that look like this. If you prefer more color, any decorative paper would be perfect to wrap around the cover or the inside of the box. The steps that I provide here are just to get you started.
Materials:
- Template
- Craft knife or scissors
- Cardboard from a cereal or cookie box that is at least 8" x 9"
- Pencil
- Ruler
- Bone folder
- Letter sized sheet of cardstock
- Craft glue and a glue stick
1. Print and cut out the template that you can download here.
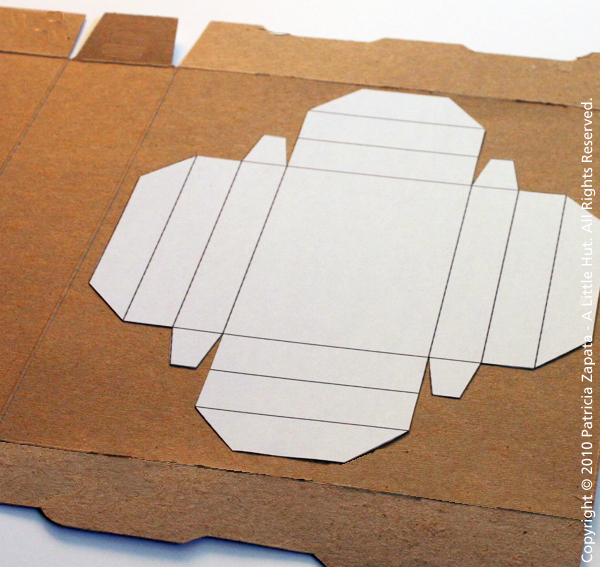
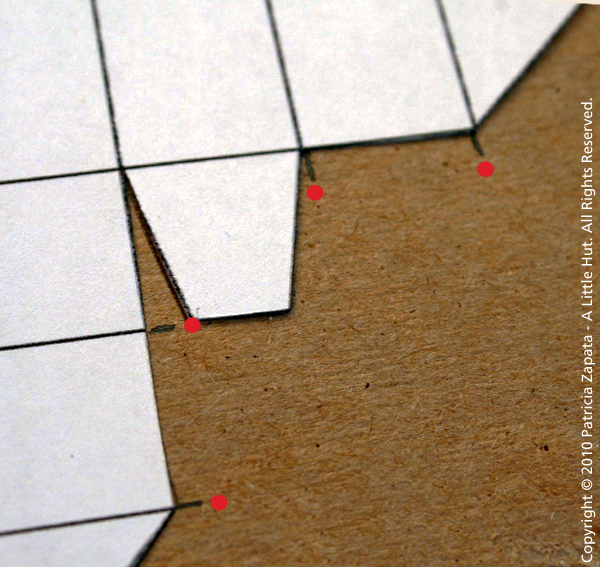
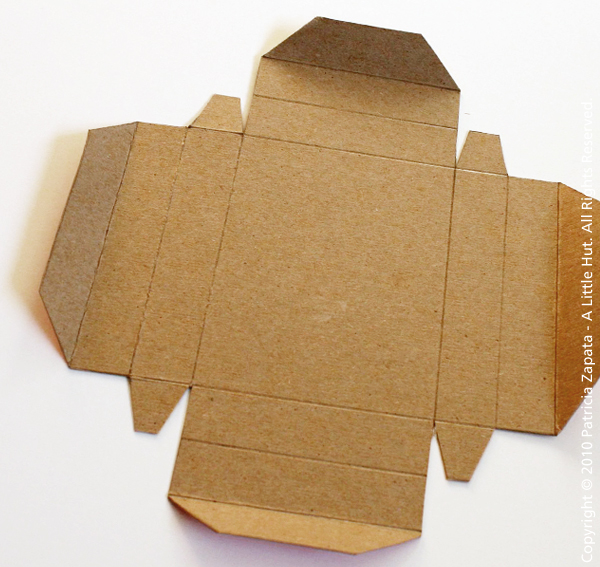
2. Trace the template onto the cardboard. Draw small hatch marks that line up with the interior lines of the template (shown by red dots). This will make it easier for you to score more accurately.
3. Using the bone folder and a ruler, score the cardboard before cutting it out. Score along the solid lines shown in the template. Cut out the box along the drawn outline.
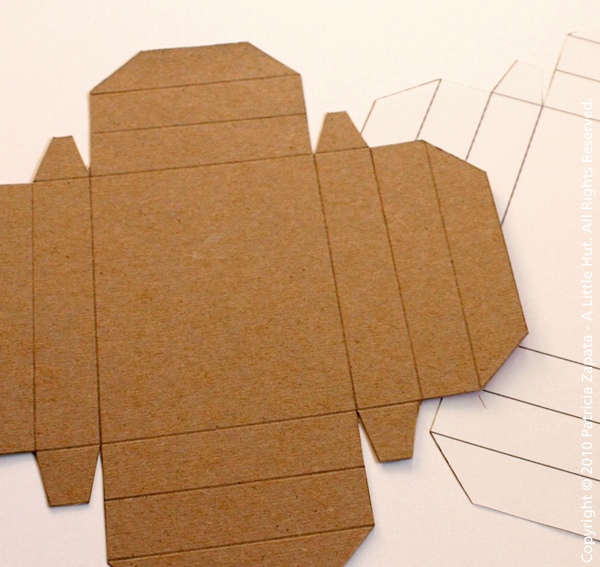
4. Fold the outer most tabs towards the outside part of the box or the craft paper colored side. Fold the other edges towards the inside or the printed side of the cardboard.
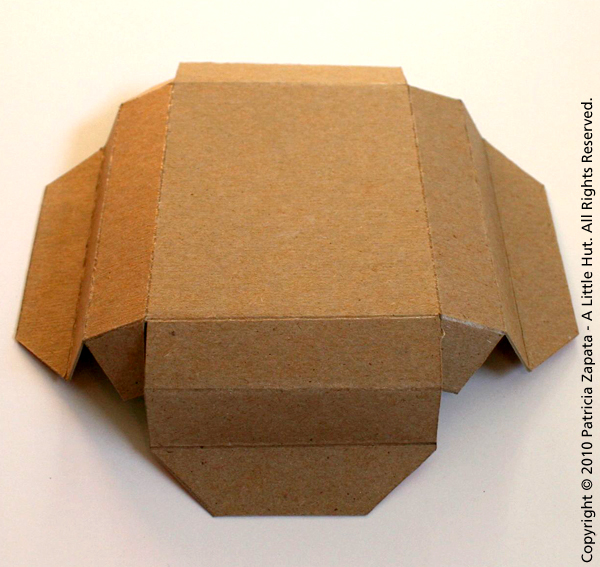
5. Using the craft glue, adhere the longest sides of the box so that the long tabs are flat against the bottom inside of the box. Fold and glue the short sides in the same fashion making sure to go over the small tabs. The small tabs should be sandwiched between the short sides of the box. If necessary clamp the sides with clips.
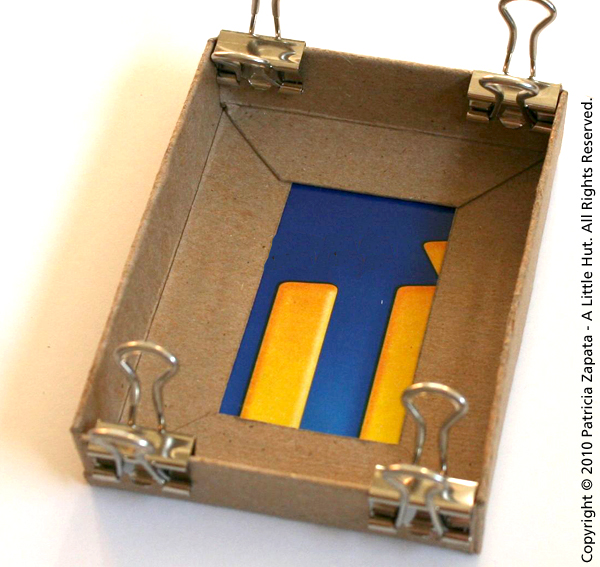
6. For the inside of the box - Cut out another piece of cardboard that is 3" x 4". That is the exact measurement of the box. Because of thickness of the sides, the inside bottom of the box will be slightly smaller. Trim the length and width of the cardboard as necessary to allow the rectangle to fit on the bottom of the box. Attach it with glue. If you prefer this would be a perfect place to use a contrasting color to give the inside of the box some color.
7. For the box cover - cut out a strip of cardstock paper that is at least 4 1/8" x 8.5". Even though the box is 4" long the thickness of the cardboard makes it necessary to make the cover a bit wider.
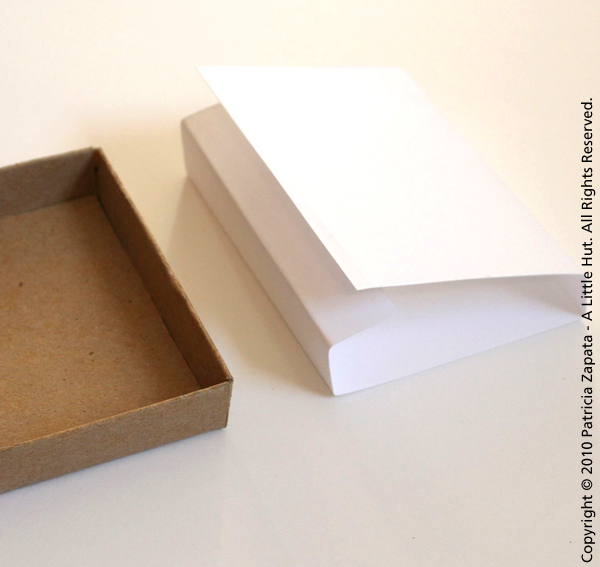
8. Line up the paper with one of the long sides of the box. Pinch and crease as the paper goes around the box making sure that the cover is snug but not too tight. Before gluing it together make sure that your cover will comfortably slide on and off the box. Glue the ends of the paper cover using the glue stick and make sure to let it dry completely. Done!
TIPS
- I used cardboard for the box but a thick cardstock will work just as fine.
- If you have access to a larger piece of cardboard enlarge the template to make as large as you need it.
- To make your box even more customized and use a favorite color of fabric you may want to try adapting this clever tutorial on CraftyPod for the cover of the box.
The opportunity for customizing this type of box is only limited by your imagination. Ribbon, fabric, and so many other embellishments or materials can make every box quite unique. Experiment and make it your own.
Have a great weekend everyone!
No comments:
Post a Comment