
Materials:
- 3 - 5"x 2" pieces of paper (two white and one colored piece of paper)
- Xacto, cutting mat and ruler (or digital cutting machine - I used the Cricut)
- Glue (I used spray mount)
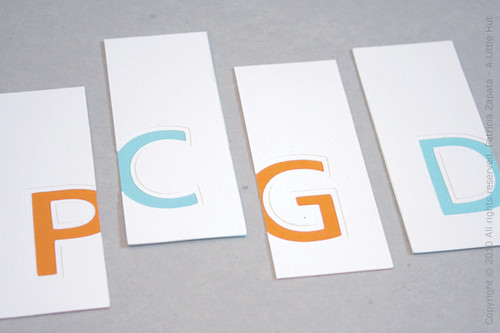
I think the project is self-explanatory. Simply choose a letter and decide what side it should be on. I decided that the open side of the letters should go towards the inside of the bookmark (like the C & G) and the ones that have straight sides (P & D) look better on the opposite side. The idea is to just trim off a bit of the letter and still remain recognizable.
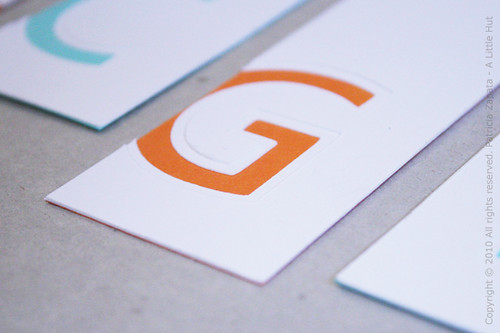
Print a letter in font of your choosing, keeping in mind that san serif letters are easier to cut (they have more straight edges). Cut the letter out of the printed page and trace it on one of the white pieces of paper (leaving part of the letter bleeding off to one side of the page). Cut the new letter out and use it as a template for the second piece of white paper. Trace the letter exactly the same size and in the same spot as the first. Now cut 1/16" outside of the lines in order to make the larger letter.
You should end up with three pieces of paper like this...

• • •
Just to let you know... I'll be posting these small projects on Wednesdays to alternate with The Basics posts.
No comments:
Post a Comment